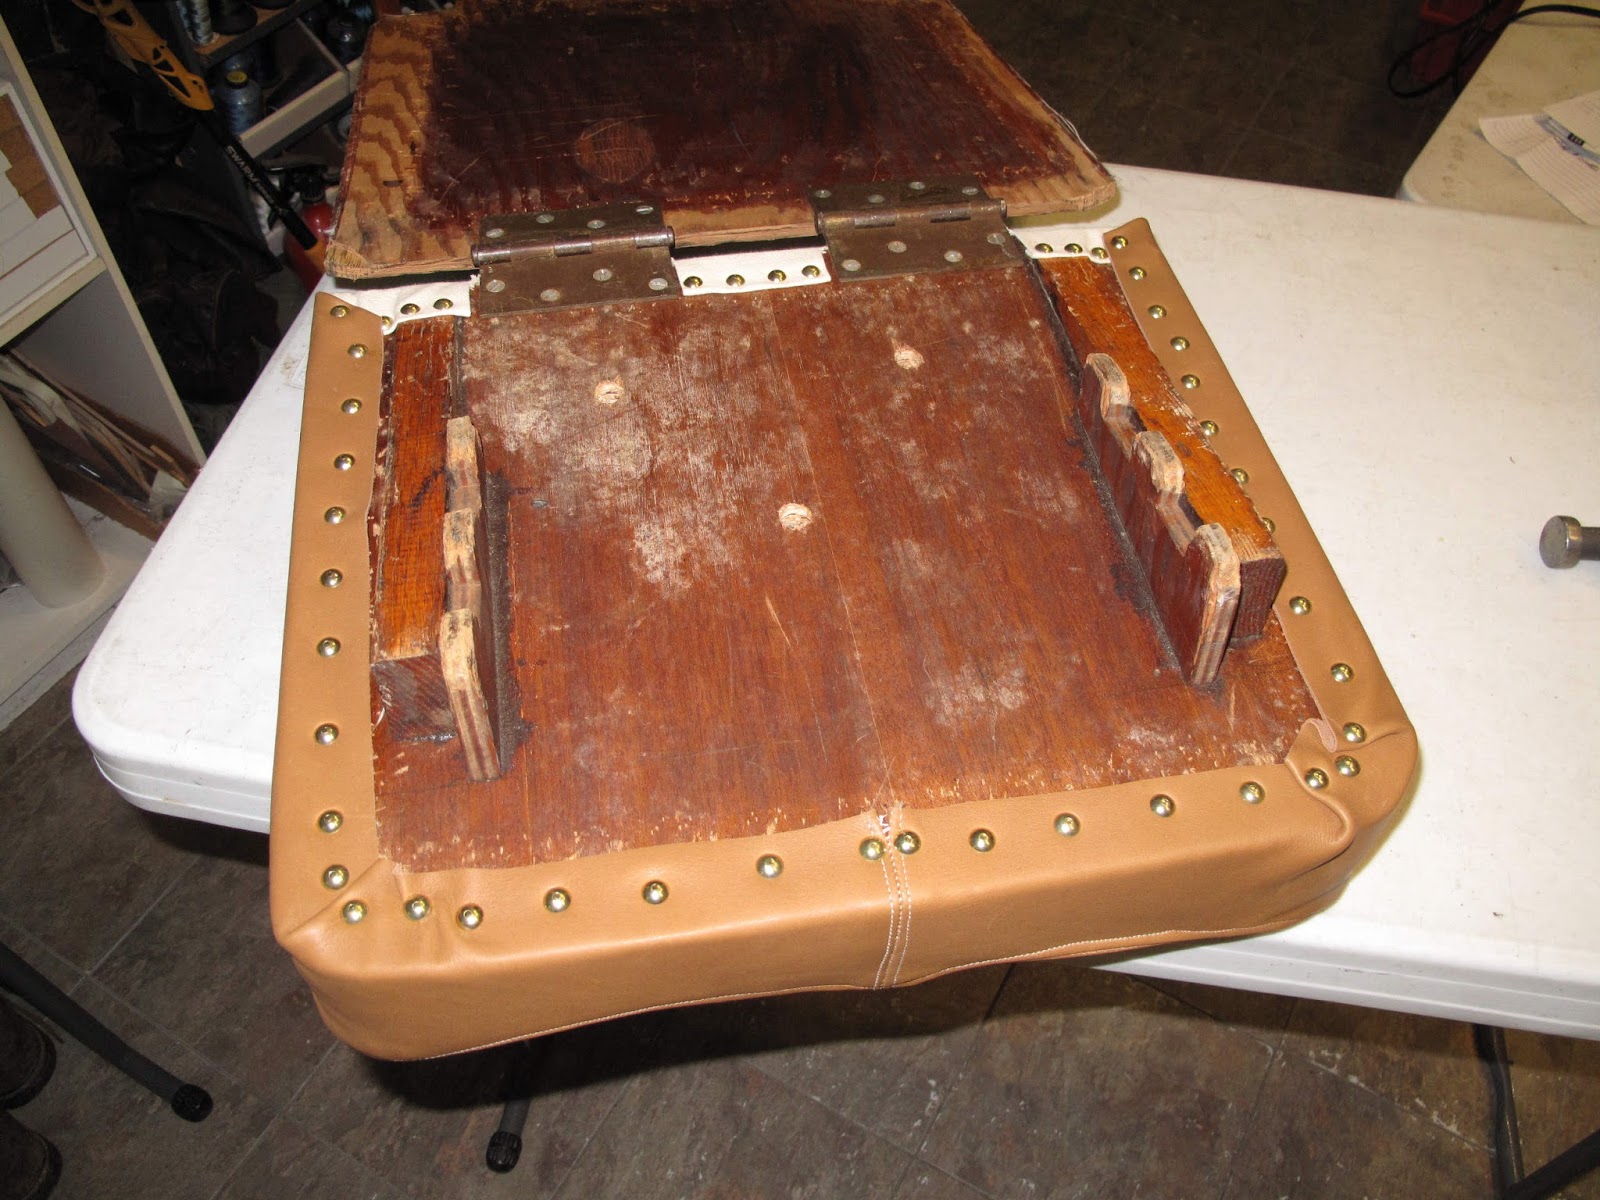
The seat for Fly Baby is just 2 pieces of plywood. It has two door hinges to join the pieces at the bottom so the seat bottom can be slid fore and aft while the top rests against the former at the back of the cockpit. There are some pieces of wood on the bottom to control the angle of the seat and latch it in a couple different positions. It's simple and it works.
It's real problem is setting on it for more than about 1/2 hour is painful. Just padding it with a piece of foam rubber means you're sitting on 2 pressure points on your hip bone. We had increased the foam to about 4" thick. That makes you sit higher in the cockpit but only gets you a few more minutes before the pain starts.
A bucket seat supports you on all that soft muscle tissue around the hip bone so you don't put pressure on the just the bottom of the hip bone.
My first effort was to put some wedges made from Ethafoam, that stiff white packing foam, on the sides of the seat to provide more support. That improved the flying time to a couple hours. You can still see the wedges in some of the pictures below. For this project I'm just adding more support.
My plan was to make a bucket seat using stiff foam that would fit my bottom to give the best support. I bought a camping pad about 1/2" thick with the plan to cut pieces which I could stack up and glue together to form the bucket.
First I needed a pattern of the shape of my bottom sitting in the seat. The idea was to fill a bag with canned urethane spray foam, sit on it, and let it harden. Good plan, but it turns out it needs moisture to cure and therefore will not harden in a plastic bag. I eventually did it using paper towel instead of a plastic bag. I've lost the pictures and it was messier than the plastic bag, but I made a workable pattern.
The next step was to draw contour lines on the pattern. I started by putting a felt pen in the drill press chuck and drawing a line at the lowest level. I then moved the chuck up by the thickness of my foam pad and drew the next line, etc. You can see the Ethafoam wedge below the foam.
The result was a pattern for the final bucket seat.
The plan view photo of the contour lines was brought up in TurboCAD and a printable pattern drawn to make the foam pad layers.
The pad layers were made from 3 pieces which overlap in the corners for strength. That way I didn't even use up all of the one pad I bought. The pieces were glued together and the the corners sanded off to make a nice fitting bucket.
For the back I wanted to sit as far back as possible so again I wanted some support on the sides and the lumbar area. I used Rowan's old foam rubber Noodle to make the supports, taped on here to check location before gluing them to the back. To minimize the foam between them I used a piece of an old mattress pad, soft but not very thick when easily compressed.
I wanted the bucket look hidden. Instead I wanted the older look of a simple seat padded like the original Fly Baby seat. I needed something to hold up the seat cover but which would not add much actual padding to disrupt all this structure I had created. We had recently bought some cheap pillows with a polyester stuffing instead of feathers or foam. The softest one I found at Walmart was labeled Medium Firmness. I opened it and used some of the polyester stuffing to fill the bucket.
Once I had enough of the stuffing I used spray adhesive to glue it into the bucket.
I then glued a piece of felt over this to hold it in the bucket over time. The felt was glued to the top and sides of the bucket
I found a soft cow hide on line for a cheap price and exactly the color I wanted. Ah the joys of the modern internet. It's hard to imagine that before the 90's we could loose our e-mail privileges if we did something as "Commercial" as to include a price quote in an e-mail. They monitored the network looking for violations.
I made a pattern and sewed up the cover for the bottom I used canvas in the back because I thought it would hold up better and fit better around the hinges.
I started attaching it at the back and worked forward.
I think this is the third seat cover tacked to our original seat.
I'll never have a career covering seats but I like it.
The back was done the same with a little of the polyester fill to puff it up as well.
The final seat ready to go back in the plane. It's as comfortable as planned so I'm eager to get flying and see how it works on a long flight to Michigan and Oshkosh.