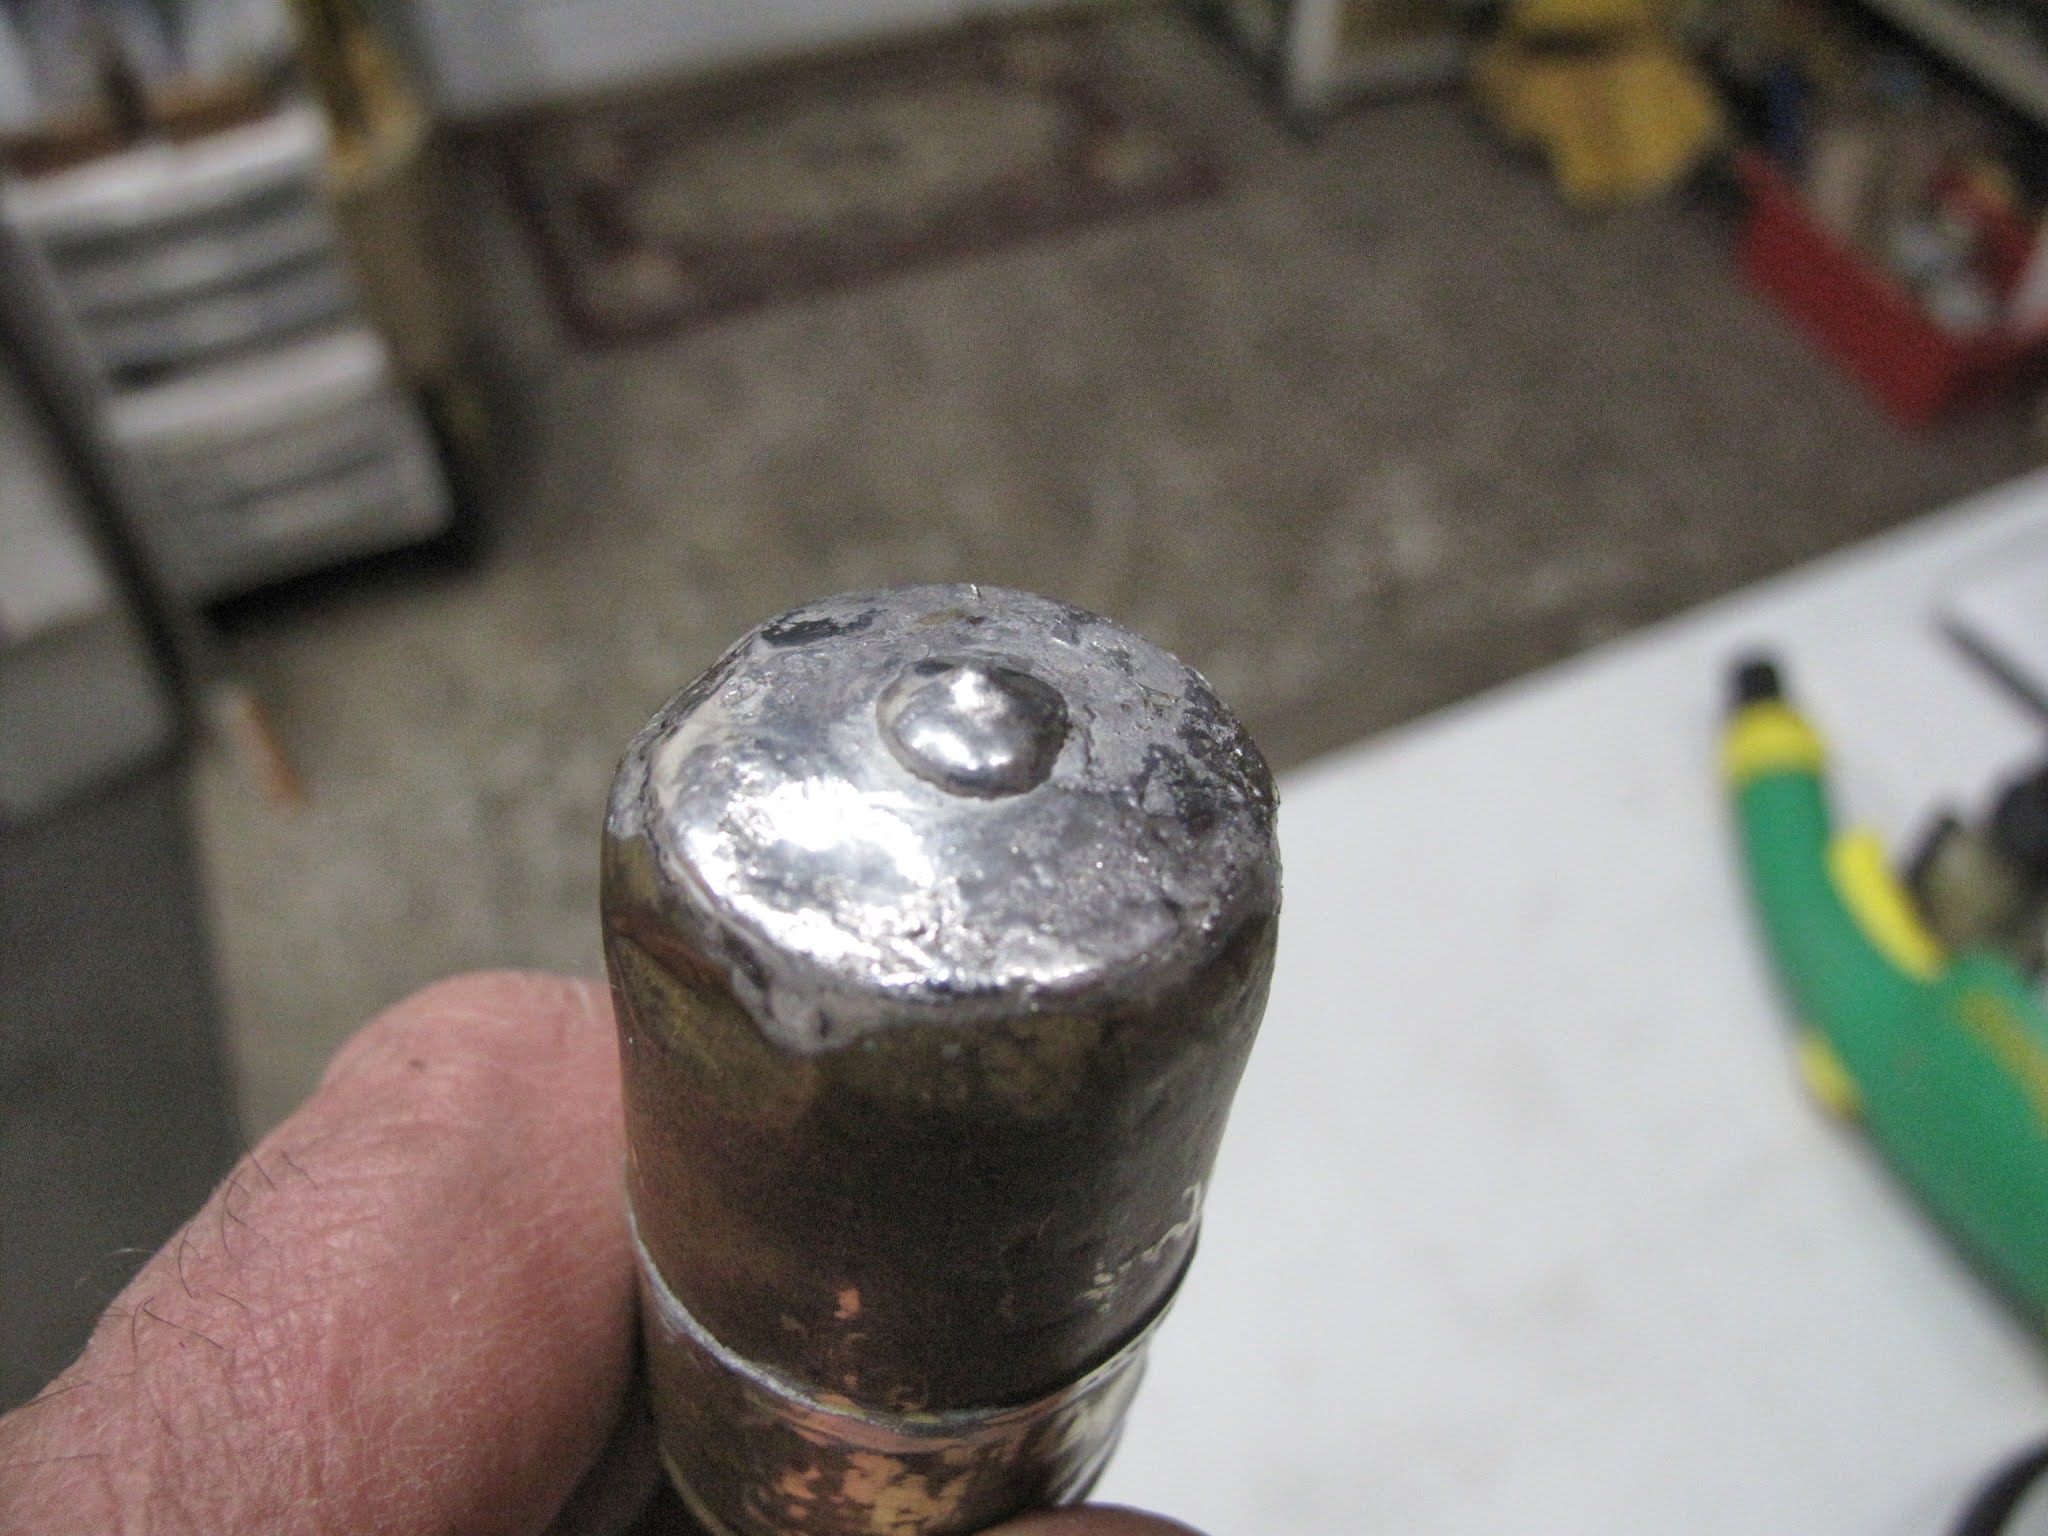
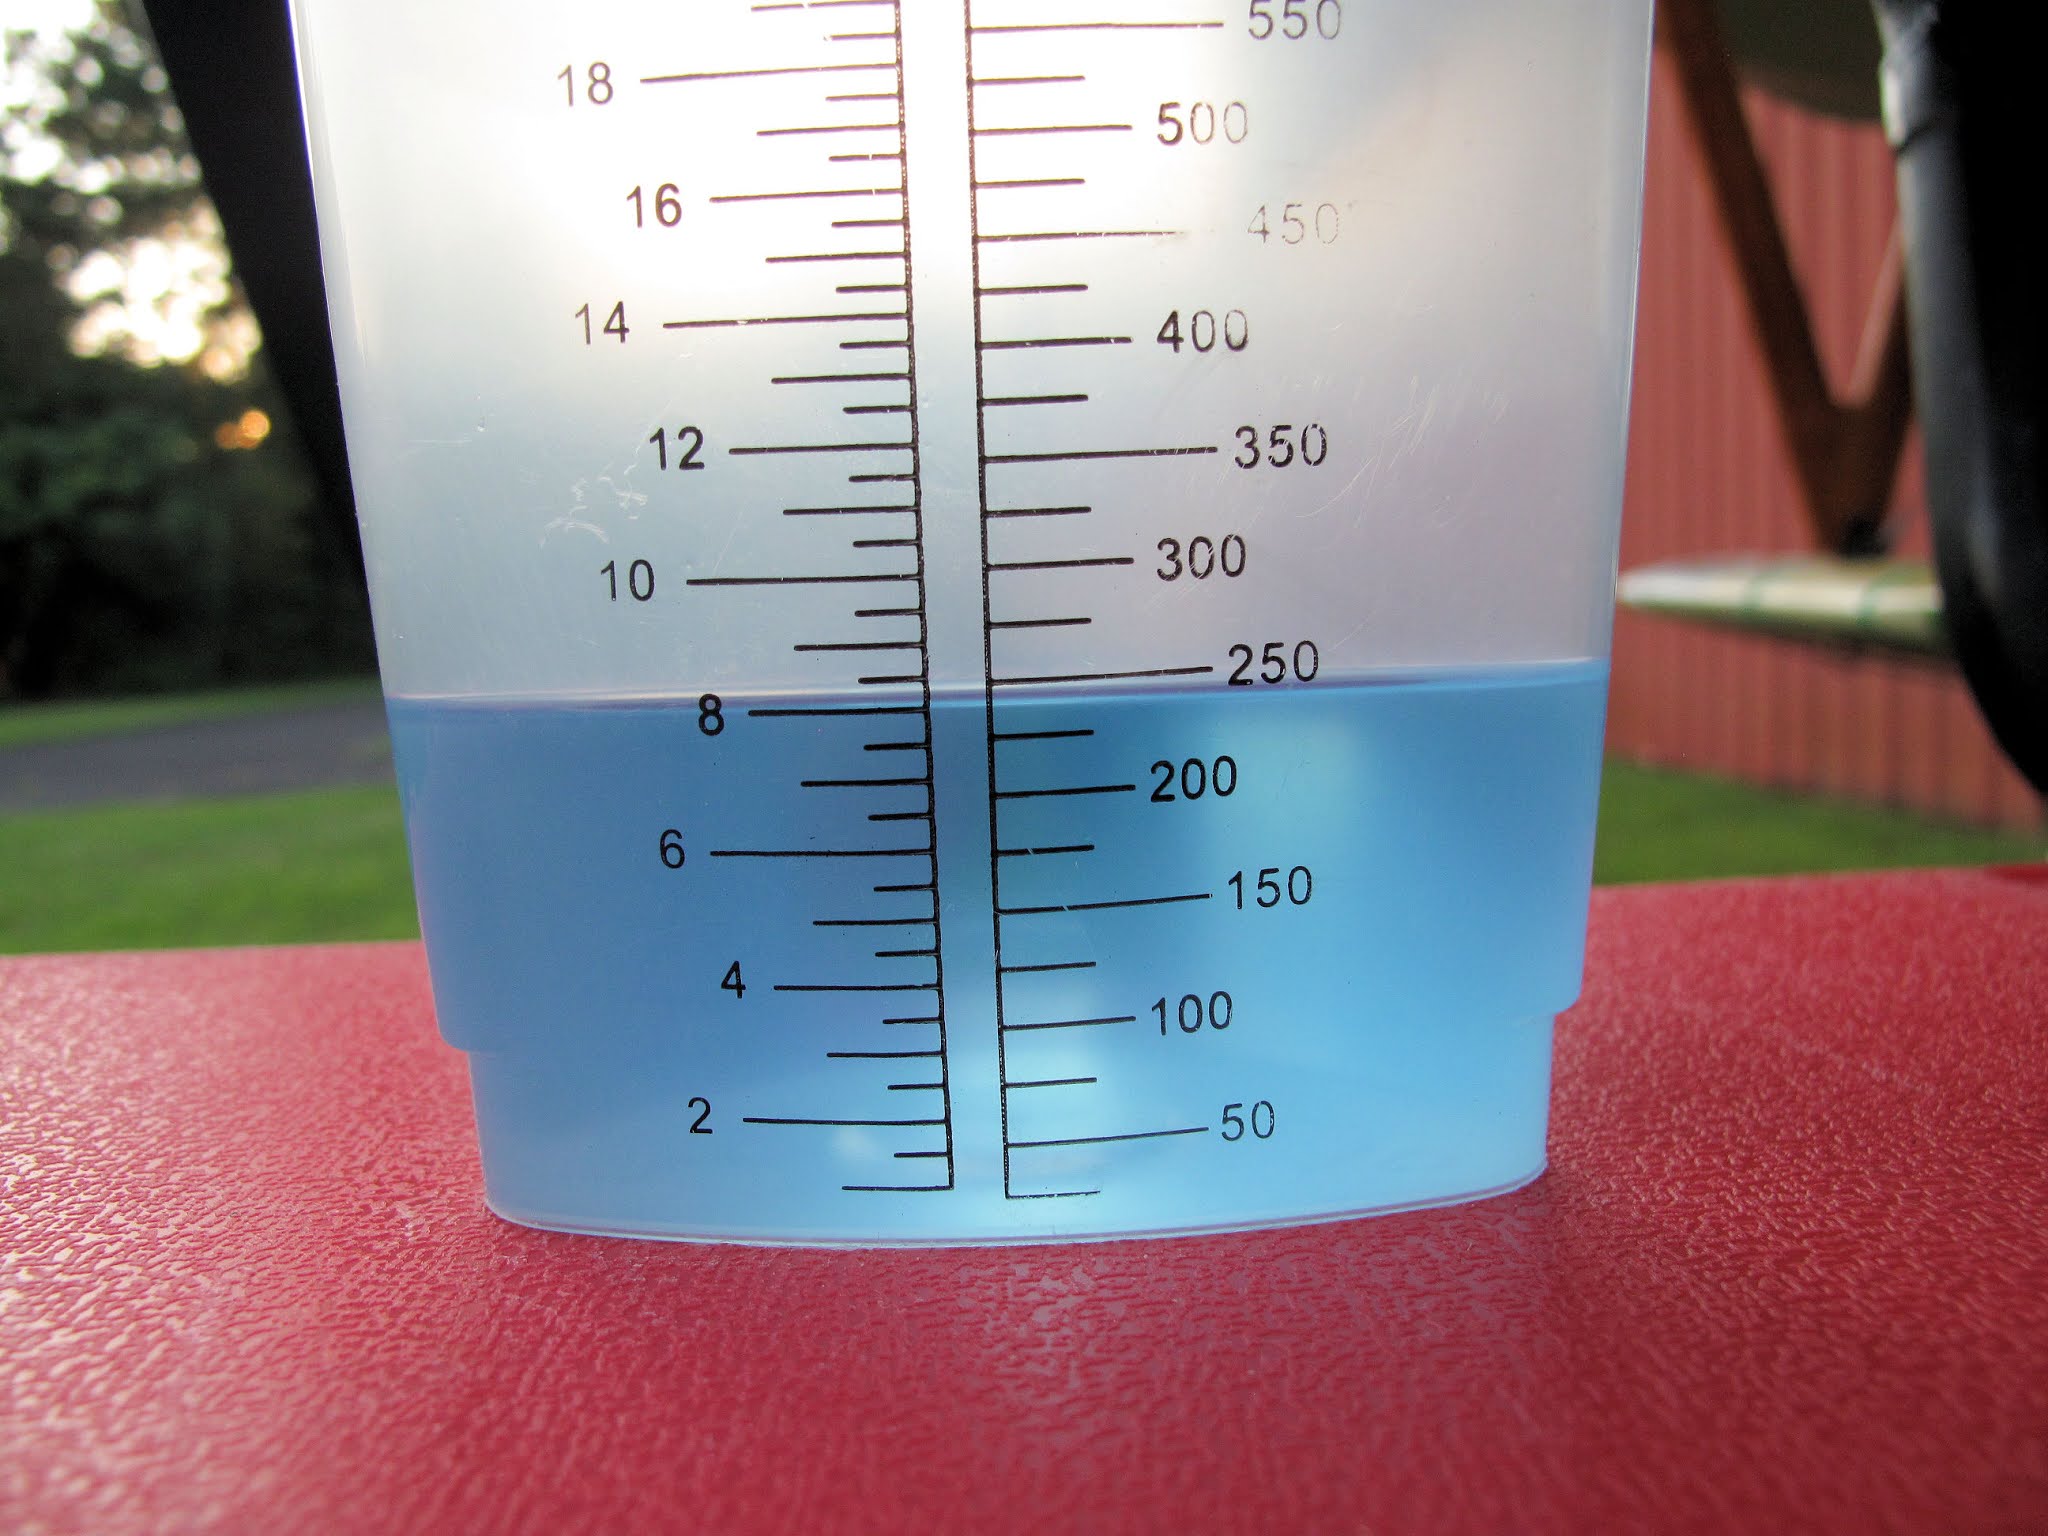
Gusty winds have kept me from flying, but I was at the airport earlier in the week to get something. While I was there I tapped the top of the float wire to see how well it floated and it sunk to the bottom of the tank, bummer. A couple hours later when I got home I weighed it and found it had taken on 10 grams of fuel, half it's normal weight. Avgas has a density of about 0.72 grams/ml so 10 grams of gas is about 14ml. Submerging the float on water I find the volume is about 50 ml. So, 14 ml is well over 1/3 full of gas just from temperature cycles sucking it in while floating, barely under the surface, at the top of the tank.
A little dangerous experimenting with a cigarette lighter found the leak, in the side seam. I drained the gas, fixed the hole, and left it submerged in gasoline for 5 days. Two nights it went down to 25 Degrees F, so good cooling/warming cycles to draw in gasoline. I weighed it this morning and it hadn't gained any weight. Hopefully it's really fixed this time. I'll put it back on the plane and keep checking how it floats.Sunday, April 4, 2021
Wednesday, March 10, 2021
Flying on a Warm Sunny Afternoon
We had another beautiful March afternoon, blue skies, light winds down the runway. I finally left the airport traffic pattern. Our house is about 10 miles away. The pictures are looking back, west, toward the airport, arrow. The first row of mountains is on the west side of the airport.
Nice afternoon, happy pilot. I flew for almost an hour.
Monday, March 8, 2021
Fuel Gauge Problem Solved
I replaced the wire with a straightened piece of the 0.063" wire I have for the trailing edge on the WACO NINE wings. I weighed it and it now weighs 19.3 grams vs the 31 grams it weighed when I started, big change. It turns out gas had leaked into the float and came out when I unsoldered the wire.
When I first brought it home and tried floating it in auto gas it sunk, bummer. Now it floats about 1/2 out of the gas, awesome.
A careful inspection of the soldering on the new wire showed I had the tiniest leak at each end where the solder was not well bonded to the wire.
Since cooling it sucked in the gas, I used the heat gun, at 250 degrees F, to heat it and push the gas back out, it worked. I put it in the freezer for about 5 minutes before heating it to have the most air to push it out,
After a couple tries at fixing the leaks and using the cold gasoline I was able to fix them, no more leaks.
Thursday, March 4, 2021
One Hour of Flying On A Nice Warm March Afternoon
Yesterday afternoon we had a gentile warm (61 degrees) breeze from the southwest, straight down the runway. Who could ask for more in early March.
The CHT problem isn't solved. It was running about 405 degrees F. During climb out it reached 455 degrees F at 1,000 feet. After about 45 minutes the oil temp had stabilized at 190 degrees F, OK, but corresponds to the CHT.
I had planned to leave the pattern and climb to about 3,000 feet. It was beautifully clear but fairly bumpy. Roger reported it was worse at 3,000 feet so I just stayed in the pattern. I got to fly for an hour.
I think I need a lighter wire for the fuel gauge. The float just barely holds it up. It doesn't take much of a bump to sink it. I replaced the old wire years ago so I don't know how thick the old wire was. This wire is 0.092" diameter. I think a piece of 0.063" piano wire should work fine and make a significant reduction in weight. My math says I'll lighten it by .29 ounces or about 8 grams. The float and wires weigh about 31 grams so it should help. I have a coil of 0.063" piano wire but I'd rather work with a straight piece of wire.
Spring and warm air are on the way.
Saturday, January 2, 2021
New Ladder For Refueling - Flew For 1/2 Hour
Everything cooperated today and I got to fly for a half hour on a warm sunny afternoon. The motor ran fine, about 20 degrees cooler, not what I had hoped but better. My next plan is to start trimming the outlet skirt shorter in 1/2" increments. Take off 1/2", fly it and repeat as needed until it's as cool as I would like or starts getting hotter. My theory is that it's so long we're getting flow curling off it and blocking flow out. We'll see.
I also got to try out the new ladder my son Wade and his wife Melanie got me for Christmas. Now I can see in the filler neck so I don't overfill it so easily. It's the right height, has a good hand hold, and has wheels for easy moving around, cool. All fueled up ready for the next nice day.Sunday, August 9, 2020
Motor Runs - Taxied Around
I put some yellow and red heat shrink tubing on the gas gauge wire so I can tell if I'm too low on fuel to be taking off. I left a gap equal to the width of the stripes so the gauge could go lower while flying if needed to land somewhere. It turns out it still goes into the cap fine even with the stripes added.
The motor started on the first pull with 2 shots of primer. Oil pressure came up before I could get around the wing to check it. Priming the pump probably helped after so many years setting.
Fred Rollins took a short video as I started to taxi.
The brakes work fine and it felt so good to taxi it around.
There was one problem the right magneto has a bad miss. It sounds like I switched two lead wires on the distributor cap. I'll work on it this evening when the engine has cooled. Right now I'm delighted to have it running.
Friday, August 7, 2020
Fuel Flow Test
The new EAA Flight Test Manual suggests determining the minimum fuel needed to assure safe flight in a full power climb. They had a good webinar on this back in February, 2013. They recommend flow at 150% of full power with the plane climbing at a 25 degree angle. For the Continental C-85 that means you need flow at 12.2 Gallons Per Hour or 26.1 ounces per minute. The climb angle part of this is to determine how much fuel needs to be in the tank so that the head pressure of that much fuel will cause flow at this rate.
The next step was to create a level base for my beaker. I wanted the outlet of the funnel close to the top of the beaker so the breeze wouldn't cause any mess.
I started with a full tank and the plane in the 3 point attitude. I wanted to know the system flowed well before experimenting with less fuel and a steeper angles.
With a full tank I flowed 31.4 ounces of fuel in 47.37 seconds. That works out to 18.64 Gal/Hr, well above the 150% goal. At least we have good flow with a full tank.
In the three point attitude the tank will completely empty, which was my goal for assuring any water in the tank would flow to the gascolator. With just 2 quarts above empty it only flowed 8 ounces of fuel in 1 minute, which is only 3.75 GPH. That's way below our safe flight 12.2 GPH.
The next step was to increase the fuselage angle toward the 25 degree climb angle. We have 7 degrees in the 3 point attitude so we need another 18 degrees to get to 25. We know that the Sine of our 18 degree angle is the length of the opposite side of a right triangle divided by the hypotenuse. I know, it's trigonometry. If we lift the mains with the tail wheel on the ground the distance we lift them is the opposite side and the distance between the mains and tail wheel ( 169.875") is the hypotenuse. Ah the joys of a calculator, we need to raise the mains 52.5 inches to add 18 degrees. Ouch, that's not easy. For now I put the mains up on the trailer, which got us to 14.5 degrees, total angle. We'll fly with a full tank until I can measure the max climb angle Fly Baby actually will do.
The result is we get to the 150% flow rate with 5.6 gallons in the tank. I'm going to mark the fuel gauge wire, so when the plane is on the ground you can see that there are more than 6 gallons in the tank. This leaves 9 gallons of usable fuel. At some point I'll probably redesign the tank to eliminate the unusable fuel. For now I'll live with what we have. I expect the original 12 gallon CUB tank would have had about the same amount of usable fuel if we had done this test back in the 60's.
Clearly you could push flying past the 5.6 gallon minimum in level flight, but I like the idea of having enough fuel to make a safe go around if needed when landing. I never ran the old tank this low so it's not a big change, I'm just smarter now.
A good project.
Wednesday, October 26, 2016
Gas Tank Straps
In order to get the fuel outlet fitting pointed in the correct direction and properly tight, I needed to tap the outlet fitting about 3/4 of a turn deeper. This left some metal shavings in the tank so I had to open the access to get it all out. Removing the RTV was a pain. In the old tank I used a cork gasket 1/8" thick. I decided to use the same material on the assumption it would be easier to cut loose if I need to get back in again. This also meant another leak test.
I decided I would rather support the tank with some straps since I had used a weaker aluminum to make the tank. Because of the sump I needed the straps at the outer edges. To make sure they couldn't move off the tank I decided to make them from one piece of aluminum with some lightening holes. I used 2024-T3 aluminum 0.032" thick. With the main straps 2" wide they have the same cross section area as a piece 1/4" square. The aluminum has a yield strength of 50,000 psi so each strap can hold over 3000 pounds.
I made a pattern from card stock and used it to make the support strap blank.
The pattern was fitted to the tank and the fuselage so I could use the bolts which hold the support blocks to attach this strap and eventually the top straps.
The finished pattern ready to transfer the shape to the aluminum sheet.
For the curved corners on the bottom sides of the tank I used the Shop Smith tubes again. The strap was clamped on and bent down with a block of wood and a mallet.
They fit nicely in the corners.
With the ends bent I added a flange around the sump opening so there would not be a sharp edge touching the tank and potentially causing a crack in the tank.
I glued some felt to the strap to prevent chaffing.
The corner on the first side was bent to fit on the top longeron The bolt holes were punched and the strap bolted in position.
I wanted to position the bend, on the other side of the fuselage, so the tank would set on the strap, not on the ends of the tank. I put some rubber spacers on the corners above the support blocks to lift the tank slightly, then strapped the tank back down.
I pulled the strap tight and marked the bend. It turns out I didn't get it tight and had to add some stiff felt under the tank to lift the it slightly off the support blocks. I probably would have done better to use the bend lines from my pattern. In the end it all fits well.
To mark the bolt holes I used a ratchet strap to hold the support strap down tight and center punched the holes from inside the fuselage with a duplicating punch.
For the top, hold down, straps I reused the idea and the bearing blocks form the old tank straps.
I cut 1 1/2" wide strips of 0.032" 2024-T3 aluminum. I don't have a 4' wide shear so I used the straight edge and Plexiglas cutter like I did for the cowling panels. I wanted the joint on the straps to be on the side of the fuselage, however 48" didn't give me enough length to fold the end over for the bearing block. To solve this I made separate pieces riveted onto the long straps.
I bolted the strap piece onto the bearing block and formed the bend around it.
With the strap end and block clamped in the vice I used the sheet metal pliers to form the bends so the bolt is in line with the strap.
I used the same process to make the short ends of the straps.
I used one of the end pieces, before I bent it, as a pattern to layout the rivet holes on the long straps. I held them on edge to align them while punching the rivet holes.
Once the holes were punched the end was trimmed to length.
Before riveting everything together I did one more fit check on the fuselage.
All the aluminum pieces were Alodined and then riveted together.
The straps were bolted in place and the tank pulled down tight with a ratchet strap.
I found a problem when I went to tighten connector bolts. I made the openings 5/8" wide and the bearing blocks from 1/2" rod. It was very hard to get the wrench on or off the nuts and bolts. I should have made the opening 11/16" wide and the bearings from 5/8" or even 3/4" rod. In the end I got the bolts tight.
The gas line is installed. When I get the last things hooked up on the engine I can run the engine.
I like the result.