Tuesday, December 27, 2011

Tail Surfaces - Summer 1964

 Dennis: We started building the tail surfaces with the rudder bow. Strips of spruce were sawed 1/8" wide to laminate into the curved trailing edge.  The shape was drawn on the table and covered with waxed paper.  Nails were driven into the table about every 2" - 3" to bend the strips around.  The hardest part was that you need to quickly get glue on both sides of all the pieces so you can clamp it all together to dry.  We did this by spreading glue on one side of each strip with it laying on the table. Then make a stack of strips adding glue to the second side of the strip on top of the stack.  When the stack is all glued put a clamp on one end and then lay the stack on it's side as you bend it to shape.  It's a bit messy and easiest done with 2 people.  At least today we have latex gloves to wear doing such messy jobs.
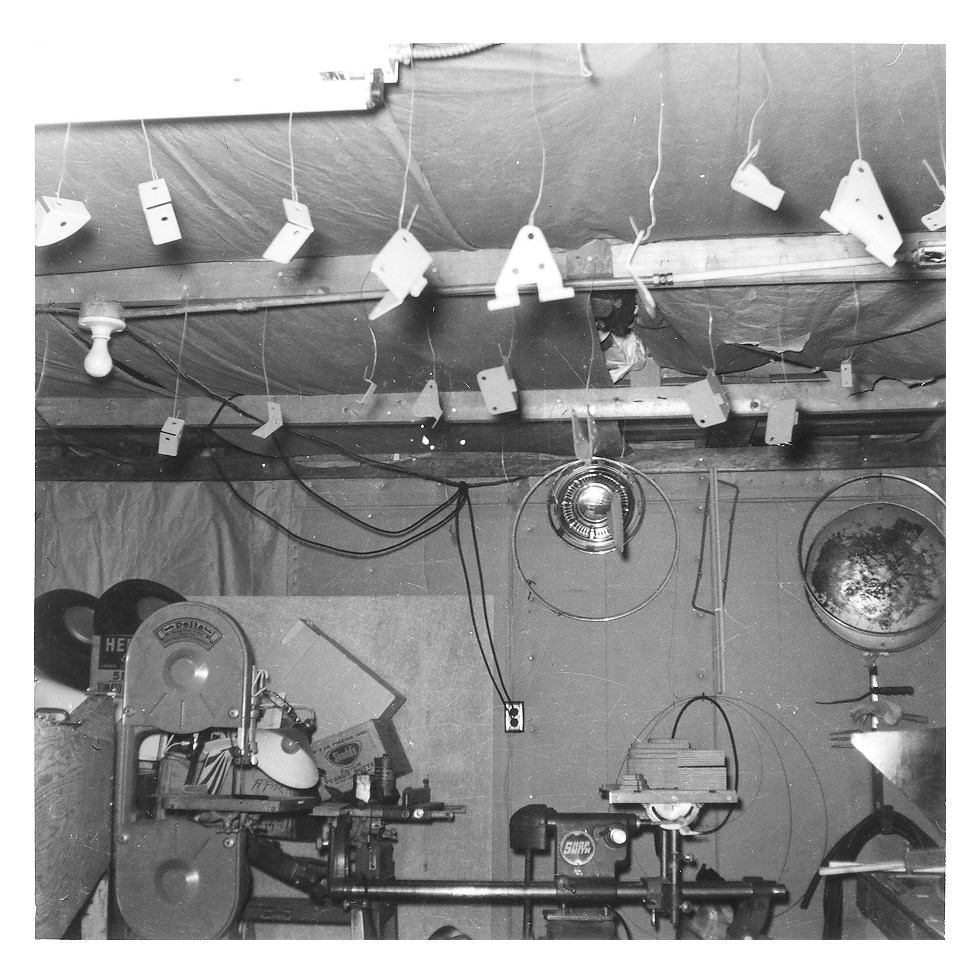
 The ribs and spar are made from pieces of 1/8" plywood with spruce sticks glued and nailed to them.  All of the sticks were cut with the planer blade on the Shop Smith.  It was 2 years before Bill got his nifty machine back.  The Shop Smith is a worthy investment if you're building an airplane, you can even cut a lot of metal with one.  They are also available used for good prices.  We had to leave closed up pieces like the box spars for the tail open until an inspector had checked to make sure they were properly varnished.  Then we could add the second side of plywood.  They were pretty good about showing up.  I think the feds had an office at Bishop airport.
 The elevators were built the same as the rudders. Carving the laminated trailing edge to a streamlined shape is easier with a disk or belt sander starting with a very coarse grit like 24 or 36. Be sure to use a dust mask.
On the inboard end of the elevators there is some structure where the elevator attaches to the control bell crank.
The structure of the Horizontal Stabilizers is built like the fin on the fuselage, a box beam main spar and a diagonal spar made of a piece of 1/8" plywood and 2 sticks glued to it in a sort-of "C" section.
The finished woodwork for one side.
The stabilizers are attached to the fuselage with some "C" shaped fittings at the root and brace wires.  The wooden block in front of the front spar is for a pin to hold the wing when it is folded.

The hinges are just folded pieces of steel forming an open "C" shape with the back of the "C" bolted to the spar.  The pivot bolt goes through the top and bottom of the "C".  Alignment of these pins is important to the surfaces moving freely.  With all I've learned about matched hole construction and bending metal since we did this, it would be easy to get them aligned.  We had them so the surfaces moved and the plane flies just fine.

Some care was needed to get the 2 side so the hinges were all on a line with all the rigging installed.  Pete gives some simple methods for this.


We Nico-pressed all the cable ends, generally with 2 Nico-press sleeves.
Once everything was done structurally the leading edge aluminum was nailed on.  More time with pliers and a tack hammer.  That's one of the tack hammers we made in 7th grade metal shop class.  I still use mine.
Ready to Cover.

On the Gear - Summer 1964

Dennis: The assembled fuselage was nice but a bit of a pain to keep moving around.  It took 2 people to lift it and move it around.  The landing gear was clearly needed.  We didn't know how to weld so help was needed.  A fellow who was a welder at Buick tried to weld them but it was quickly apparent he did not know how to weld this stuff.  I think Ray Shelby finally welded the the parts for us.  It involved welding some thick walled tubing onto some .095" steel fittings.  The parts came out fine and after painting were bolted to the gear and the fuselage.  Because we bought surplus bolts we used 3/8" bolts instead of 5/16".  It doesn't seem like a big difference but there are a lot of them and a few pounds of weight was added.
Once the lower fittings were bolted to the gear legs they could be drilled for the axle.  A hole saw was used.  It worked fine.  You just have to go slow and keep a firm grip on the gear legs.  Dad's brother Bruce is just visible in the picture on the left.  He must have been working or on his way home since he's wearing a suit and some fancy socks.  Bruce was a detective.  The other person behind the ShopSmith is Al McArthur.  He started building a Fly Baby after this but his wife eventually ended the project.  I think he cut it up and hauled it to the dump.
Ready for the axle.
Dad needed to make sure the the gear was on correctly.

The axle is welded to the plates on the gear legs and wire braced for a very rigid gear.  We originally used some 6.00x6 wheels and tires because we got them cheap.  After a couple hard landings it was decided to change to the recommended 8.00x4 wheels and tires.  The difference in shock absorption is worth the cost, they have gotten expensive.
OK, maybe we don't really need a picture of the bottom of the fuselage, but it was fun to do. Little brother Donald, Dad, and Wally. I think Diane is in the shadow to the right but I can't adjust the picture enough to make out who it is.
Really starting to look like an airplane.  You really get a sense for how small our house was with the plane in front of it.  It never seemed small, just home, a good home.

Finishing The Fuselage - Spring 1964

Dennis: With the display at Swartz Creek High School the Fly Baby never returned to the warm comfort of the basement.  The Fly Baby returned to the garage.  This limited our ability to glue in cold weather until we got an oil space heater.  To insulate the garage dad brought home some very heavy cardboard boxes which were used for refrigerators.  He worked part time at a warehouse for extra money, plane projects need lots of it, and one of the items was refrigerators.  The garage itself was recycled from a friend of his who wanted a bigger garage and let us have this one.  It was taken apart into panels and hauled home.  The concrete block wall was at the property line so the city required it for fire protection.  The 48" deep poured concrete foundation was hand dug mostly with a little fold up Army shovel from the surplus store.
At this point the basic fuselage structure is done, no varnish and no metal fittings for the gear, engine, etc.


The headrest and baggage compartment part of the turtle deck were next.  The frames are made of spruce and plywood like the fuselage.
The 2 bottom bowed pieces are laminated to allow the curve to match the bend in the fuselage.  The aluminum is from a place that made house trailers.  They bought it in rolls and ran it through a roller to form ridges for stiffness and looks.  It was cheap and didn't need painting.  It was also soft and easily damaged.  The front ends are held to the fuselage with wire bale luggage latches on each side stick.  The edging on the cockpit opening is garden hose split to slip over the edge.  The baggage door is locked with the same key as the '58 Chevy Wagon.


The pegs in the back are to attach it to the turtle deck former behind it on the fuselage.
Baggage compartment on the fuselage.  The cowling over the instrument panel is on, as well as the firewall extensions on the side of the fuselage.  These and the firewall were made from aluminum so we used a piece of asbestos behind the firewall.  At the time 4'x'8 sheets of 1/4" asbestos were used to side houses, very fire proof.  You can see it on Wally and Agnes' house next door. They put batten strips on at each stud to give it a board and batten look.  It was heavy for a fire wall but cheap and effective.  It eventually was replaced with galvanized steel.
There are 2 stringers about 1/2" wide x 2" tall laminated to the bottom of the fuselage.  Once the clamps were removed the stringers were planed down, tapering to about 1/4" at the tail.

Display At Swartz Creek High School

 Dennis: In the Spring of 1964 our local EAA Chapter (77) had a display at the Swartz Creek High School to promote EAA and home building airplanes.  It was in the area where they held shop classes so it worked out well.  Along with photos members project and literature about EAA there were items from 4 projects of our members a Benson Gyrocopter, our Fly Baby. a Corben Baby Ace and a Smith Miniplane.

This surplus drone engine is for the Benson Gyrocopter built by Roy Clifford.  He flew it as a GyroGlider in 1959 and then converted it o a GyroCopter.  There was a nice article on it on page 8 of the April 1962 issue of Sport Aviation.
Our Fly Baby about 2 months after starting.  The pictures of the planes were painted by someone at the High School.  They were really well done.  My dad still has ours.

Ray Shelby's Baby Ace.  He built this in a little house in the country.  I don't think anyone lived there it was just his workshop.  He eventually finished it and flew it a lot.  He even bought a second one about 20 years later because it was for sale so cheap and he liked his that much.
This is the Smith Miniplane being built by Leonard and Gayle Domorski.  As I recall they met through the Civil Air Patrol.  Bill Dawson who introduced my dad to EAA was also building one.  They had made a lot of changes, including the use of 125HP Lycoming GPU (Ground Power Unit) engines.  Because of all the changes they called this a D and D Special (Dawson and Domorski).  I don't think either plane ever flew.
Loading up to leave.
My dad with the plane, picture, and our big old '58 Chevy Station Wagon.  We hauled the engine for the plane back from south of Rantoul, Illinois (Andy Anderson).  We then went back and returned with a Cub fuselage for Gene Tanner.  I rode in the back between the fuselage tubes for about 8 hours, lucky no one hit us.  The Cub was finally finished a few years ago.  Some projects just take a long time.

Gear Legs - March 1964


Dennis:  The gear legs are made with 4 layers of fir glued and clamped together.  The boards are wider than the gear legs and the final shape is cut out with the band saw.  The boards need to fit together snugly at the joint.  It takes a lot of clamps and a couple 4" wide boards to clamp all this together while it dries.  The final shape is laid out on the legs and cut out with the band saw.  The edges of the legs are rounded to form a somewhat streamlined shape using files, etc.  It's an incredibly strong landing gear.


Friday, December 23, 2011

The Fun is in the Doin'


 If you've read my (Cessna 140 or WACO NINE) postings for a while you've probably noticed I'm not very orderly in working through the project from start to finish.  I tend to work on what ever I have parts, materials, tools ,or ideas for at the time.  When I helped my dad build the Fly Baby back in the 60s we were very methodical.  Pete Bowers wrote the plans/manual as a set of step by step instructions.  You start on page one of a chapter and just check off each task as you go.  When every item is checked off you have an airplane, actually a very cool airplane.

As much fun as it was working with my dad on the magic of building that plane you would think I would be more orderly in my current projects.  I'm not because what I learned from that process was that each little item was a project in and of it's self.  Each had it's own knowledge required, it's own materials, tools and methods.  To some extent it didn't matter so much the order things were done as it did that each was done.

By focusing on each small task, enjoying it, and taking pride and satisfaction in it's completion building an airplane is very easy, a lot of fun, and rewarding.  Finishing and flying the airplane was great but just one more little task or adventure just as each flight in it has been since.

By enjoying each saw cut, each hole drilled, each tool made, each little assembly, each flight for all the joy it contains, the Fun really is in the Doin' Not Just in Being Done.

Merry Christmas and a Fun New Year!

Wednesday, May 4, 2011

Time Flys

I hadn't realized how much time has passed since I started putting up the pictures from building the plane.  I've been busy on the Cessna 140 and WACO NINE.  I have lots of good stuff done on the improved landing gear, instrument panel, fuel tank, firewall and cowling for the Fly Baby.  The busy summer season is now upon me and it will clearly be fall before I get much more posted.  I still plan to post the building pictures before catching up on all the newer work.

Later,