Sunday, August 14, 2016

Fabricating The New Gas Tank


 Plywood form blocks were made for the end plates.  I bought a piece of 1/2" hardwood plywood for the actual form blocks and used some scrap 1/2" plywood for the backing blocks.  The form blocks have a 1/16" radius on the bend corner.  I used the belt sander to put a 5 degree spring back relief angle on the edge.

The blocks are made undersized to allow for the end plate thickness, in this case 0.040" thick.

 I did all of this twice.  I started with a plan to use 0.040" 5052-H32 aluminum but could never get good at welding it.  I still think I can learn to weld it.  I finally gave up and remade everything with 0.040" 3003-H14 aluminum.  The guys making cool aluminum bodies use 3003 because it's easy to work with.

I put a 1/2" lip on the plates even though I don't want that wide of a lip for welding, you'll see later.  To lay it out I just used a pencil and a buffing pad from my Dremel Tool.  It was quick and it worked.  I found I only wanted a 1/4" lip at the 2 tips so I used a smaller pad there when I made the parts the second time.

 The aluminum gets clamped between the 2 blocks so it's centered well.  The aluminum is soft enough it doesn't take a lot of clamps.  The backing block allows you to form a nice tight square bend.

 As you start forming the aluminum with a rubber mallet it gets quite wrinkled.  Just form the wrinkles into fairly distinct wrinkles and then hammer them down with a plastic or wood mallet.  You're shrinking the aluminum to form a smooth flange.

The rubber mallet works great on the inside bends at the 2 bottom corners.


 I probably could have used a slightly flatter spring back angle since the aluminum had a fairly tight grip on the block.  It did come off without bending it.  At the same time, I would rather have it over bent slightly then under bent so the skin fits tightly when trimmed for welding.

 The skin pattern was used to layout the skin.  I made the seam offset to one side to allow an access panel at the filler neck.  I reused the panel I made for the old tank.  It worked well to allow access if you needed to repair a leak, etc.

Because the top is sloped to fit the cowling there is some curve to the edges of the skin.

 I try to avoid using tools for their intended purpose.  I'm bending the end curves around the tubes on the ShopSmith.  It worked perfect.


 The skin is clamped to the end plates with straps so that holes can be punched to Cleco clamp the parts together.
 I don't plan to rivet the thank together.  The Clecos are just to hold it together while I tack weld it.  I plan to nibble away the aluminum between the Clecos.  Then I'll tack weld between the tabs with the Clecos.  Once it's all tacked I'll snip off the tabs and put a tack weld where each tab was.  I don't know how else to hold it all aligned while tacking it without a jig.  The straps held because there was a wide flange.  If the flange ended at the corner radius I don't think the straps would hold it as you tack weld.  There are a lot of odd forces as you heat each spot to tack it.  It really wants to bend and twist.

It's looking like a tank.


 Even though the bottom is curved I want a sump to help assure water find its way to the drain.

I made a form block and hammered a shallow sump.

The next problem was how to make a fanged hole for the drain fitting.  The flange will get welded to the flange on the fitting.

 I discovered one of my ball peen hammers was the exact same diameter as the fitting.  I sawed a hole in a piece of particle board.  Amazingly the hole saw was the exact size to allow clearance for the 0.040" aluminum flange.

I sawed a hole in the aluminum to allow about a 1/8" flange and just pounded the hammer into the form block with a mallet, awesome.


 The fitting fits perfect with just enough flange to easily weld the fitting to the tank.

 The next problem was how to locate the hole in the tank bottom so the flange would be the same height all the way around.

I drew a circle on the aluminum to use for aligning the hammer.

For the form block I cut out a piece of foam rubber to fit the hole and drew a circle on it concentric with the form hole.

 With the foam in the block you just position the aluminum so the circles are aligned.

 Align the hammer with the circle on the aluminum and give it one quick wack with a sledge hammer.  I probably could have used the mallet but I wanted to be sure I did this in one blow.

It worked perfect.

 The fitting is in tightly and ready to weld.

The last thing was to shape the old access panel so the filler was close to vertical and so the curve matches this tank.  There is a ring on the bottom of the panel with nut plates riveted on and a ring that sets on top of the tank to clamp everything for a tight seal.

I think it's time to weld the tank.

Saturday, August 13, 2016

Designing A New Gas Tank

I started this in 2008, I know, I'm very slow.  I also lost some pictures.  I think they were on a hard drive which died and some how missed all my backups.
The old fuel tank held 18 gallons which was great for cross country flights.  I don't care about pushing quite that far on a tank of gas so I'm working on a smaller tank to solve the 3 problems with the old tank.
The filler neck of the tank didn't clear the cowling so it sat in a bowl with a drain.  If the drain plugged, as all drains do, water ran in around the gas cap.
The flat bottom on the old tank allowed 16 ounces of water to be in the tank and undetectable on the ground but get into the drain in flight.  It always seems to take more than one problem to cause a disaster.
The flat bottom also limited space for my size 14 feet.  Pete originally designed the plane for a 12 gallon CUB tank, which gave plenty of foot room.  Any capacity over 12 gallons will be great.  My math says it should be 14.38 gallons.

Because of the lost pictures, you'll have to imagine a little.  I took 2 pieces of cardboard and taped a box between them to define the front and back of the tank.  Picture a square spool with 2 wide flat ends.  I put this in the plane with my biggest pair of boots strapped to the rudder pedals.  I then drew the bottom of the tank to clear my boots.  The top was drawn to leave a little clearance between the tank and cowling.  I didn't want much clearance because I wanted the filler neck to stick out properly.
The ends were trimmed to shape and some poster board was taped on to form a pattern for the outer wrap.

The idea was to hang it from some straps like the CUB tank so the bottom had to be parallel to the top longerons on the fuselage.

 The length was limited by the firewall and the need for clearance behind the instruments for connecting all the lines and cables.

You can see how the top tapers to follow the slope of the cowling. The filler neck will be at the aft, highest, end of the tank.

 Here is the finished mock up.  The square holes in the end plate were cut to help tape the ends securely to the box between them.

I decided to reshape the tank sides slightly to increase it's size and to let it rest on some supports on each side of the fuselage.

 The supports were made form 3/4" plywood so they could set on the old tank supports.  These new supports get bolted to the sides with the bolts which hold the straps clamping the tank down.

 The supports set slightly above the longerons so the weight is on the old tank supports, not the upper longerons.

There are some blocks glued on the back which actually set on the old supports and, at the top, hold the block parallel to the fuselage sides.


 The support on the left also made a great place to attach all the engine controls a, wires, etc.

Everything worked out well to be able to continue using our old Army surplus throttle quadrant.


Monday, July 11, 2016

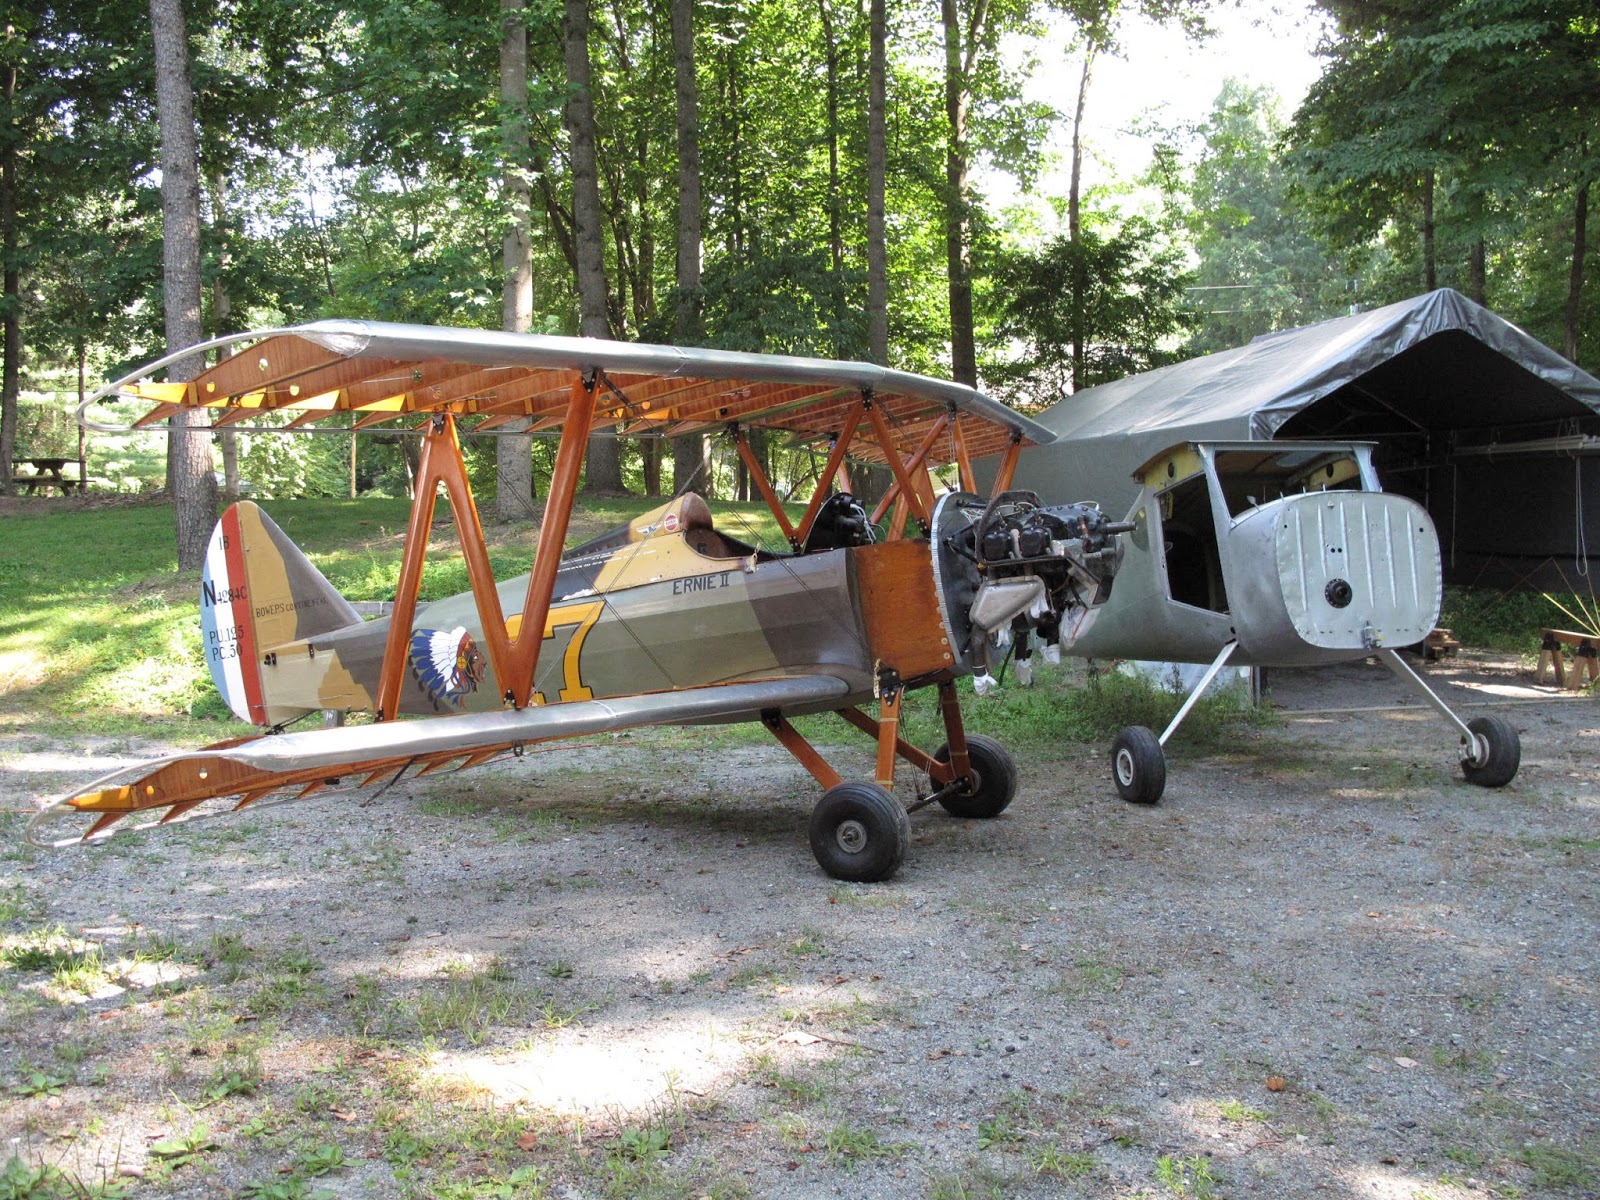
Wings Mounted and Rigged to Check the Fit Before Covering the Wings


 With the center section mounted I leveled the fuselage Fore and Aft, and Side to Side.  A precision level sure makes it easy.

With the fuselage level the center section brace wires were tightened to center the section above the fuselage.  A plum bob allows you to get it very close to center.


 The lower wings go on first.  Support a panel while installing the landing wires and root bolts.

When I took the plane apart I only loosened the landing wires so that pulling them back tight after everything is installed pulls the wings back into rig.

 With the lower wings installed the upper panels bolt to the center section and each gets supported by the interplane strut. You need an assistant to hold the wing tip.  The root sets in the attachment brackets.  I got this far and could find some of the fittings for the LH wing.  We gave up for the night.

I tagged and bagged the fittings at each joint as I disassembles them so I knew they weren't lost.  

 I found the fittings the next morning but Patricia wasn't available to hold the wing.  Fortunately the upper panels are very light.  A ladder, some boxes and bungee cords worked fine.  Fortunately I didn't need to wiggle the wing to get the bolts in or this wouldn't have worked.

 When I went to install the front flying wires I realized I had the left wires on the right, etc.  The bolts for the fitting also hold the fitting for the landing gear brace wires.  I had already tightened and safety wired the turnbuckles and didn't want to do it again.  I realized that if I put a jack under the center of the axle I could flex it up enough to slacken the brace wires and get the bolts out.  Quick and simple, they were removed and correctly installed.

 With the wings on and all the rigging tight we carefully measured all the brace wires so I can make new ones.  After 40 years some of them are starting to rust.

It was good for morale to see it looking like a plane again.  I face time with Dad as I get things done so he can keep up with progress and ask questions easier than just reading these postings.

It took about 15 minutes to get the wings back off.  It's time to start working on the fabric, and a million little things still to be done.


Thursday, July 7, 2016

Grandkids Help Put on Wing Center Section

Rowan and Duncan went with me to the WACO fly-in and then spent a couple weeks with us.  It was hot and humid but we managed to get the wing center section mounted.  There were a couple straps which support the brace wires for the center which I forgot to install before bolting on the engine.  We managed to hoist the engine enough to carefully remove the 2 top mount bolts at the firewall, install each strap and get each bolt back in.  It gave them a chance to install a cotter pin and use some wrenches.

 Once those were installed we mounted the Cabane struts and the center section.  We learned that Cabane is the French word for hut, think Cabana.  The center section and struts form a cage or hut which is why we call the support struts Cabane Struts.

They also got to learn about AN bolt sizes and numbering.  We had wanted to put the wings on but ran out of time especially with 2 days of rain.  We did have fun though.