Sunday, August 23, 2020

Spark Plugs, Rain, Tie Down for Starting Motor, Throttle Cable and Brake Problems


I couldn't find a reason for the miss with the RH Magneto so I replaced the spark plugs with new Champion REM40E plugs.  I also replaced the plug leads with new wires from Fresno Air Parts.  I had one wire which, in the past, had rubbed through the insulation against the cowl bump so I wanted to change them anyway.  Th new ones have elbows to help protect against chafing.

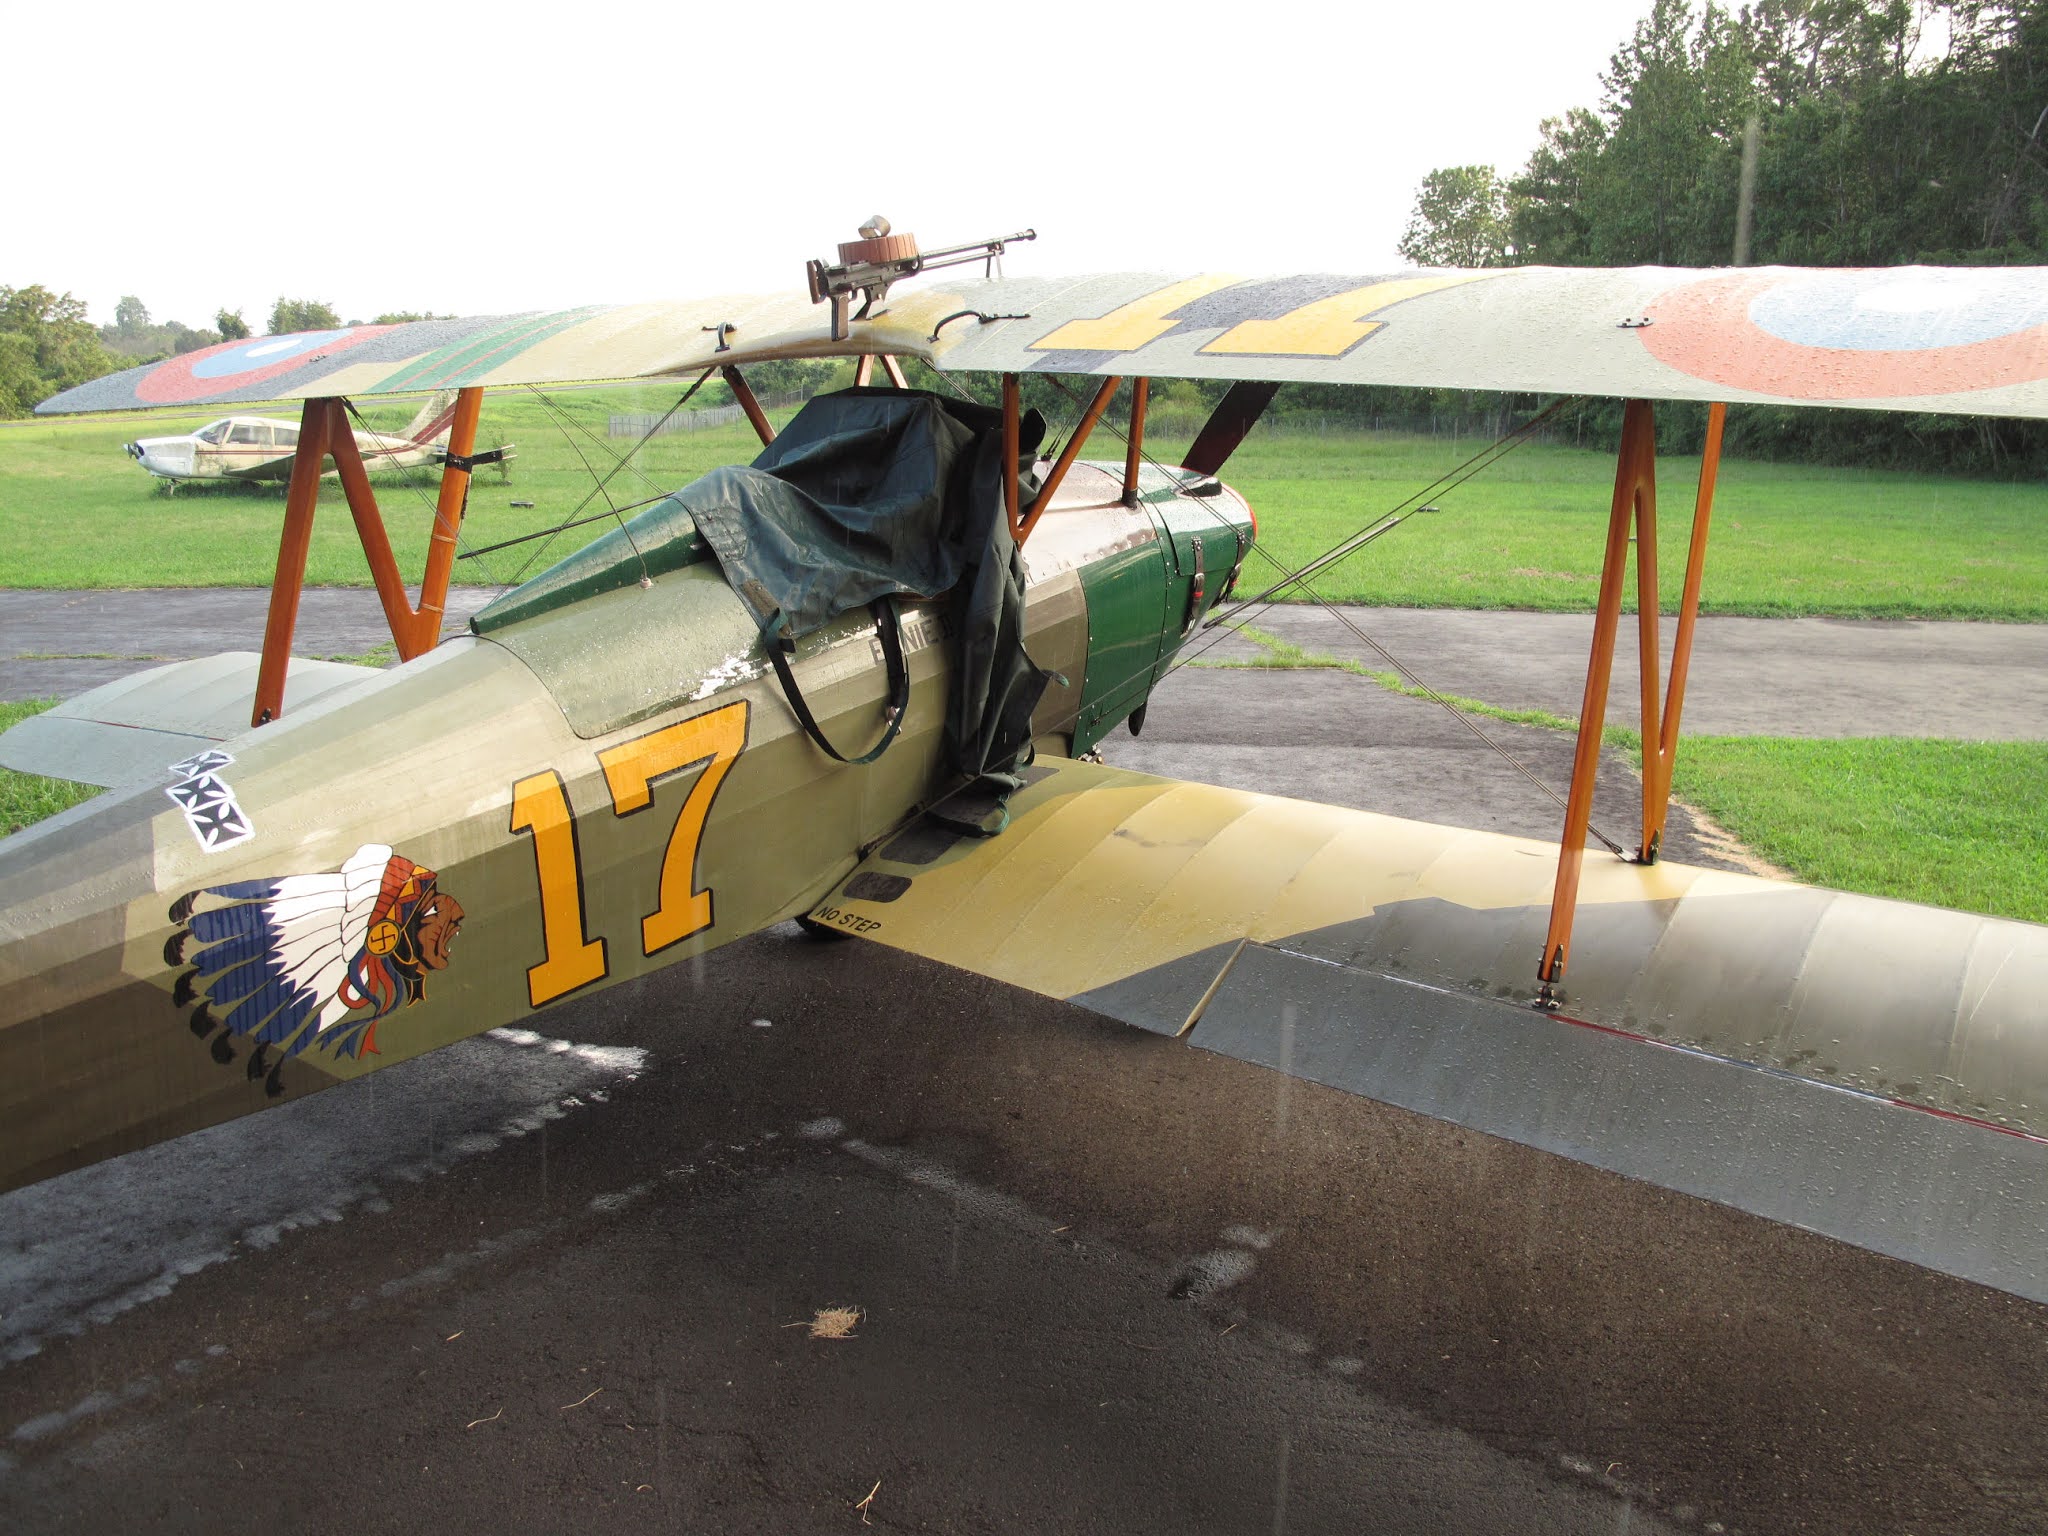
As I got ready to run the motor the rain started so I quickly covered the cockpit.

You can see the wheels are chocked with ropes that allow pulling both chocks as one.

The tail is tied to a piece of rebar which goes into a tube in the ground and through an eye bolt in the hangar door.  The guy before me install them for his plane.

I made a 1/2" rope, about 5 feet long, with eyes spliced at each end.  I used 3/8" eyes because they fit the rope better.  The wrap at the end of the tucks is heat shrink tubing.  The forward end hooks to the cockpit operated tow hook.  Start the motor, pull the chocks, climb in, buckle up, and release the hook and you're ready to taxi.


Fortunately I did some more taxiing and found my foot was catching the throttle cable and reducing power, not good.  I've added some more cable ties so it's tight to the fuel line and my foot can't snag it.

When I came back the next day I found brake fluid leaked on the floor from the Left Brake.  The old bladder had sprung a leak.  I need to find a good cheap bladder or replace the brakes, big $$.

O yeah! I still have the magneto miss.

Sunday, August 9, 2020

Motor Runs - Taxied Around


I put some yellow and red heat shrink tubing on the gas gauge wire so I can tell if I'm too low on fuel to be taking off.  I left a gap equal to the width of the stripes so the gauge could go lower while flying if needed to land somewhere.  It turns out it still goes into the cap fine even with the stripes added.

The motor started on the first pull with 2 shots of primer.  Oil pressure came up before I could get around the wing to check it.  Priming the pump probably helped after so many years setting.

Fred Rollins took a short video as I started to taxi.


The brakes work fine and it felt so good to taxi it around.


There was one problem the right magneto has a bad miss.  It sounds like I switched two lead wires on the distributor cap.  I'll work on it this evening when the engine has cooled.  Right now I'm delighted to have it running.

Friday, August 7, 2020

Fuel Flow Test

 The new EAA Flight Test Manual suggests determining the minimum fuel needed to assure safe flight in a full power climb.  They had a good webinar on this back in February, 2013.  They recommend flow at 150% of full power with the plane climbing at a 25 degree angle.  For the Continental C-85 that means you need flow at 12.2 Gallons Per Hour or 26.1 ounces per minute.  The climb angle part of this is to determine how much fuel needs to be in the tank so that the head pressure of that much fuel will cause flow at this rate.


The first part is to measure the flow rate to the Carburetor.  The recommended procedure is to disconnect the fuel line to the carburetor and capture the fuel flowing from the hose in a container.  That would be a great plan but I spent all this time fire proofing that hose and undoing it is more trouble than I want.  

When I did the annual Condition Inspection I had to remove the filter screen in the carburetor and remove the drain plug from the float bowl.  This gave me the idea of using the drain plug hole for the fuel exit.  I also like the idea of knowing the flow rate I'm measuring is what really gets into the carburetor.  I tried putting in a tube fitting in place of the plug, but it's not possible without removing the carb. heat box.  

Instead I used a funnel to catch the flow from the hole.  It worked well, but I had to use a bead of RTV to seal it to the bottom of the carb.  This prevented a small amount of dripping from the back corner of the carburetor.  I put the RTV on the funnel and then carefully positioned it to not get any in the drain hole.  It cleaned up well when we were done.

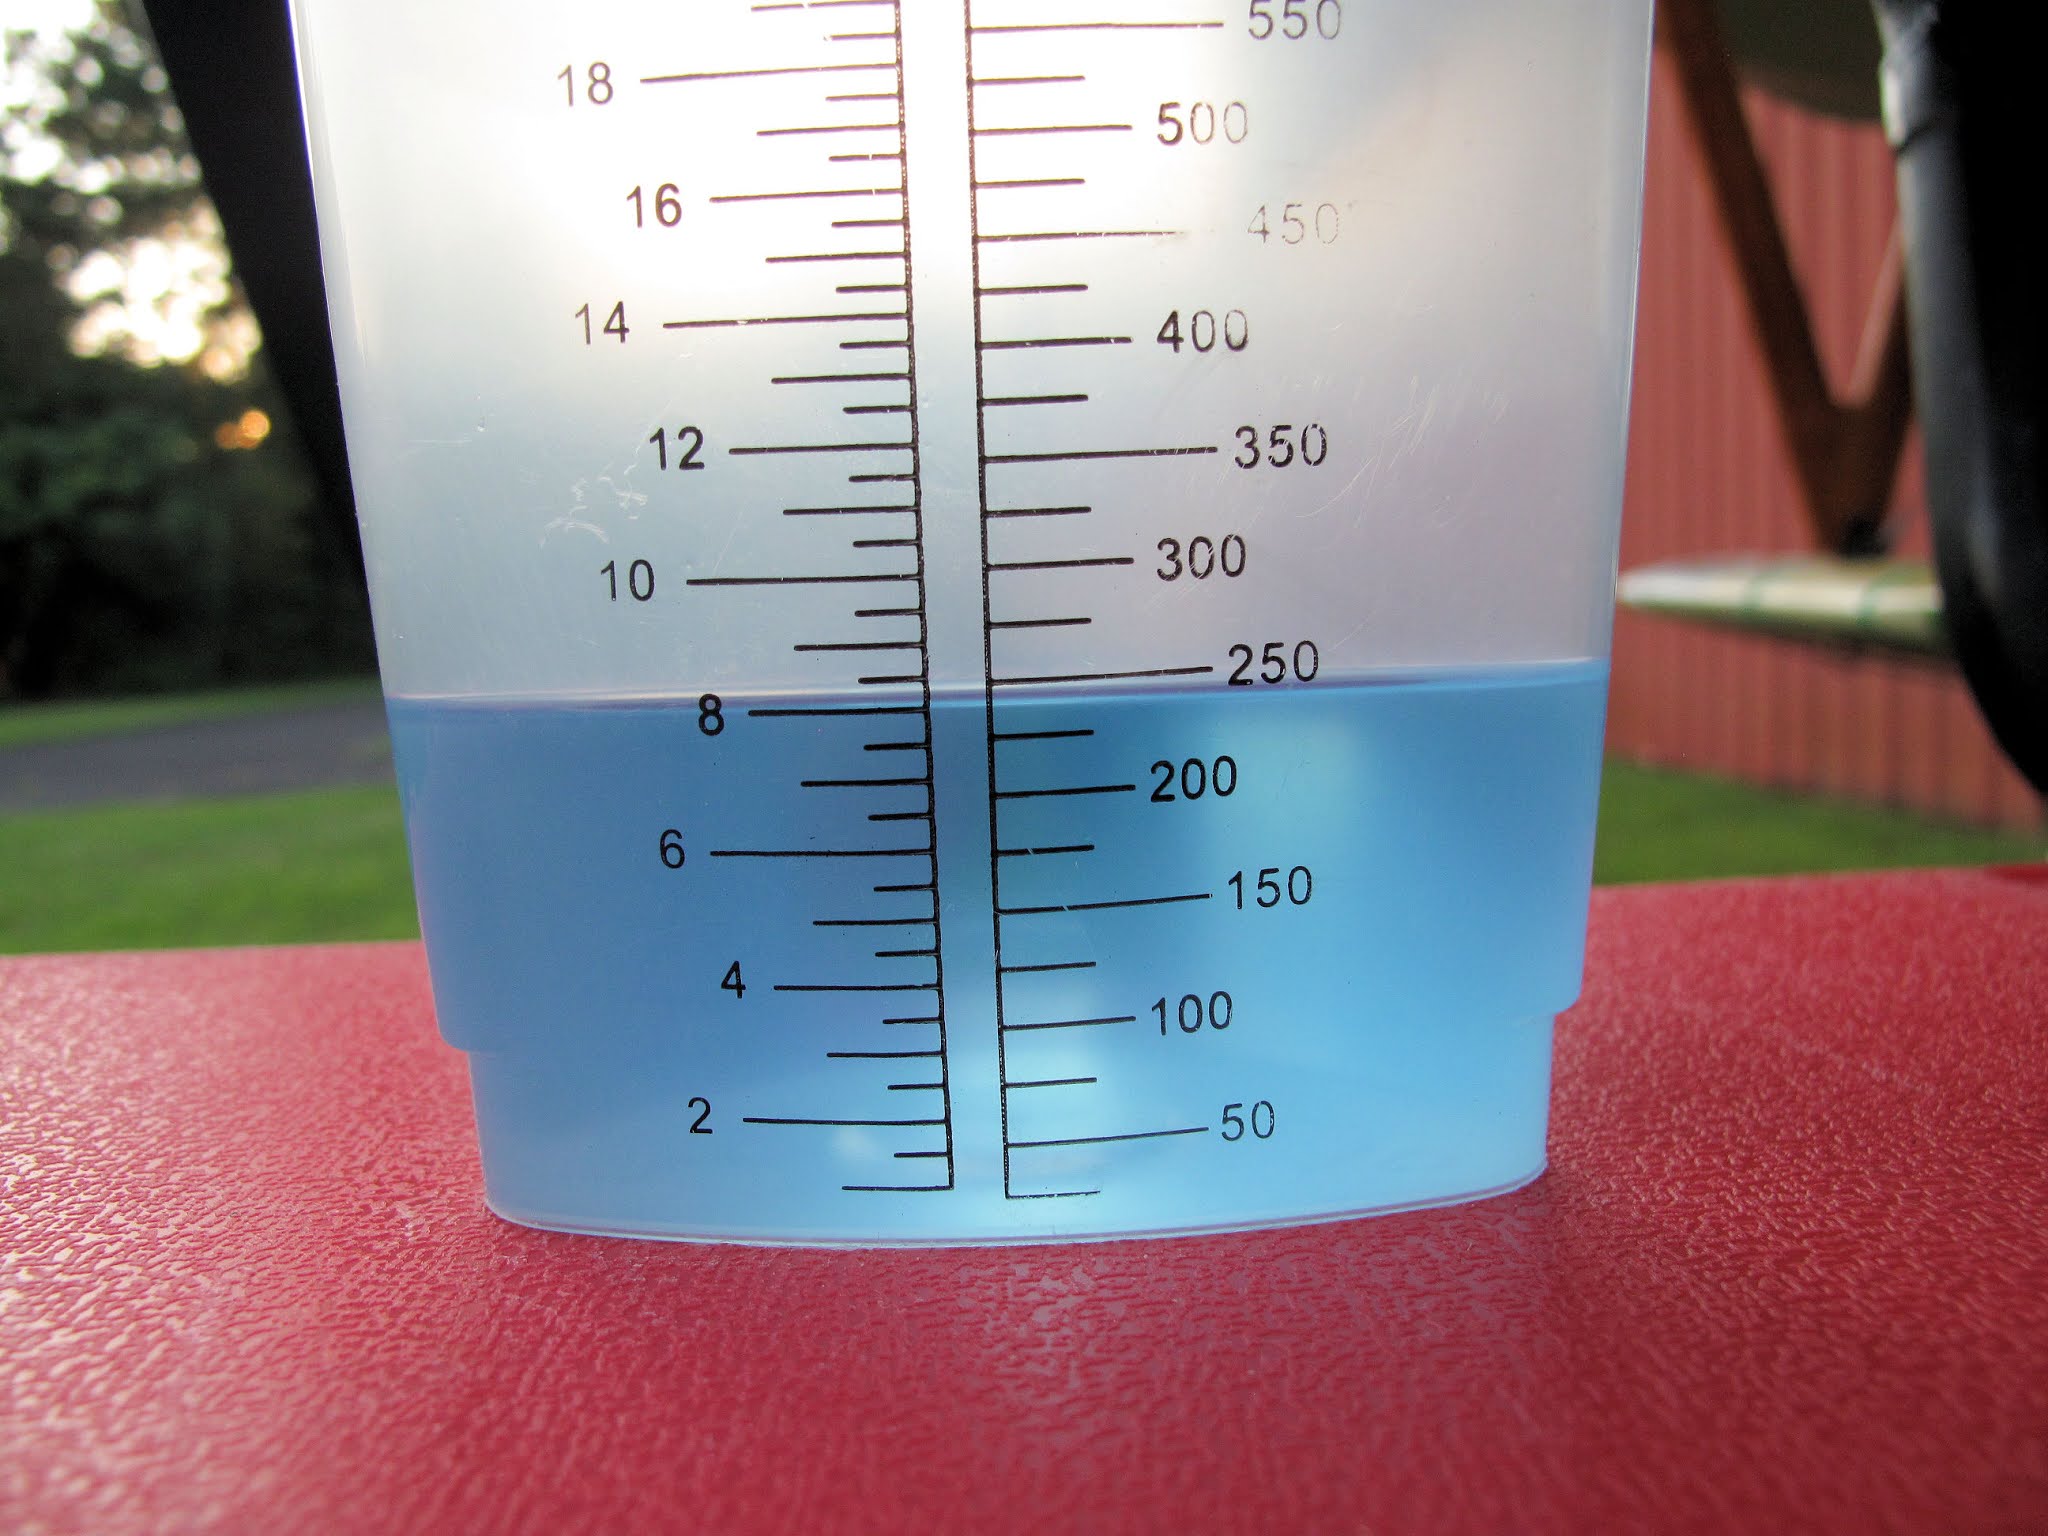
The next step was to create a level base for my beaker. I wanted the outlet of the funnel close to the top of the beaker so the breeze wouldn't cause any mess.
I started with a full tank and the plane in the 3 point attitude.  I wanted to know the system flowed well before experimenting with less fuel and a steeper angles.

The process is simple, just open the fuel valve, capture the flow in the beaker, and time how long the valve is open.

I put the beaker in a small tote just in case I didn't shut the valve off in time.

With a full tank I flowed 31.4 ounces of fuel in 47.37 seconds.  That works out to 18.64 Gal/Hr, well above the 150% goal.  At least we have good flow with a full tank.

In the 3 point attitude we have acceptable flow down to 3 gallons remaining in the tank.

In the three point attitude the tank will completely empty, which was my goal for assuring any water in the tank would flow to the gascolator.  With just 2 quarts above empty it only flowed 8 ounces of fuel in 1 minute, which is only 3.75 GPH.  That's way below our safe flight 12.2 GPH.
The next step was to increase the fuselage angle toward the 25 degree climb angle.  We have 7 degrees in the 3 point attitude so we need another 18 degrees to get to 25.  We know that the Sine of our 18 degree angle is the length of the opposite side of a right triangle divided by the hypotenuse.  I know, it's trigonometry. If we lift the mains with the tail wheel on the ground the distance we lift them is the opposite side and the distance between the mains and tail wheel ( 169.875") is the hypotenuse.  Ah the joys of a calculator, we need to raise the mains 52.5 inches to add 18 degrees.  Ouch, that's not easy.  For now I put the mains up on the trailer, which got us to 14.5 degrees, total angle.  We'll fly with a full tank until I can measure the max climb angle Fly Baby actually will do.

The process is now the same, open valve, catch fuel, measure time the valve is open.

We started with an empty tank and added fuel until we found how much was needed to just get fuel to flow.  With 2 gallons plus 3 quarts, fuel is just at the carb.

Then we added 1 gallon and measured the flow, 2 gallons, 3 gallons, etc.  We like data.

The result is we get to the 150% flow rate with 5.6 gallons in the tank.  I'm going to mark the fuel gauge wire, so when the plane is on the ground you can see that there are more than 6 gallons in the tank.  This leaves 9 gallons of usable fuel.  At some point I'll probably redesign the tank to eliminate the unusable fuel.  For now I'll live with what we have.  I expect the original 12 gallon CUB tank would have had about the same amount of usable fuel if we had done this test back in the 60's.

Clearly you could push flying past the 5.6 gallon minimum in level flight, but I like the idea of having enough fuel to make a safe go around if needed when landing.  I never ran the old tank this low so it's not a big change, I'm just smarter now.

A good project.

Thursday, August 6, 2020

Magnetos Reinstalled

The Eisemann magnetos have a timing indicator window in the distributor cap.  It works fine if the engine is off the plane but its hard to see in the tight space between the motor and firewall.  I prefer to hook up the timing light and use it to make sure I get the magneto gear positioned correctly as the magneto slides onto the mounting stud.

I've taken to making notes on the firewall to help with things like timing angles, spark plug gap and torque.  It's easier than looking them up each time.  In the engine compartment of my car I write the oil filter number and how many quarts to change the oil.  It's very easy to just pop the hood when I get to the car parts store.
The timing marks are on the propeller hub, but they're at the bottom where it's hard to see them.  I use painters tape to give me a nice line to sight with the split in the crankcase. It makes it so much easier.

The mags are back on and timed.  I've checked to see that they are producing a spark and I can see it's happening around the top of compression on each cylinder, which reinforces that all the wires are all hooked back up correctly.

I still want to verify the fuel flow before running the motor.

Thursday, July 30, 2020

Magnetos Repaired


 Without the manuals it's easy to mess up things you're working on.  I have both the service and parts manuals to help get things right.

I have a tube of magneto grease so while I had the mags off I repacked the bearings.  The grease in them was certainly over 40 years old.

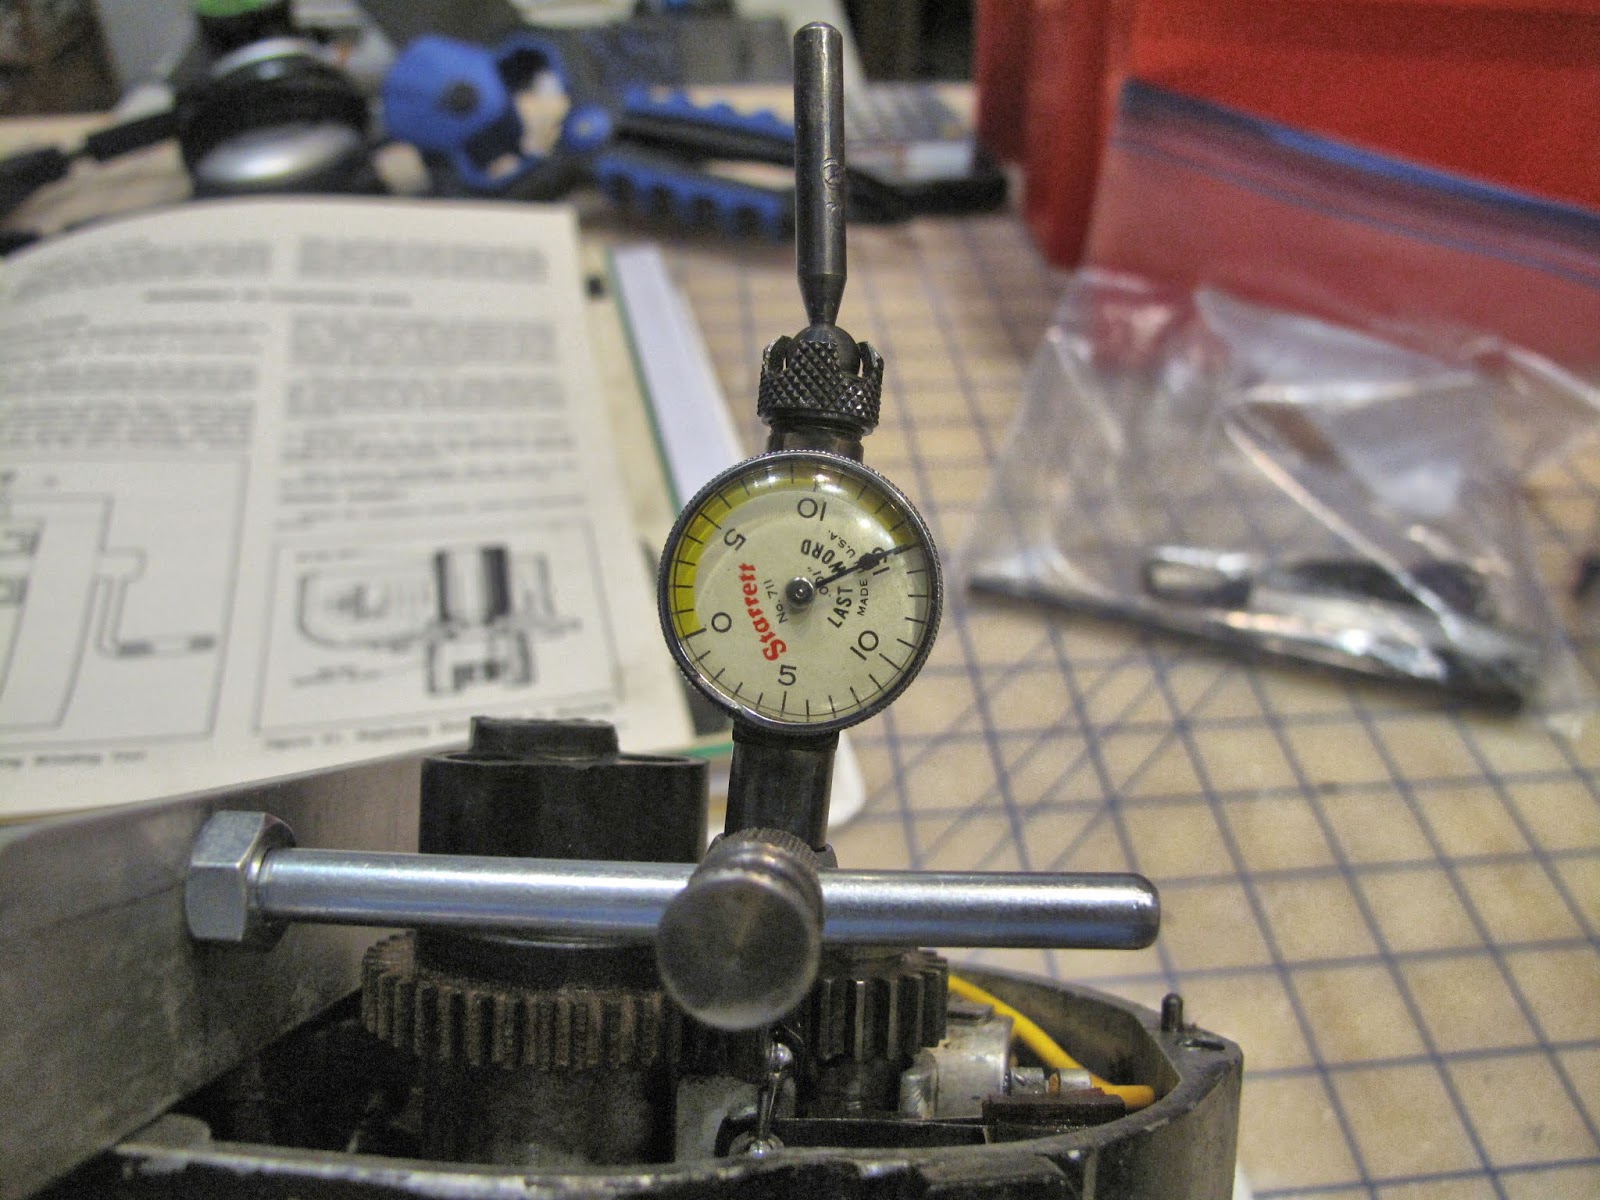
 On my Cabin WACO the 240 HP Continental motor had a distributor ignition system on one side which was notorious for the point gap being wrong.  Shortly after acquiring the plane the points weren't opening on a couple cam lobes.  Rather than set them with a feeler gauge, which had been done every 50 hours since 1941, I made a fixture to hold my wife's dial indicator.  There were 7 lobes on the cam so it was easy with the dial indicator to adjust the points so all the lobes were close to spec.  It worked great and when I sold the plane 350 hours later the points were still working fine. 

I used the same idea to mount the dial indicator on the Eisemann magneto housing.  The 2 screws pick up the cover mounting holes the little hole beside the one screw is clearance for the dowel pin.  The mounting rod for the indicator is a 1/4" bolt with the head cut off.


 The ball end of the indicator is riding on the center of the rivet end of the movable contact point.

 Just zero the indicator at the bottom of the cam and rotate the shaft to the high spot on the cam lobe.  The gap should be between 0.018" and 0.022", it was at 0.015".

 The 2 outer screws are the mounting screws, which must be loosened to adjust the gap.  The middle screw is a small, very sensitive, cam.  I don't know how you would ever get this right with feeler gauges.  The screw cam was incredibly sensitive.  After about a dozen tries I got there with both lobes right near the middle of the spec., same on the other mag.

 I also replaced the condenser in each mag with new ones from Fresno Air Parts.
 I had 2 other Eisemann LA-4 mags I hoped I could just install.  They worked great.  One small problem they had the wrong impulse on them.  They must be off an engine where the mags turn counter clockwise.  The coupling also wouldn't fit my gear.  Probably so you couldn't put them on the wrong engine.  The pin which operates the impulse is also on the wrong side to just swap the coupling.  Oh Well,  they provided parts and lots of learning.
 In order to grease the bearings you have to remove the gear which drives the rotor.  With the rotor in the cylinder 1 firing position there are timing marks on the gears.

 I needed some way to tell if the coil and points were working without installing all the covers and spark plug leads.  I clamped a little piece of copper so the spark could jump the gap, showing me it was working.  The originally dead mag would not do this at all.  The small gap worked with my mag without an impulse coupling.  With the impulse the mag would easily jump the big gap.

The mags are back together, working, and ready to reinstall on the motor.

Sunday, July 5, 2020

Magnetos Not Firing

It turns out there is no spark from either magneto even with the ground lead disconnected.  I'm not sure what has gone wrong since the last time the motor was run.  Looks like I need to do some research on my Eisemann LA-4 magnetos.  I do have the Bendix mags. for the C-140 project so they may be my short term solution. 

We'll see.

Saturday, July 4, 2020

Condition Inspection - Engine Test Run

 Yea!  I'm back working on getting ready to fly.  I safety wired spreader bars to the wing wires.
 Three small holes got poked in the fabric last year, hangar rash.  I patched them and painted on some German Crosses to represent bullet hole repairs.  Much easier than trying to get all the paint to match.

I completed the Annual Condition Inspection the other day them tied the plane down to run the motor.  No Luck!  I got very sweaty, 90 + outside, but never got a burp out of it.  I did manage to flood it, gas dripping from the carburetor.

I tried again this morning, only in the 80's, with no luck so I'll have to come back early in the morning to work on it.

I still need insurance and a state sticker but we're closer to flying.