Everything cooperated today and I got to fly for a half hour on a warm sunny afternoon. The motor ran fine, about 20 degrees cooler, not what I had hoped but better. My next plan is to start trimming the outlet skirt shorter in 1/2" increments. Take off 1/2", fly it and repeat as needed until it's as cool as I would like or starts getting hotter. My theory is that it's so long we're getting flow curling off it and blocking flow out. We'll see.
I also got to try out the new ladder my son Wade and his wife Melanie got me for Christmas. Now I can see in the filler neck so I don't overfill it so easily. It's the right height, has a good hand hold, and has wheels for easy moving around, cool. All fueled up ready for the next nice day.Saturday, January 2, 2021
Monday, December 28, 2020
Idle Mixture Problem Solved
I did some reading of the Stromberg NA-S3 manual and on-line. Bob Kachergius, "The Stromberg Specialist", has a good article on how to adjust the idle mixture. There is a needle valve with an adjustment screw on the back of the carburetor.
Rather than have a mechanical accelerator pump, this carburetor has 2 Idle Discharge Nozzles. One nozzle is above the Throttle Valve, when the valve is closed at idle. As long as the valve is closed it provides all the fuel needed to keep the motor running.
Thursday, December 24, 2020
Ignition Problem Solved - Now I Seem To Have A Carburetor Problem
Replacing the coil in the right magneto and carefully re-timing both mags. seems to have solved my ignition problem. I ran the motor and taxied around the airport for a few minutes. At 1700 RPM I have a 100 RPM drop on the left mag. and less than that on the right. Everything seems to be back to the way it was before all this.
Well not quite everything, now the motor hesitates and sputters when you try to accelerate from below 1000 RPM.
If it had an automobile carburetor I would say the accelerator pump is bad. Opening the throttle allows more air through the carburetor. At the same time that causes a slight increase in pressure in the throat of the carburetor, of if you like, less vacuum. This means there is less pressure differential to push the fuel from the float bowl into the throat. Both changes, more air and less fuel, mean a leaner mixture, which, depending on the mixture just before the throttle is moved, can cause the motor to misfire or lack the power to accelerate. On an automotive carburetor they solve this with a little accelerator pump which squirts just a bit more fuel into the throat to richen the mixture. It works, in my '63 Corvette you could slam your foot to the floor and the car would still accelerate without hesitation, while smoking the tires and slamming you in the seat.
On airplanes we generally avoid jamming the throttle open quickly. Also, no one wants the motor to sputter when you're trying to recover from a bad landing and need full throttle, now.
It's possible I've got a small air leak between the carburetor and the cylinders or some dirt in the carburetor after setting 26 years. I won't know until I get things apart. I've ordered a carburetor kit from Fresno Air Parts. It's coming by 2 day Priority Mail which means it should be here in the next 2 weeks, oh well. It's already 2 days and the tracking just says it's In-Transit. I'll get back on it after Christmas.
Merry Christmas!
Friday, December 11, 2020
Ignition Problem Still Not Solved
I removed the magneto, cleaned the contact points and cleaned up some grease that was slung out of the bearings I had repacked. I really didn't find anything wrong. I found some slight wear on the cam which operates the points. I ordered a new cam and waited, and waited. It finally arrived yesterday, 8 days late, Oh well.
I reassembled the magneto with the new cam and reinstalled the magneto. As the sun set I was able to get the motor running, but there is no improvement at all.
since this magneto does not have an impulse coupling I may be able to fix up a spare and see if it solves the problem. Hopefully tomorrow I can remove the mag and work on one of the spares I have. We'll see what happens.
Monday, November 23, 2020
The Motor Has An Ignition Misfire Around 1,000 RPM
I went out yesterday to go flying, got to the end of the runway to do my run-up check and found a noticeable misfire around 1,000 rpm. It wasn't noticeable at idle nor at 1,700 rpm for the magneto check. Obviously I decided not to go flying.
Today I went back out with my infrared thermometer. My plan was to run the motor to determine which magneto was missing by running the motor at 1,000 rpm then switch mags to see if there was a noticeable difference. The motor started fine and there is a pronounced misfire when running on the right magneto. The left magneto seems fine. The right magneto was the one I had problems with earlier in the year.
I kept it running on the right magneto until the cylinder head temperature reached about 200 degrees F. Then I shut the motor down and quickly opened each cowl access panel. Using the infrared thermometer I checked temperature of each cylinder. The expectation was that if the problem were a misfiring plug that cylinder would be cooler than the good cylinders. No such luck. The 2 front cylinders were about 20 degrees cooler then the 2 rear The front and rear cylinders were almost the same left and right. Clearly not a single misfiring spark plug.
I went ahead and pulled the spark plugs for the right magneto, the easy ones on top of the cylinders. The first thing was a visual inspection to see if they looked different. The color was the same normal tan color. Next I used a 10x glass and checked the plugs for any lead fowling. None was visible and since they are new plugs they really looked good.
The last thing I did was to very carefully check the electrode gap and make minor adjusts to assure each electrode was precisely between 0.015" - 0.018".
The plugs were reinstalled and torqued. The motor was restarted. The problem is still the same. Clearly something has changed in the magneto. Before pulling it I wanted to re-read the service manual to see if checking timing, etc. might give some insight as to what to look for in the magneto. I also need to look up what parts I've already replaced.
Hopefully tomorrow I'll get back out, do any checks, and remove the magneto. we'll see what I learn once it's off
Monday, November 16, 2020
Even Larger Cowl Outlet Opening
I've taken advantage of some rainy days to enlarge the cowl outlet. I've increased the area to 111.4 sq. inches. It was originally 61.4 sq. in. so that's an 81.4% increase. I added 25.5 sq. in. the first go around, which made a big difference. This is almost as big of an increase, another 24.5 sq. in.
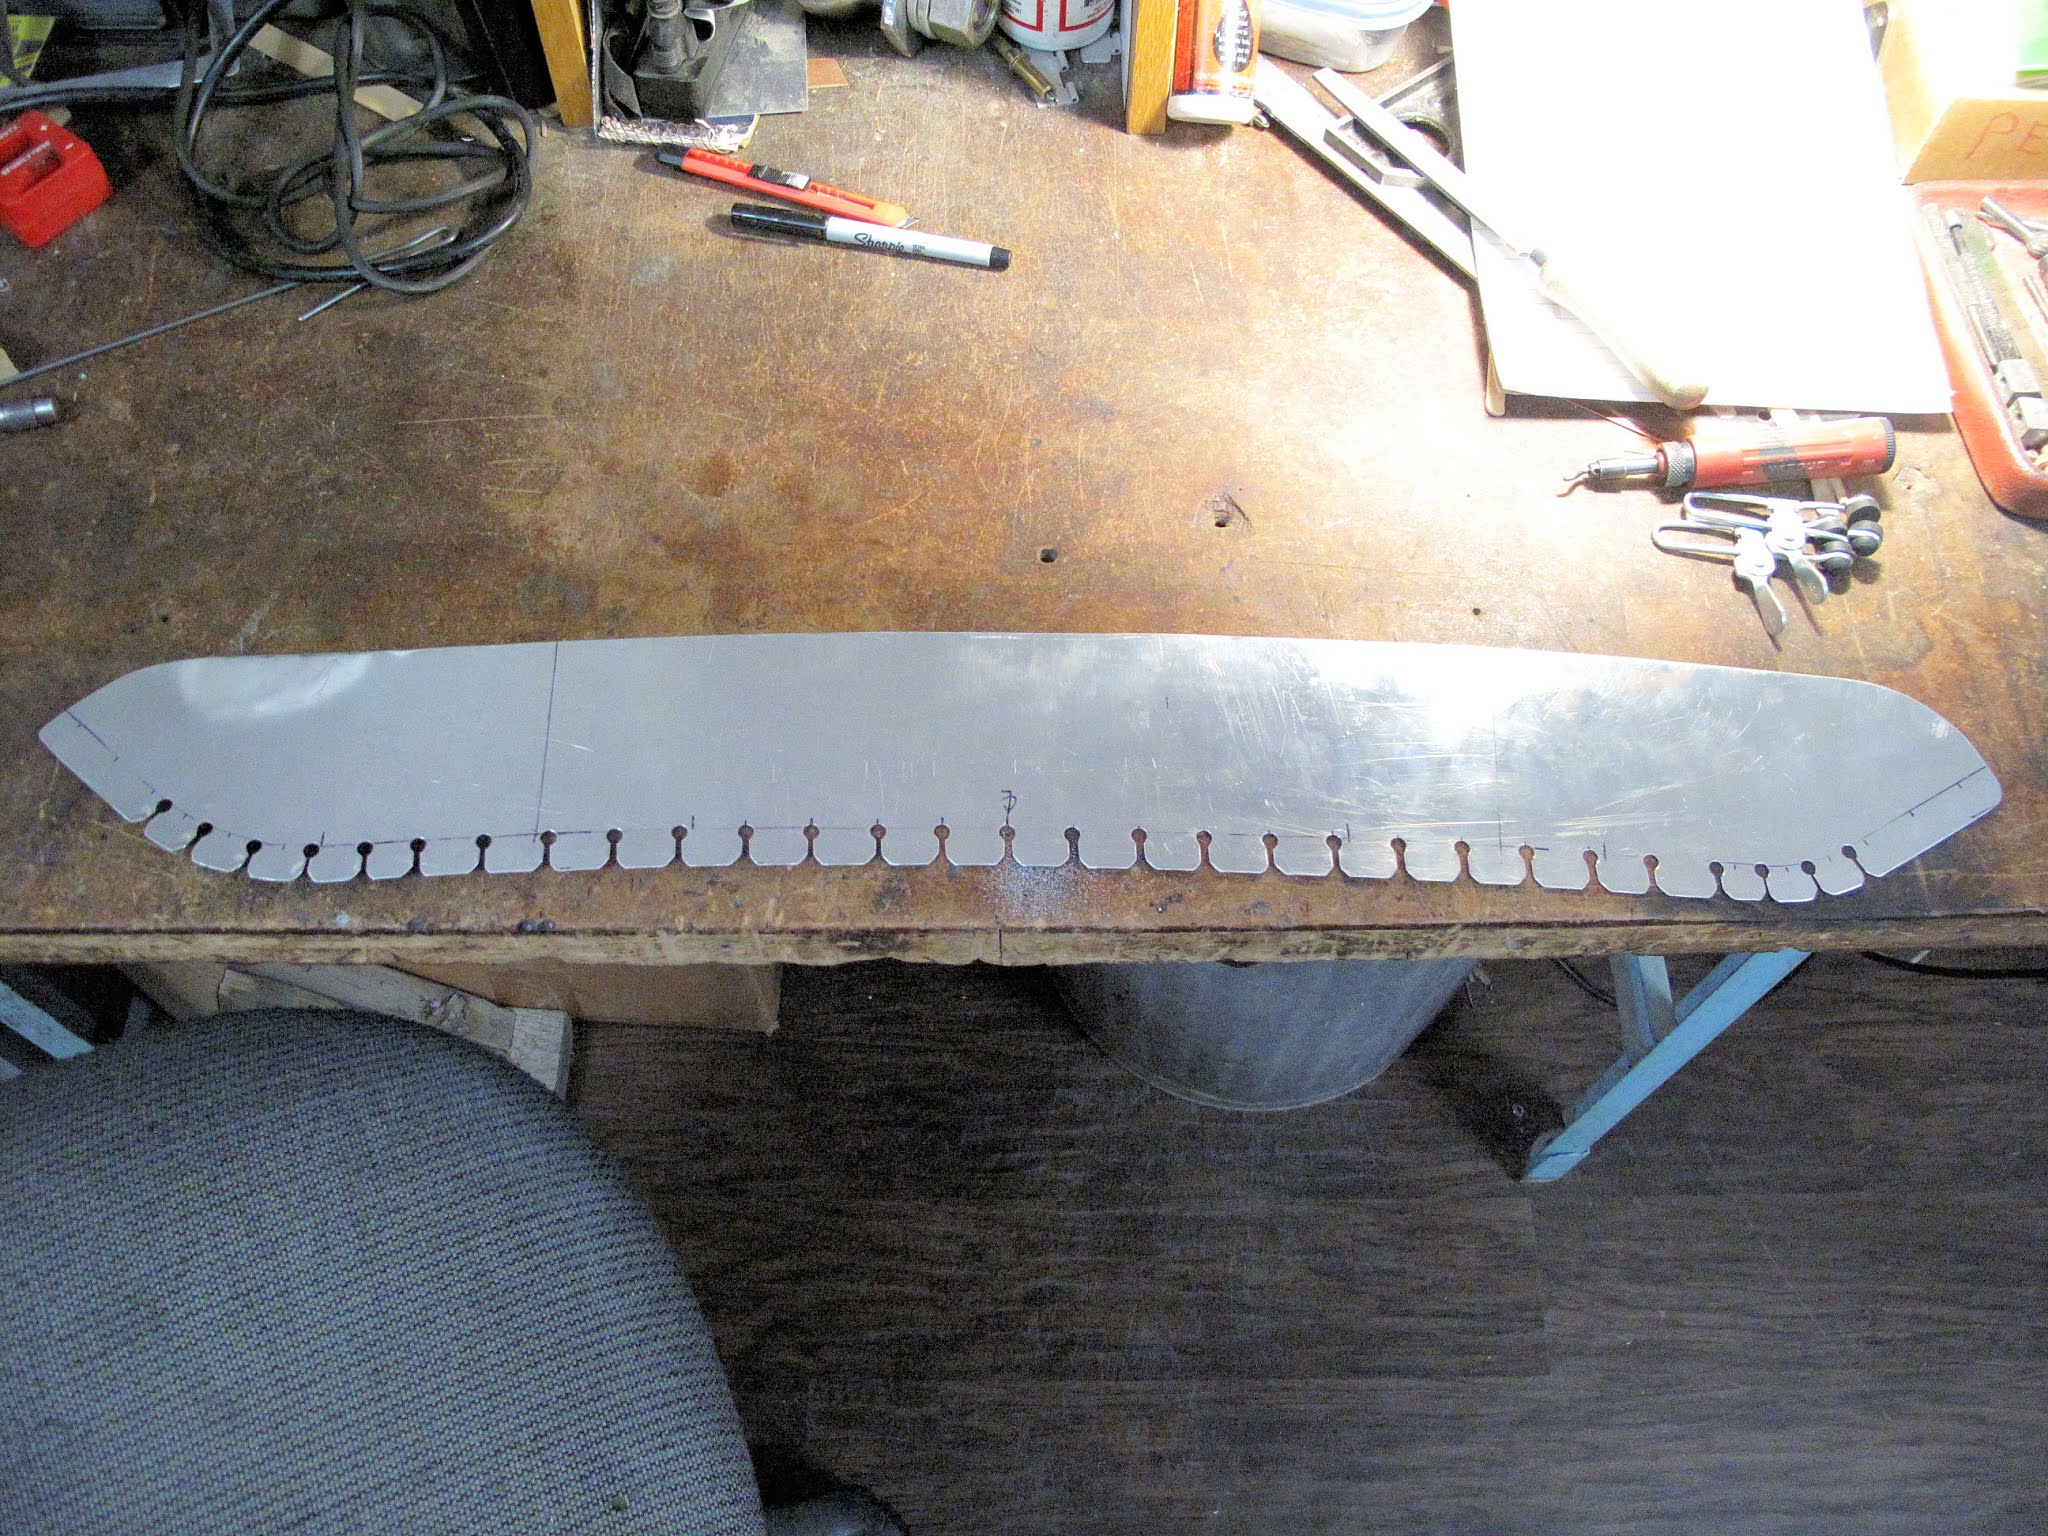
I also made a new skirt, which goes the full width of the cowl.
Before taking the cowl off I wanted to fit the new skirt to the cowl and drill all the rivet holes. Once that is done, remove the cowl, remove the old skirt, and then cut out the new opening.The straight edge of the card stock needed to curve down about 5/8" to get a nice fit to the cowl.
The ends got trimmed to match the little skirts around each exhaust pipe.
With a pattern it was easy to make a new skirt from some 0.025" 2024-T3 aluminum. The small exhaust skirts had a large tab at the outer end, with 3 rivets.
I took the blank skirt back to the plane to form the curved ends and to bend the angle on the tabs, so they would fit.
I removed the little exhaust skirts and started drilling rivet hole at the outer ends. The existing rivet holes were 1/8", but I drilled any new holes 3/32" because most of the new tab actually go inside the cowl, even though I drilled the holes with them on the outside. My idea was that using a smaller starter hole would give me a little flexibility if the holes didn't perfectly align when the tabs were on the inside. A few of the tabs had to remain on the outside because I didn't cut away all the cowling behind the skirt.
I left part of the cowl beside the exhaust pipes so I could put support brackets where the old center skirt ended.
Before riveting everything together I put the cowl back on the plane to make sure everything fit. I'm glad I did. The triangular support brackets didn't fit quite right the first time. They were easy to re-make and now it fits perfect.
The supports make the skirt much stronger and stiffer. They also allow the cowl to mount to the firewall under the plane.
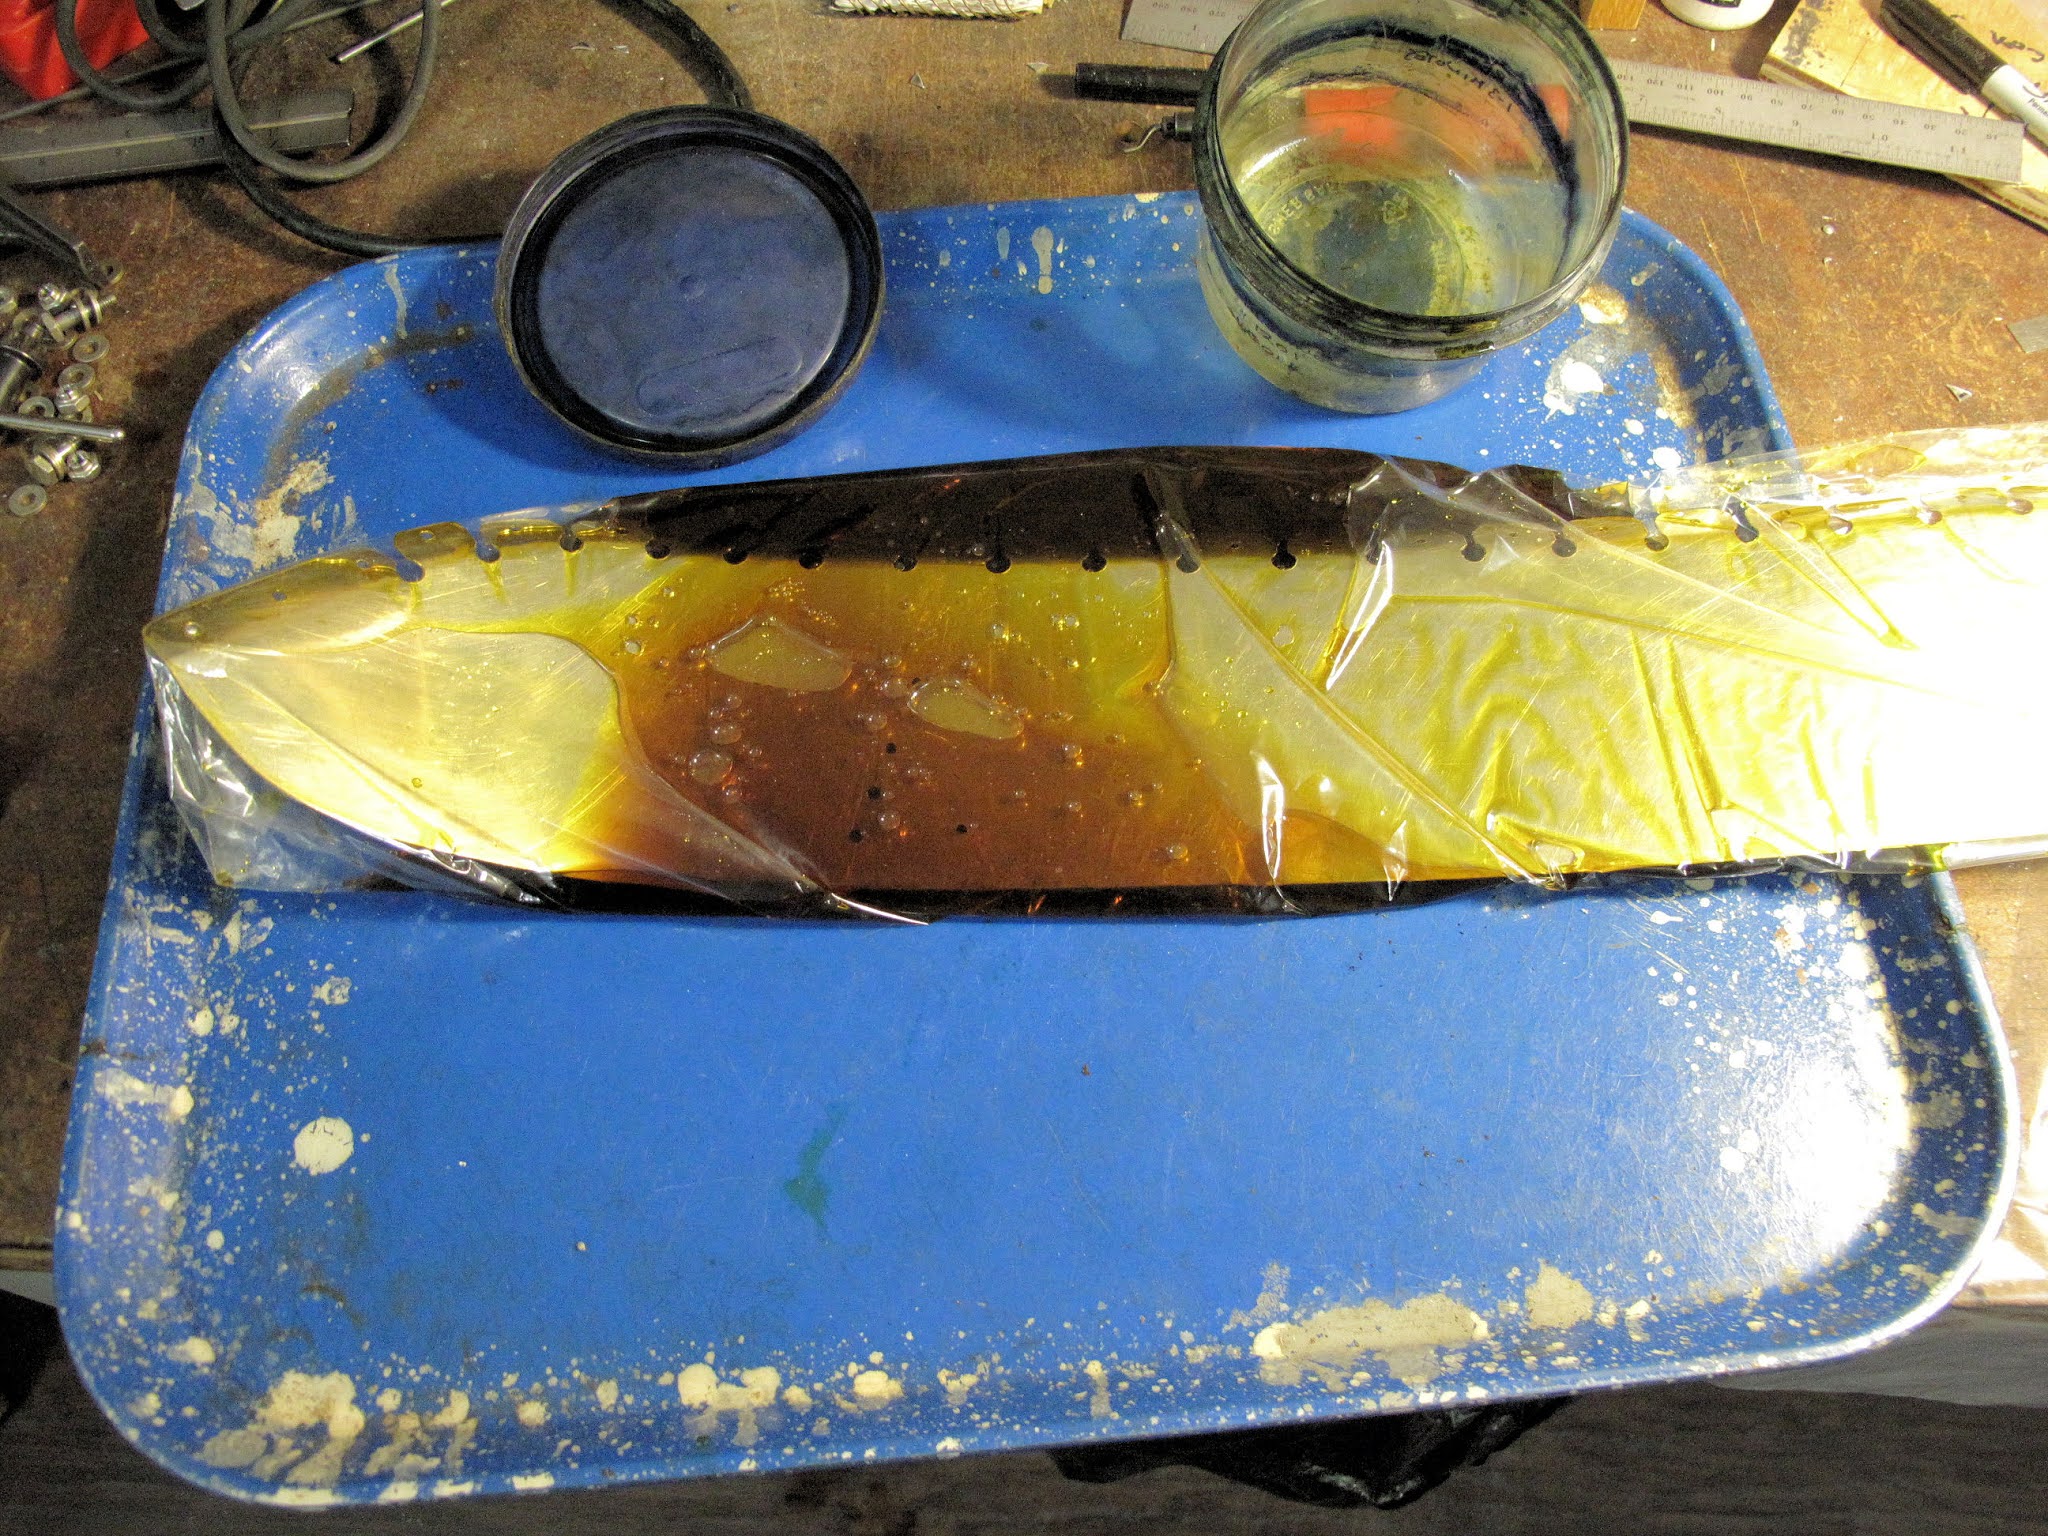
With everything fitted up we're back in the attic to rivet it all together. First I Alodined the aluminum parts to reduce corrosion and allow paint to adhere better.
I like it. I'll paint it in the spring once I'm sure it works as needed.
From the back you can see which tabs were on the inside of the cowl.
Monday, November 9, 2020
Nice Fall Afternoon of Short Sleeve Shirt Flying
I moved the outlet skirt back to the shallow position, 135 degrees. That didn't make much difference but it lowered the CHT 3-5 degrees.
A nice afternoon in the mid 70s. By 3:30 the thermals were almost done so I was to be able to fly in short sleeves, probably for the last time this year.
We had a very gentile breeze out of the SSW, so 23 was the active runway. This view is looking the opposite direction (NW) from the downwind. The town of Orange is just out of view at 10 o'clock and Orange airport at 11 o'clock. The mountain by the fuel gauge wire is a nice reference when flying here. It has an old microwave tower at the top.Until I solve the temperature problem I'm staying within gliding distance of the runway. Here I'm headed back to the SW in the Upwind. The runway and my hangar is below the spreader bar, looking south.
I've turned Crosswind. Looking south is the town of Gordonsville, maybe 2 miles of the south end of the runway.