

I had decided when I ordered the fabric to sew up envelopes for the wing panels. The fabric is 72" wide and it takes 90" of fabric to wrap around the ribs. I could have cut 2 90" panels and sewn them together to make a blanket which would wrap and join at the trailing edge. I find it hard to shrink the fabric so those seems are straight and on these wings with the ribs at 9 degrees off square it all seemed like a poor way to do it. Instead I chose to have 2 Span-Wise seams, one at the trailing edge and one aft of the forward wing spar.
I split a piece into 2 36" wide strips for the bottoms of the 2 wings. With a table set up to hold the excess fabric I wrapped fabric starting 1" on the bottom of the trailing edge, around the leading edge and cut it off at the tip. I left about 8" of excess at the root rib to completely cover it and about 3" excess at the tip. I didn't trim off the excess on the wrapped piece until after the seam was sewn.

I like large #28 T-pins for this type work. Much easier to work with. As long as the pins are perpendicular to the stitch line you can usually sew right over them and remove them after sewing. You can also stop, with the sewing machine needle down, and remove each pin as you get to it.


All this was a good plan but I didn't pay close attention to what I was doing and sewed the wrong edges together. I had to remove the seam and start over. This time I pinned it on the wing. I decided to just pin the whole thing and sew it all at once instead of each straight seem and then the tip. Bad plan we'll do it right on the next wing.


I got it all sorted out and the tip nicely pinned. You don't want any of this done so that the fabric is pulled tight. The fabric will shrink up to 10%. More like a comfortable Hawaiian shirt, not like a skin tight tee shirt.


It came out fine but sewing each straight seam first would have been easier.

For the Right Hand panel I again set up a table for the excess fabric and cut my wrap piece. I already had the other half of the piece for the bottom.


I clipped the trailing edge of the wrap piece with a 1" overlap on the bottom of the trailing edge. I then clipped the bottom piece in position over it and pinned them together.
I used the wing as a convenient table to roll up the 2 pieces as before with a few clips to keep them from unrolling. The wrinkles the clips create in the fabric will get ironed out when we shrink it later.


The bottom is pulled up and glued at the top 1"+. It had to be heat formed at the nose to fit the curve.
I cut about 2" at the very nose which I heat formed pulling it aft. Then the upper fabric was heat formed pulling it down. I cut off the upper fabric leaving about 2", so I'd have a little more than the 1" minimum required glued seam.


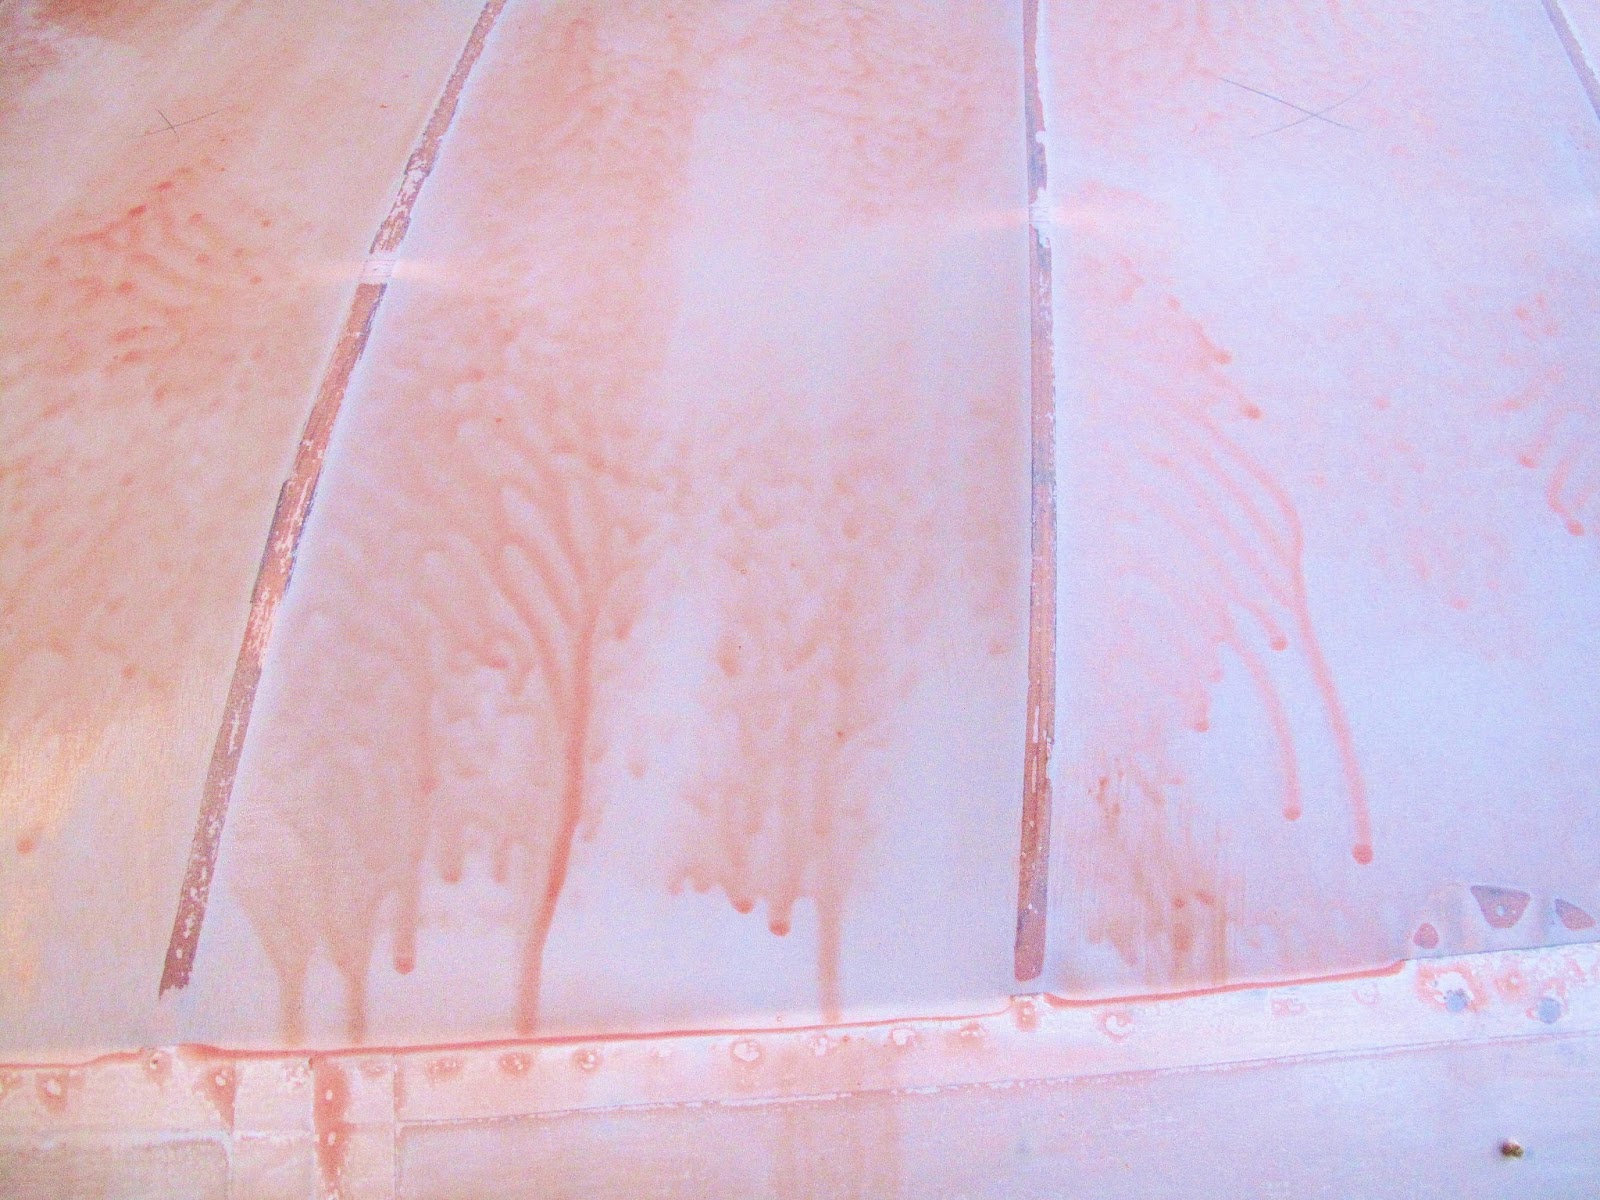
The first coat of Poly-Brush is on. You need to get plenty worked through the fabric so it is well encapsulated by the Poly-Brush. Runs are OK just no puddles and as a minimum you want nice droplets like big measles. If you had these runs in dope it would show because of how the dope tightens over time. Poly-Brush does not tighten.


The lower fabric is pulled up and glued to the root rib.


All nicely glued on with Poly-Tak.


My shrinking process is to move the iron in overlapping chord-wise lines on the first pass. I work starting at the tip and root, then in toward the center one rib bay at a time, top and bottom. I don't mark anything on the first pass because it's obvious where you've been. On the second 250 degree pass I move the iron span-wise and work 2 rib bays at a time from the ends to center marking each bay with a check mark so I know what has been done. The second pass is not so obvious as the first.
For the 350 degree shrinking I follow the same process but make a chord-wise line in the bay when the first shrink is done. On the second pass I make a span-wise line to cross it. It makes it real easy to tell what is done when you get interrupted or if like me your mind wanders a lot. If in doubt do the bay again. It will only get as tight as the temperature of the iron, no matter how long the iron sets or how many times you go over it. A 2 pass method assures all fabric sees the important 350 degrees to tighten it properly.


No comments:
Post a Comment