With the center section mounted I leveled the fuselage Fore and Aft, and Side to Side. A precision level sure makes it easy.
With the fuselage level the center section brace wires were tightened to center the section above the fuselage. A plum bob allows you to get it very close to center.
The lower wings go on first. Support a panel while installing the landing wires and root bolts.
When I took the plane apart I only loosened the landing wires so that pulling them back tight after everything is installed pulls the wings back into rig.
With the lower wings installed the upper panels bolt to the center section and each gets supported by the interplane strut. You need an assistant to hold the wing tip. The root sets in the attachment brackets. I got this far and could find some of the fittings for the LH wing. We gave up for the night.
I tagged and bagged the fittings at each joint as I disassembles them so I knew they weren't lost.
I found the fittings the next morning but Patricia wasn't available to hold the wing. Fortunately the upper panels are very light. A ladder, some boxes and bungee cords worked fine. Fortunately I didn't need to wiggle the wing to get the bolts in or this wouldn't have worked.
When I went to install the front flying wires I realized I had the left wires on the right, etc. The bolts for the fitting also hold the fitting for the landing gear brace wires. I had already tightened and safety wired the turnbuckles and didn't want to do it again. I realized that if I put a jack under the center of the axle I could flex it up enough to slacken the brace wires and get the bolts out. Quick and simple, they were removed and correctly installed.
With the wings on and all the rigging tight we carefully measured all the brace wires so I can make new ones. After 40 years some of them are starting to rust.
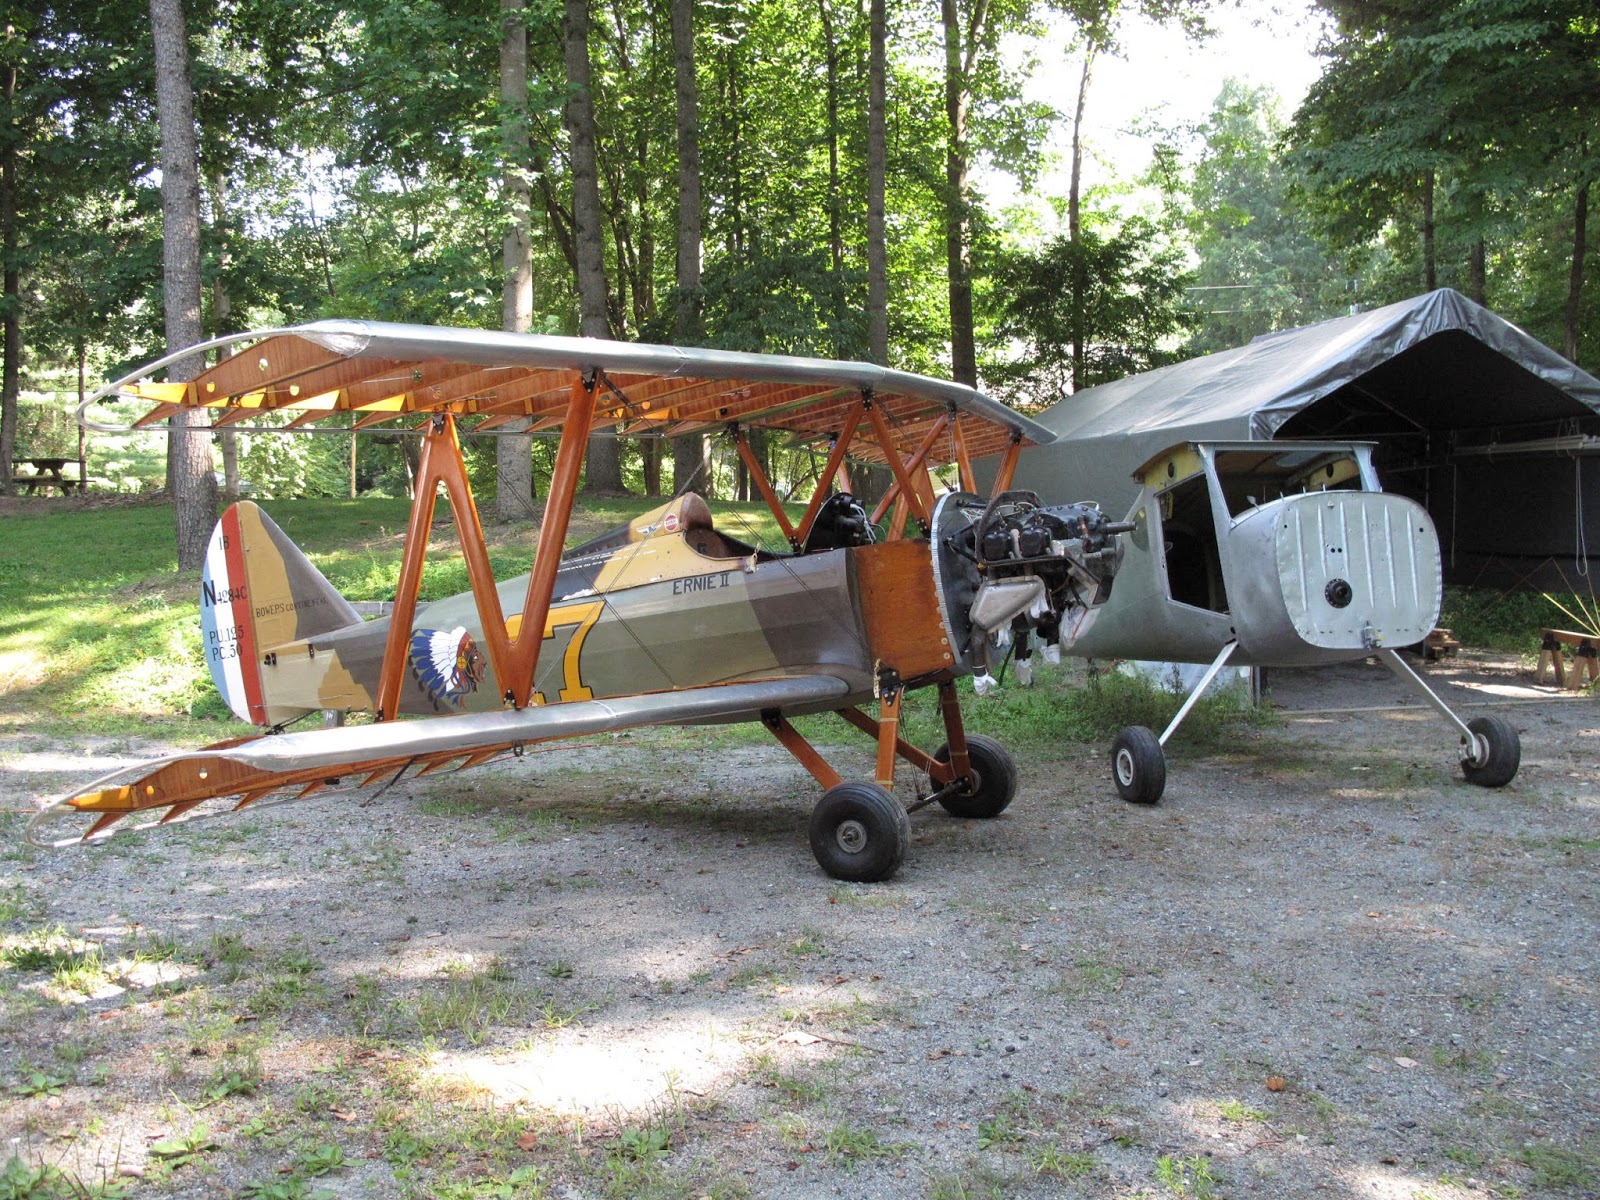
It was good for morale to see it looking like a plane again. I face time with Dad as I get things done so he can keep up with progress and ask questions easier than just reading these postings.
It took about 15 minutes to get the wings back off. It's time to start working on the fabric, and a million little things still to be done.