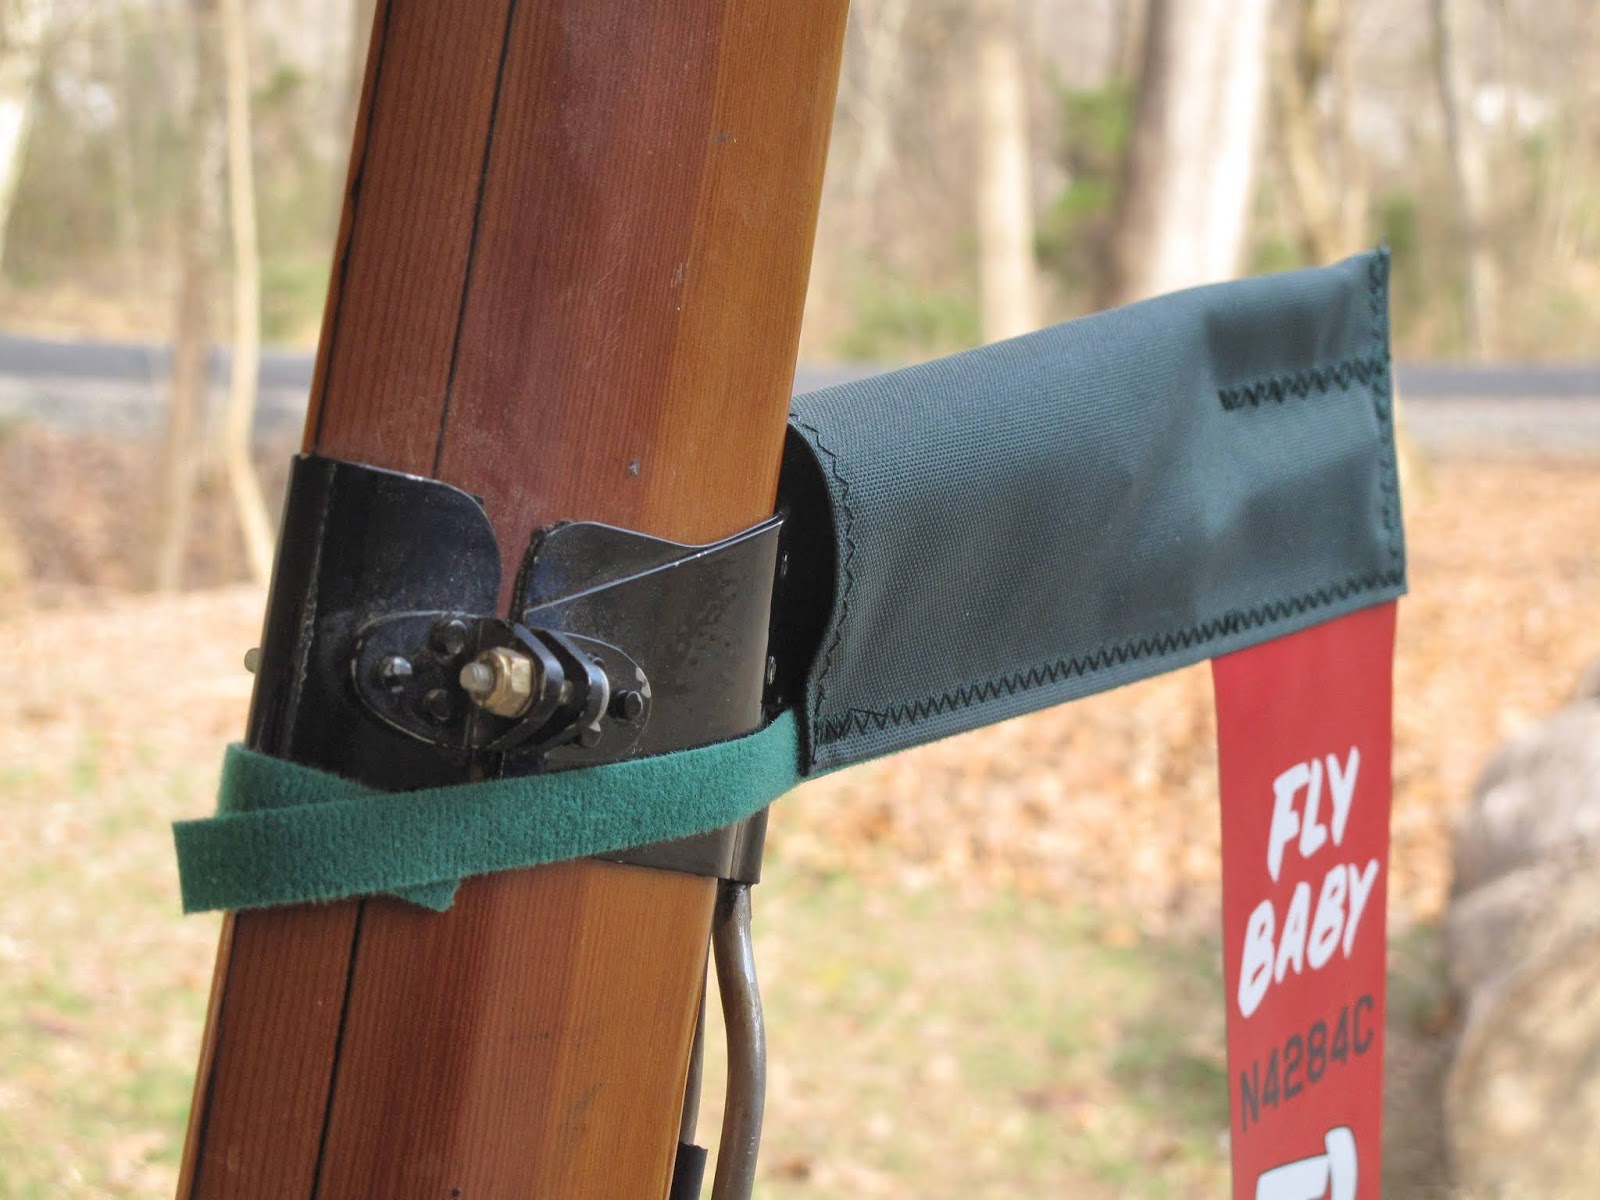
I discovered a small problem when I installed the tail surfaces so I could locate the Nicopress stop on the cable. My Nicopress tool won't squeeze the round stops, I thought it could. I had to redo the cables with regular oval Nicopress sleeves. They're designed to squeeze around 2 pieces of cable so you need a short piece of cable, about 2" to properly squeeze them as a stop. I carefully cut 2 pieces of cable with the Dremel tool cut off wheel. They worked fine.
You need to position the short piece of cable so it doesn't stick out past the end of the sleeve where it hits the wooding block. You want the sleeve hitting the block not the end of the cable. This all would have been easier before installing the gas tank and center section so you can undo the cable from the rudder and rudder pedal to squeeze the sleeve. The Nicopress tool handles open too wide to use inside the fuselage. Fortunately I had an old manual tool from my hang gliding days. It was awkward but it worked.
The plans call for a 1" gap at the trailing edge of the Elevator when the pedal is pushed to the stop.
The other problem I ran into was the lack of a hand hold on the upper wing center section. Once I had the wings on I decide to sit in the cockpit for a picture. My foot snagged on the edge of the cockpit getting in. I lost my balance and landed on the ground on my injured hip, major pain, and cracked a rib, more pain. I had removed the old machine gun mounting system without realizing I had used it as a hand hold to stabilize myself getting in and out of the cockpit. I hold onto the cabane strut with my right hand but I'm tall enough I can't reach the other strut under the wing with my left hand. The hand grabbed wildly for something on top of the wing which was no longer there. Even if the gun was installed with the new mount there would have been nothing to hold.

Before installing the hand holds I removed the wings and moved them to the airport. With the wings off I could see the Upper Wing Attach Fittings were bent at the center hole. I decided to remake them from 0.125" steel instead of the 0.095" on the plans. The bending had to do with a slight compression of the wood on the center section due to tightening the bolts. This made the fittings closer together on the center section. When the wing panels were installed the outboard ends of the fittings bent up slightly. It didn't seem like much with the wings on but looked much worse with them off. I've put some washers under the fittings to shim them up to prevent the bending and feel safer with the thicker steel. Only the top fittings seem to have bent.
The 2 small fittings on the left are for attaching the hand hold to the inboard bolt on the wing fittings. I carefully marked the wing fittings and duplicated the hole locations so the wing bolts should all line up properly when reinstalled.
The hand holds are made from painted door handles, big enough to fit my hand. One end is bolted to the fitting which attaches to the wing with the fitting bolt and the other end is screwed to the trailing edge wood. I used 2 #8 stainless steel wood screws 1 1/2" long. There are some washers under the handle to screw holes to carry the loads to the wood and the fitting rather than the edges of the handle ends.
There is room under the fitting for the bolt heads because the fitting sets on top of the wing attach fitting. They shouldn't press into the fabric since you pull up on the handle in use.
OK the are a little odd looking but they work. I don't need them pulling myself up out of the cockpit. The cabane struts work fine for that. They're just for stability getting your feet in and out of the cockpit.