Wednesday, February 24, 2016

1997 - Painting the Fuselage and Tail


 The rudder looks blue in this picture but it's silver (aluminum) dope.  The bad thing about old film photos was that you didn't know it came out badly until it was too late to retake the picture.  Digital pictures do have some advantages.  The colors Red, White, Blue, and Black do not have aluminum pigment in them so they need an aluminum base.  I wanted to see how the finish would look in WWI so I only put on the coats as they did back then.  If I were doing this again I would shoot silver dope before doing any of the colors.  It was hard to avoid gaps between colors, and thin areas from brushing inconsistencies.
 The colors were brushed on starting with the lightest color to the darkest color.  That way the dark colors can overlap the lighter colors.  The tail surfaces are setting on saw horses behind the fuselage.  The tail colors are still part of the Kellner pattern.  Each color was applied to all parts then the next color in that order.


 The fonts used on the tail were based on photos of SPAD planes.  In Aviation and Aeronautical Engineering magazine, November 1, 1919 pg. 298, there was an article by Randolph Hall which explained the loads P.C. and P.U.
The loads P.U. and P.C. are given in kilograms.
P.C. is Poid Combustible, Weight of Combustible fuel. 50kg = 110lb = 18.3 Gallons (I've since made the tank smaller, about 14 Gallons)
P.U. is Poid Utile, Weight Useful, Pilot, Ammunition, Equipment 125kg = 275lb.
 The markings and insignia were painted on using the normal tools of sign painting except the colored paints are dope instead of normal sign paints.
A pounce pattern was used to chalk a faint outline on the fuselage.  It's like paint by numbers, you just paint inside the faint chalk lines of dots.  The chalk holes are poked in the pounce pattern with a star wheel.  A pounce bag (filled with chalk dust) is used to dust chalk through the holes.

 The pattern helps make both sides the same.

They really came out well for a first attempt at sign painting.

Sunday, February 21, 2016

A new SPAD Paint Job

While planning to recover the plane I decided to use a more accurate WWI paint job on the plane but could find no information.  Even the Air and Space Museum had no information, I still don't believe them.  In the early '90's we saw an ad in the local paper for an auction at a house near the old stone quarry with some airplane items.  It was a small house in a working class neighborhood.  It only took about an hour or so to sell the house and contents, and then we moved to the small one car garage for the airplane items.  The owner had wanted all of this donated to the Virginia Aviation Museum, but never wrote a will.  His heirs wanted the money.  Everything he had was in it's original box or envelope so each item had to be removed from it's packaging and only then could it be auctioned off.  We spent all day Saturday, all day Sunday,  All day the next Saturday and all day the next Sunday when the auctioneer finally quit and would go no further.  I got some great bargains and marvelous treasures.

One treasure was a complete set of Cross and Cockade Journals in their original envelopes.  It was published quarterly by the Society of World War I Aero Historians form 1960 to 1985.  The magazines were filled with pictures and research people had done on WWI aviation.  One piece of research was "Project Butterfly" by Allan Toelle, et al.  They had researched French camouflage colors including the pigments and formulas to make the colors.  They also had figured out the paint scheme used by each subcontractor which built SPADs. SPAD  or the Société Pour L'Aviation et ses Dérivés, which roughly translates to Society For The Aviation and its Derivatives, built 2 of the great fighter planes of WWI.  Along with the Fokker DVII and the SE-5a, the SPAD VII and SPAD X111 were state of the art in the later part of the war.

The goal was to make the Fly Baby to look like it had been sent to one of the SPAD subcontractors to be painted.  I selected Avionnerie Kellner Frères (Airplane Builder Kellner Brothers) as the painters for my plane.  Kellner was a famous coach builder for luxury car makers of the period.  They had become plane builders to help SPAD with the war time problem of more orders than they could build.  Keep in mind that able bodied young men went off to be slaughtered in the trenches and the old and women new to the work force did all this work.  The first airplane they probably ever saw was on their first day of work.  They were not building museum pieces nor the high quality coaches for which Kellner is still famous.

 From the information in Cross and Cockade I created Fly Baby paint job based on the patterns which Kellner used on their SPADs.  They had a distinctive angular scheme.  It was so consistent in layout that I assume they had patterns they used to draw out the scheme on each plane.  They also hand brushed the paint, not sprayed.  Because the colors used on the fabric include aluminum powder, to protect the fabric from the sun, the colors are what we would today call Metallic.  As a result of the aluminum powder leaves brush streaks so you can see every brush stroke in the old pictures.


 I chose the markings of the 103rd Aero Squadron of the 3rd Pursuit Group, 1st Pursuit Wing, 1st Army, American Expeditionary Forces.  They were the successor to the Lafayette Escadrille which meant they got to have the coolest Indian Head insignia of the 4 squadrons in the group.  Based on the order issued 27 August 1918 they had the Green (3) and Red (2)  stripes on the upper and lower wings, as well Yellow and Black airplane identifier numerals on the fuselage.  I've chosen the Red nose of the 1st Flight aircraft.  The Indian Head used during this period was vary consistent which would imply they had a pounce pattern they used to layout the insignia on the fuselage for the sign painter to follow.


 Unfortunately when I tried mixing colors based on the formulas in the "Butterfly Project" they all came out wrong.  I can only assume they did not measure their pigments with enough precision, I'll never know.  As a result I took their information and built an Excel spread sheet to calculate the formula for each color.  I them made samples and took them around to various museums during my business travels until I had formulas which consistently matched old fabric.  I also bought color standards (8" x 10" sheets) from Munsell to match or bracket the colors they found when they measured old fabric.  My samples included pieces of the Munsell sheets and actual dope samples from my last mix.
The pigments were mixed with a mortar and pestle.  The colors don't look correct at all until you add the aluminum powder to the dope mix.
I now have an Excel spread sheet which allows me to calculate any quantity of dope.  I also have extra pieces of the Munsell sheets and a 30 gallon drum of aluminum powder.  Today dope makers sell the aluminum as paste so there was no easy way to figure out how much to use to get the correct colors.

If you need help with French Camo. I can help, send me a note.


 At first some of the colors were way off from the old fabric.  By taking pictures and making notes I quickly got to where the colors matched.  Then it was a process of finding more places to visit to check the colors against more samples.


 I don't know if the American units repainted the National markings so I assumed they were painted on at the French factories using their colors. The wing at the right is on a Caudron at the Air and Space Museum, everything is factory original.  The sample below seems to agree with my factory paint theory since the cockade it was cut from is clearly the American order of the colors using French dope colors.


Here is a sampler of the colors doped on Grade A cotton fabric.  With all this information it's time to start painting.


Saturday, February 13, 2016

1996 - New Fabric on Fuselage and Tail


 I wanted a more authentic WWI look to the plane so I decided to use Grade A Cotton to cover the fuselage and tail.  As part of the WWI thing I decided to sew an envelope for the fuselage like on the SPADs.  When we were stationed in Japan in the 60's Patricia and I borrowed the neighbors sewing machine and made envelopes for an L-5A Stinson

The fuselage was placed on each side and each side panel was cut to fit with a little excess and then taped snug to the side.

 The turtle deck piece was cut to fit and pinned to the sides.
 With the fuselage upside down the bottom was fitted and pinned to the sides.

The cutout in the stringers for the lower wing took a little extra work to fit.

When you take it all back off you find out how big of an opening you need along one of the longeron seams to slide it over the fuselage.  The opening gets baseball stitched closed once the envelope is back on the fuselage.  Once the sewn envelope is secured to the fuselage and the seam closed cotton gets slightly shrunk tight with a light mist of water.


In 1996 I moved the Cabin WACO to an end hangar with a nice space for a workshop.  I built a platform for storage above and a nice lighted work space below.  Much better than doing dope work in the house.
The fin was covered as a separate piece after the fuselage so the top of the fuselage sides could be joined to keep it held down tight to the fairing.  The slight gap between the fuselage and fin is covered with tapes.

I wanted frayed edges on the tapes instead of pinked so I tore strips of fabric and sat fraying them in the evenings while watching TV.  I then rolled them up so they were easy to work with when installing them.  I frayed about 3/16" on each side.  It really was easy.  I like the look better than pinked tapes.  The edges sand down nicely.

 I wanted more finished looking gap fillers on the tail hinges than the "Z" strip Pete used.  I took 2 strips of fabric and sewed them together to make an "X" with 2 seams 1/4" apart in the center.  This was used between the hinges.
For the hinges I did the same thing but the gap was sewn wide enough for a 1/4" bolt to slide easily into the pocket.  These pieces were installed loosely on the bolts as the the hinges were assembled.  The ends were then trimmed to the guide lines drawn on the tail surfaces.  These same guide lines were used to trim the gap fillers to a reasonably neat line.  The thickness of the tail surfaces varies from root to tip.  It was a bit of work but I like the look.

Sunday, February 7, 2016

1995 - 1996 Fuselage and Tail Surface Repairs

The engine, gear, center section and tail surfaces were removed to get the plane in the basement.  The next task was to remove everything and tag it all for future repair and re-installation.  Lots of pictures will help you remember how and where everything goes when putting it back together.

All of the steel fittings were sand blasted and repainted with Zinc-Chromate and Enamel.  Most of the bolts were very rusty and all were replaced with new.

 When we built the plane Epoxy varnish did not exist.  Regular Spar varnish is destroyed by the solvents in dope, etc.  The Spar varnish on things like rib cap strips can be protected by applying cellophane tape.  Larger areas were just not varnished.  They were coated with dope but it does not protect like varnish.  The plywood on the small sub-fin, where the tail wheel spring is mounted, was badly water damaged and needed replacement.  Otherwise the wood was all in good shape.  All the wood got re-varnished with Epoxy varnish used anywhere the fabric would touch.
  All of the aluminum leading edges were again in sad condition despite using harder aluminum.  I decided to use an idea which was used on the Biplane leading edge tips, i.e. Styrofoam.

I made cardboard patterns to fit in each lead edge bay.  The patterns were transferred to the 1" Styrofoam sheet with some extra, double line, to allow for the leading edge wood strip in front of the pattern.

The blocks were trimmed a little to start shaping the leading edge and then glued in place with construction glue for Styrofoam.  Some glue will dissolve the stuff.


 The fuselage was then turned upside down and covered to control the dust while sanding the foam to shape.  It's easy to work with you just need a respirator, lots of dust.
 The same process was done for each of the stabilizers using 2" Styrofoam.

 The foam was varnished with Spar varnish and then Epoxy varnish.  The Epoxy varnish will melt the foam, the Spar varnish does not.  I thought the Epoxy varnish would protect the foam.  It does not.  I found, after I took these pictures, that I needed a better vapor barrier.  I used aluminum duct tape, not the cheap cloth stuff.  Just overlap the strips 1/4" - 1/2" and it works great.  The result is much less fragile than aluminum.


With all the fittings back in the fuselage and the hinges reinstalled on the tail surfaces everything is ready for fabric,

Saturday, February 6, 2016

1994 - The Cabin Waco and Time to Recover Fly Baby

I had decided to build a Hatz Biplane to use for Young Eagles rides.  I thought young people should be able to enjoy the fun of an open cockpit biplane and the Fly Baby didn't work for giving rides.  A friend of mine at work, Leon Johenning, pointed out that the Hatz was a copy of a WACO.  His point was if I wanted something with a 1920's appeal I should build a WACO not the Hatz since the drawings were available.  That all made sense so Leon and Winny, and Patricia and I decided to attend the National WACO Club fly-in at Wynkoop airport in Mt. Vernon, Ohio.

Off we went to Ohio for a complete rain out.  There were few people and only 3 planes for a weekend of rain.  Leon heard there was a WACO for sale at Knox County airport 2 miles down the road. This was at least a 33% increase in WACOs to look at so off he went.   He came back all excited about it but at that point he did not have a pilots license so I told him we'd buy it and take him flying in it.  So, off we went to Knox County.  We walked in and I was in love with it.  I had just taken 2 1/2 hours dual in a Stearman and this was the same size, engine etc. with the advantage of a closed cabin and roll down windows.  Oh yeah, it was less than half the price of a Stearman or open cockpit WACO.

We had sold our house when our youngest son graduated from high school so we had cash for a down payment.

 On July 24th a friend flew Jeff Ethyl to Knox County to meet Patricia and I there.  We loaded a spare engine for Patricia to drive back to Virginia.  Jeff made 3 take-offs and landings at Wynkoop to be legal, we gassed up and headed back to Gordonsville, 4 1/2 hours.  When we got to Gordonsville I asked if he would mind letting me land the plane.  He gave me the yoke, leaving him with only rudder and brakes and me with the yoke and rudder but no brakes on the right side.  Gordonsville airport is paved, 50 ft. wide, 2000 ft. long, with a big "S" wave from one end to the other.  At the last minute he was regretting his decision, but the plane is so easy to land that we had no problem despite it not being my best landing.

Fly Baby moved temporarily into the big hangar.

The rainbow pictures were taken one rainy evening working on the plane.  It was so pretty I pushed the plane out for some quick pictures.


 In August the wings were taken off Fly Baby and we put it back on the trailer for a ride to our town house in Charlottesville.  Under the deck at the corner of the house is our basement door.  It was an important feature of the house so I could get an airplane in the basement.
Our next door neighbor George Melvin was surprised to come home and see an airplane parked in one of the parking spaces.  He was even more surprised to find out it had disappeared the next day into the basement.  That's what I thought basements were for since that's where Fly Baby started its existence.  He used his basement for his Jazz buddy's to jam for the neighbors, a nice way to spend Christmas evening.  They were all professional musicians.

Time to do some repairs and recover the plane.

Wednesday, February 3, 2016

1993 - A Year of Flying and A new home


Only a month after finishing the engine overhaul I had to move from my happy home in the hangar at Waynesboro airport.  The state aviation guys in their infinite wisdom decided that our old hangar was suddenly too close to the runway.  It had been there longer than anyone remembered but it was now unsafe and must go, and go it did.

Waynesboro airport was 35 miles west of our house but only a few miles from work.  Gordonsville airport was only 25 miles northeast of our house but over 60 miles from work.  They had built new hangars at Gordonsville that summer and a new hangar had some charm over going back to an outdoor tie down.  Waynesboro airport had also been sold and was being turned into Eagles Nest, an airport community.  It was time to move.

On November 28th I flew to my new hangar at Gordonsville, it even has a door you can lock.  I couldn't fly before work nor at lunch but in the summer I could easily fly in the evenings.  By July of 1994 I had put 126 hours on the new engine, flying every month and almost every week.  This is what having a plane is all about, good fun.

1991 - 1992 Engine Overhaul


In 1992 I was able to move the plane into an old open hangar.  Howard Anderson kept his Luscombe in the front of the hangar and Fly Baby hid out in the back.

Before starting on the engine a good wash was overdue.  It also makes working on the engine easier if it's first washed down with degreaser and well dried.

The first task was to disassemble the engine and clean all the parts for inspection and careful measurement.

Despite my measurement experience I've learned that when you send parts out you should expect everything that can be done to be needed.  Ask the full price and maybe you'll be pleasantly surprised if something isn't needed.
One major problem I found when I tore it down was that someone had installed the thrust bearings incorrectly.  One half of the circle has a pin to prevent them rotating.  Someone used 2 halves without the pin.  They had both spun and worn until they were overlapping so you could not feel any wear.  In the future I'll be more suspicious of other peoples work.

I sent the components requiring work to different shops to see if there was a difference which might help me decided who I would use again.  The crankcase went to Divco, Inc. in Oklahoma.  The crankshaft, camshaft, rod, pins and rockers went to Engine Components in Texas.

The cylinders were more work to pack carefully but I got all 4 into a U-haul book box.  They went to El Reno Aviation in Oklahoma.

All did good work, but I was most impressed with the information ECI provided on the measurements of the parts they worked on.  I really wanted to know if parts were at maximum material condition or only barely serviceable.

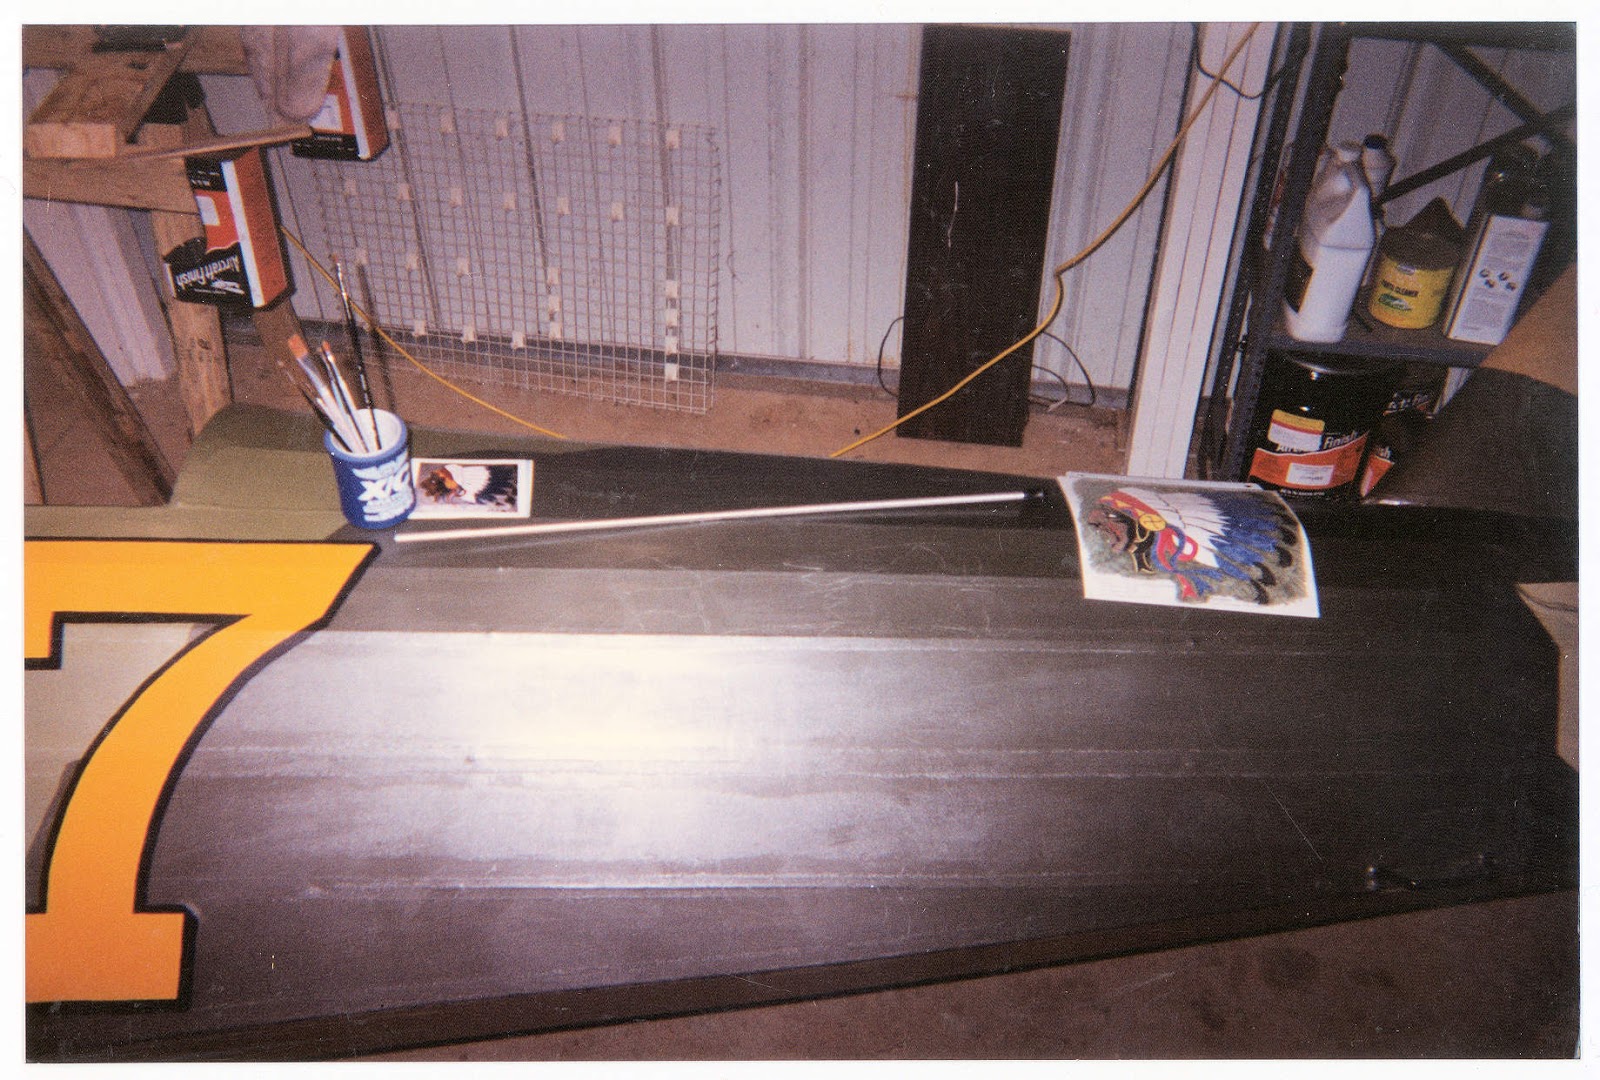
With all the parts back to serviceable condition it was time to paint everything.  I dislike Continental Gold so the older look of grey and black was an easy decision.

All the assembly work was inspected by my IA so the engine would be usable on a certified plane if I ever needed, not likely.  Even being an A and P and doing most of the work myself I still spent $4,500 on the overhaul.  That may sound cheap but we built the whole plane originally for $1,700 in 1966.

With the basic engine back together all the baffles and accessories needed to be reinstalled.  The carburetor was inspected and repaired as needed along with a steel needle valve to handle autogas and 100 LL.

New extensions were welded to the exhaust pipes and some minor repairs to the carb. heat muff.


The propeller had been inspected and repainted the prior year by H and H Propeller Service.  They also re-plated the hub.


We had clamped the brake lines to the struts.  You could see where water was getting in around the screw holes so I removed them, sealed the holes and wrapped the lines to the struts with varnished cotton cord.  It works much better and gives a nice WWI look.

After the recommended ground runs, the plane was flown again on 24 Oct 1992.  An hour over the airport at full throttle made me realize that a person is probably better off not breaking in an engine on the test flight of a new homebuilt.  With a fresh engine I was able to keep flying right through the winter.