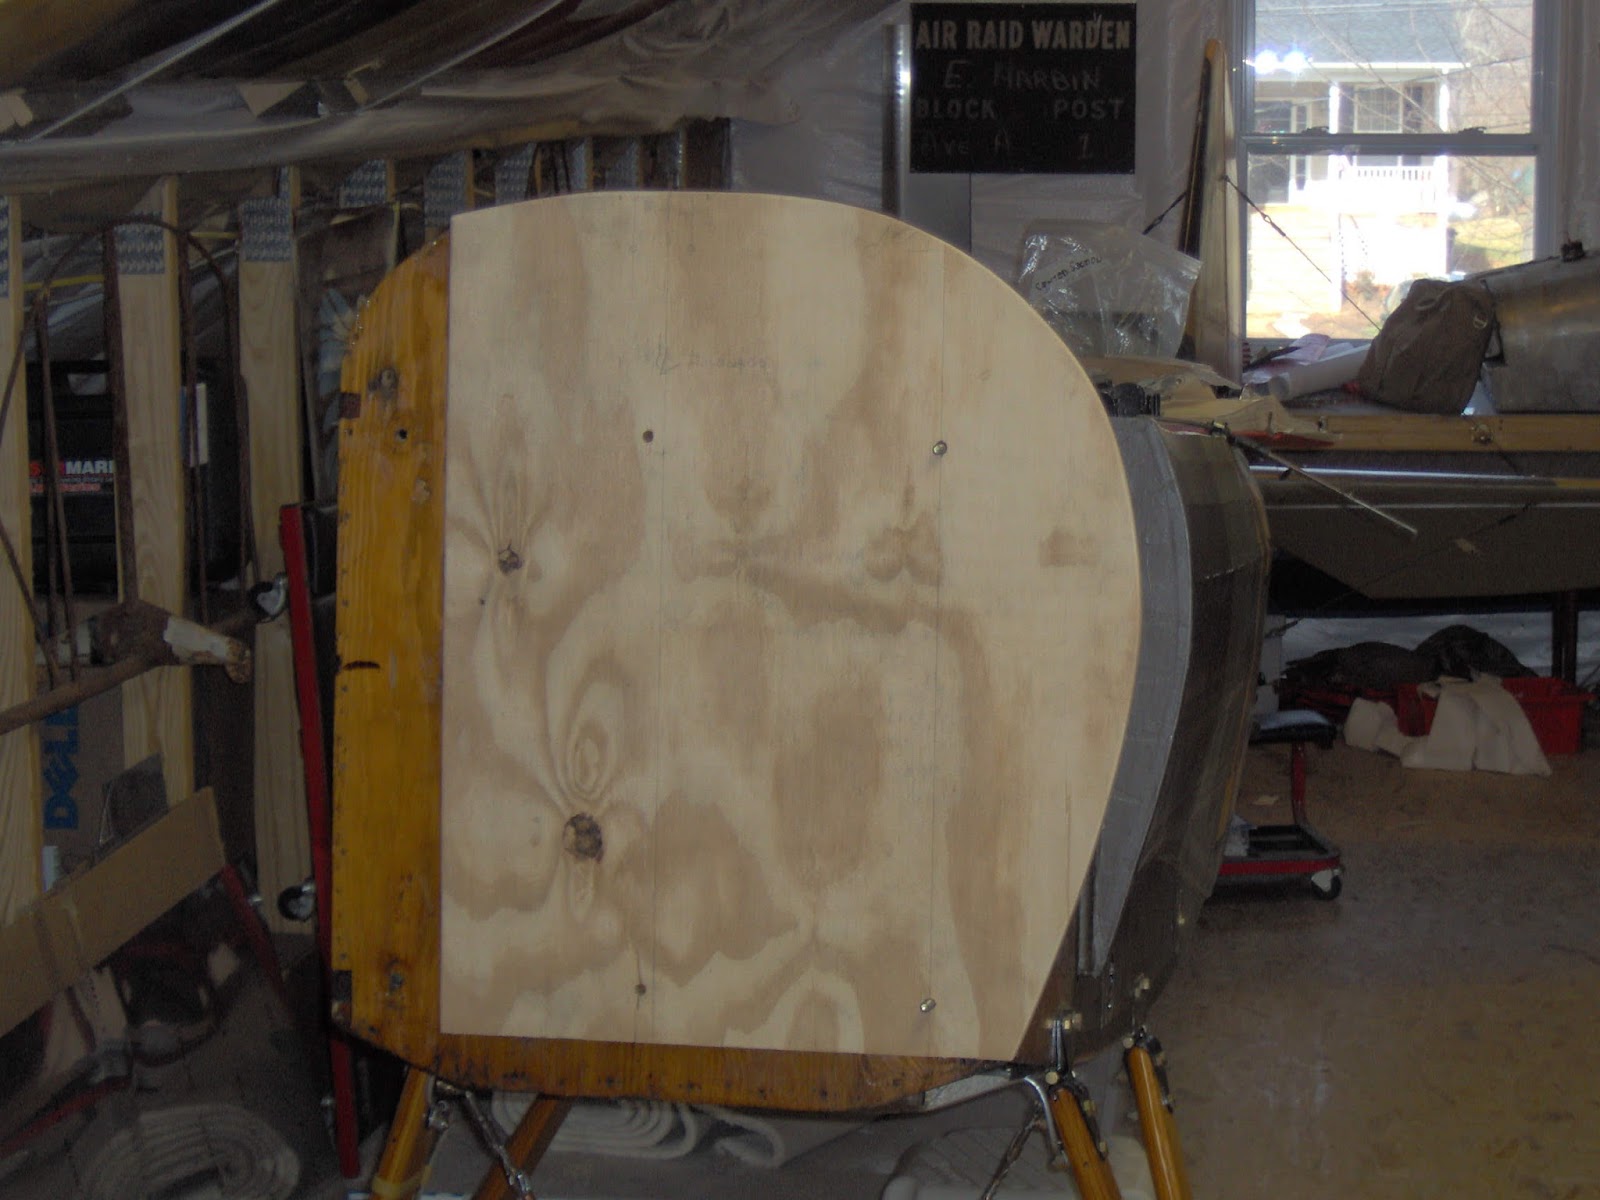
Before we added the stingers to the fuselage it was 24' wide and flat on the sides. You can see the firewall end of the fuselage here compared to the shape with the stringers. We had a firewall which fit with the shape of the stringers. The problem was that after years of changes it was riddled with holes. The best solution seemed to be just to make a new one from 24 gauge galvanized steel.

The firewall has a flange formed on the edge for the fasteners to screw the cowl together. I made a form block to bend the flange over. As you can see it is not a full block. The reason is I'm not planning to fully bend the flange to 90 degrees on the form block. The flange is 1-1/4" and therefore needs a lot of flutes to take up all the slack in order to form it to 90 degrees around the curves. Normally you would put an angle on the edge of the block to allow the metal to over bend, past 90 degrees, so it will spring back to the desired 90 degree bend. In this case the edges are just 90 degrees with a small radius on the corners. I'm just going to bend the flange to about 45 degrees and then finish the bends with a hand operated fluting tool.

The first engine mount bolt hole was drilled in the blank sheet of steel. With a bolt holding the blank to the fuselage the next hole was marked. I like using a Portalign to hold the drill when I can't use a drill press. The blank was then mounted with 2 bolts and the third hole marked, drilled, etc. for the fourth. It's slow but minimizes location errors.
With the holes drilled the form block was used to layout the cut lines, edge of tape. To prevent cracks, 1/4" holes were punched in the corners of the cuts along the bottom. The flange will bend forward and the bottom, which does not attach to the cowl, will bend aft.
The flange was bent forward to about 45 degrees. You can see the wrinkles developing
Locations for the fasteners were marked. I wanted flat spaces for the cowl fasteners. The original firewall was fluted by machine all the way around. It made attaching the fasteners more difficult. Since I don't have a machine I can put flutes where I want them and leave some spaces flat.
You can make the flutes as deep as needed to pull out the slack and leave the flange at 90 degrees.
The bottom 2" flanges were just hammered back with a block of wood to get a smooth bend.
I still need to locate all the holes for cables, hoses, etc. The holes for the cowl fasteners will be added as the new cowl panels are made.


No comments:
Post a Comment