I'll cut the cable to length after making the first terminal end, so the first end is just located so as not to waste a lot of cable. I make the first bend 4 1/2" from the free end.
I decided I needed to know where to locate the bend on the second end of the cable, in order to make the cable the desired length. To work it out I needed to know the length of cable in the loop from the end of the Nicopress sleeve, 1/2 of that is the length to the center of the bend. To see how much cable is used in the in the first loop I decided to make 1/8" tick marks on the cable 2" either side of the first bend. I made red and blue tick marks so it would be easy to see how much cable was in the loop.
After slipping the sleeve and fitting on the cable I started the bend by hand at my center tick mark.
The sleeve and fitting were slipped as far into the bend as possible by hand.
The end was placed in the clamp and the clamp tightened until the cable bend was tight in the thimble (shown still loose below)
With the cable tight in the thimble the center crimp was made on the thimble.
The crimp at the thimble was 2nd and the loose end crimp 3rd. The crimps were checked with the Nicopress Gauge to make sure they were tight.
Based on the tick marks, 1 7/8" of cable forms the loop past the sleeve. The bend mark will need to be 15/16" from the end of the sleeve.
The distance from the end of the sleeve to the inside of the thimble curve depends on how much you trim off the ends of the thimble. Here it is 25/32". Knowing the length of cable from the edge of the hole in each end fitting I need an extra 5/32" of cable at each end to make the cable the correct length after bending. I'd rather the cable be a bit long than a bit short so I'll use 3/16" rather than 5/32" when making the cables.
I decided to tin the cable before wrapping to assure a good solder bond with the wrap wire. As usual when soldering, heat the wire enough to melt the flux, apply flux, heat and solder. Use more flux as needed. Make sure the cable is tinned all the way around, and along the length where it will be wrapped.
Protect the cable with a piece of 20 gauge steel while cutting the end. I make the cut starting 1 3/4" from the end of the sleeve. This makes the wrap the length of the standard solder wrap.
I found it easier to wrap if the end is cut very flat, about 30 degrees or less.
I also find it easier to get the wrap tight if the loose end and cable are taped together.
I found that the free end of the cable needs to be supported if you use the splice clamp to rotate the cable while wrapping. If your serving wire were on a spool, as they once sold it, you can hold it while wrapping around the cable. My wire is a loose coil so I pull off about 4 1/2 feet to use for each wrap. With a loose piece it's easier to rotate the cable than move the piece around the cable. For longer cables I'll use a piece of PVC pipe for it to spin inside. I'll also look for wire on a spool or a way to wind a spool. Many of the wing cables are pairs on a single fitting. The second cable on those is easier done wrapping with a spool.
To start the wrap I bend a 1/4" tab to lock under the wrap and a 180 degree bend next to the tab.
I start by holding the tab in the groove between the cables. The first wrap is made so it crosses the bend at the start to lock it.
The wire is held tight while winding for 1/4" from the sleeve. This puts the first inspection gap the same distance from the thimble as it was on the standard wrap.
The wire is angled to make the 1/8" inspection gap and then the wrapping continues perpendicular to the cable.
The second section of wrapping is 3/4" long.
Another 1/8" inspection gap is formed and the wrap continues for another 3/4".
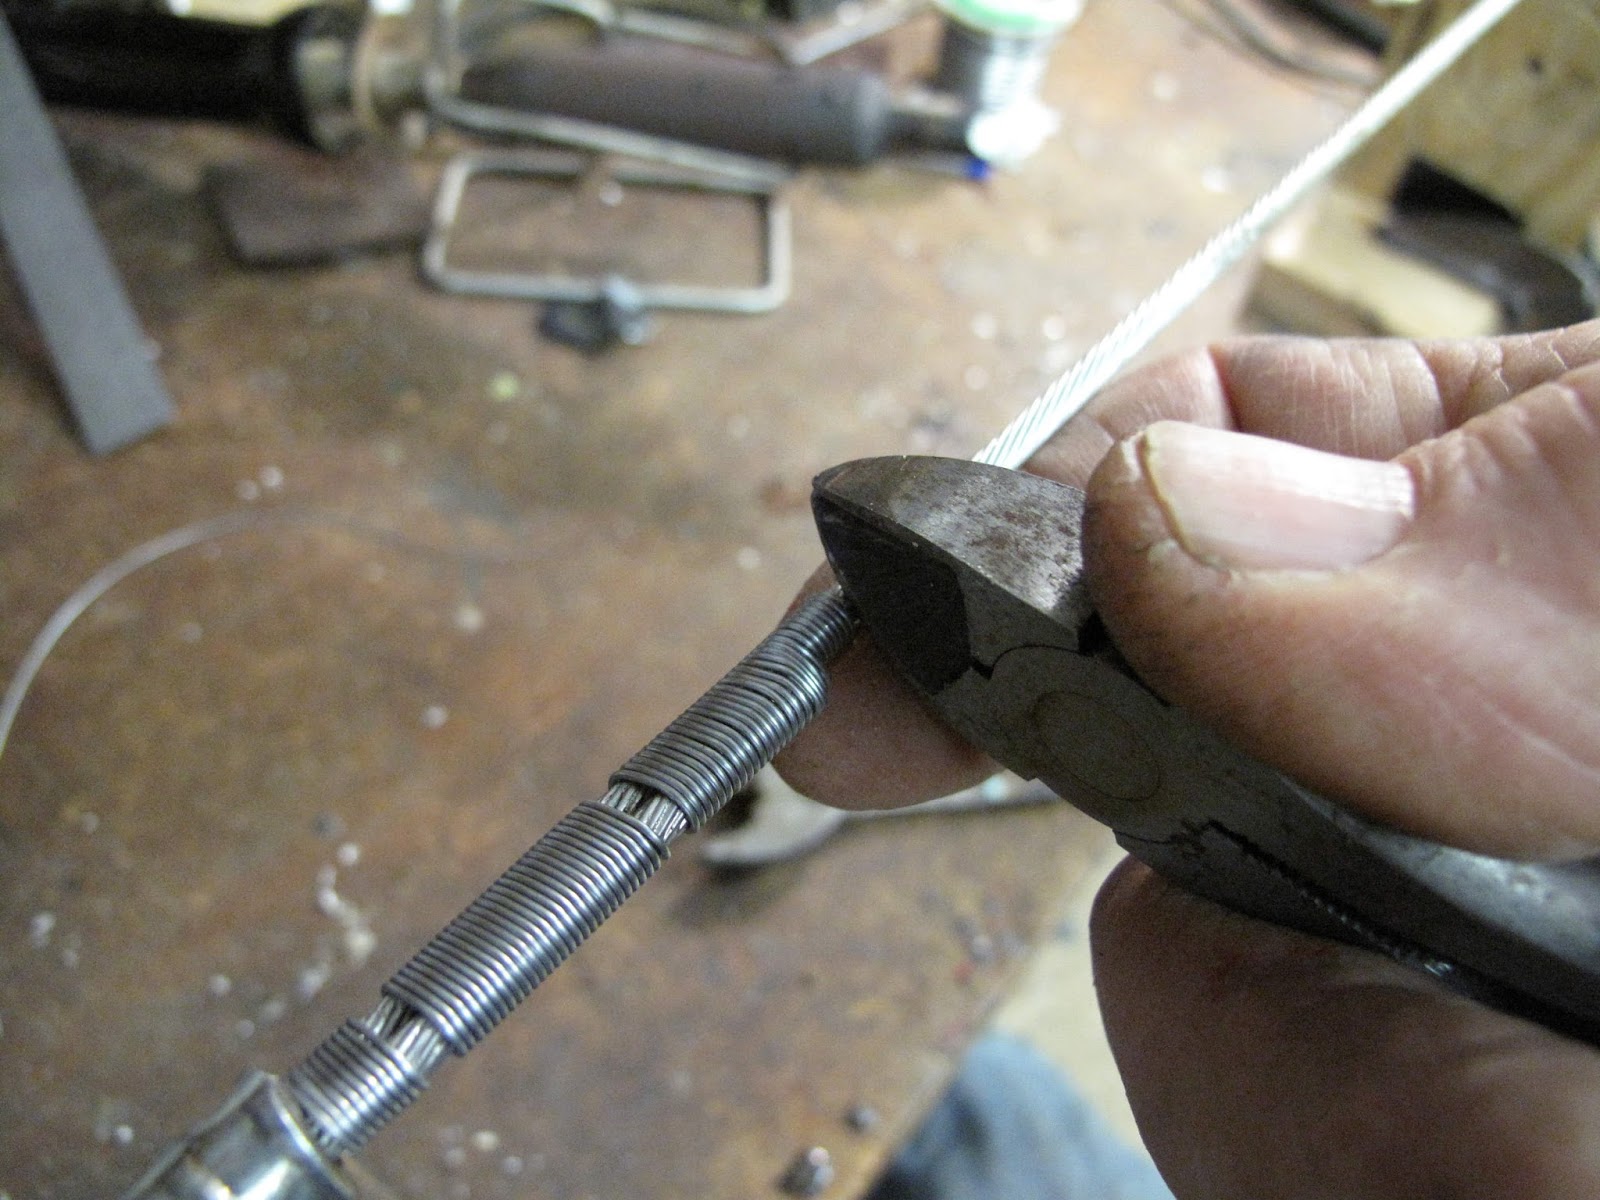
The serving wire is cut off, and the side of the cutter is used to flatten the cut end to the cable so it won't snag someone (like me) after soldering.
The finished wrap is ready for soldering.
Again start by heating to melt the flux.
Start soldering at the small end working with flux and solder to completely solder the wrap to the cable.
At the sleeve turn the iron so it's parallel to the cable and the tip touches the sleeve. This way you can get all the wire soldered. It doesn't need to be soldered to the sleeve but doesn't matter if it is.
The finished wrap looks like what I had hoped. I really like it. Full strength of the cable, with the look of a wire wrapped terminal, and no loose end to get snagged on. How cool is that?


No comments:
Post a Comment