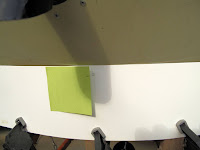
I've taken advantage of some rainy days to enlarge the cowl outlet. I've increased the area to 111.4 sq. inches. It was originally 61.4 sq. in. so that's an 81.4% increase. I added 25.5 sq. in. the first go around, which made a big difference. This is almost as big of an increase, another 24.5 sq. in.
I also made a new skirt, which goes the full width of the cowl.

I started with a pattern from a piece of heavy card stock. The idea was to move the leading edge corner forward about another inch. To get that spacing I clamped the card stock to the old skirt with some pieces of 3/4" thick wood. Because of the angle this moved the leading edge forward about 1".
 The straight edge of the card stock needed to curve down about 5/8" to get a nice fit to the cowl.

 The ends got trimmed to match the little skirts around each exhaust pipe.


The plan was to use the existing rivet holes at the ends, then new holes in the center to attach the skirt .


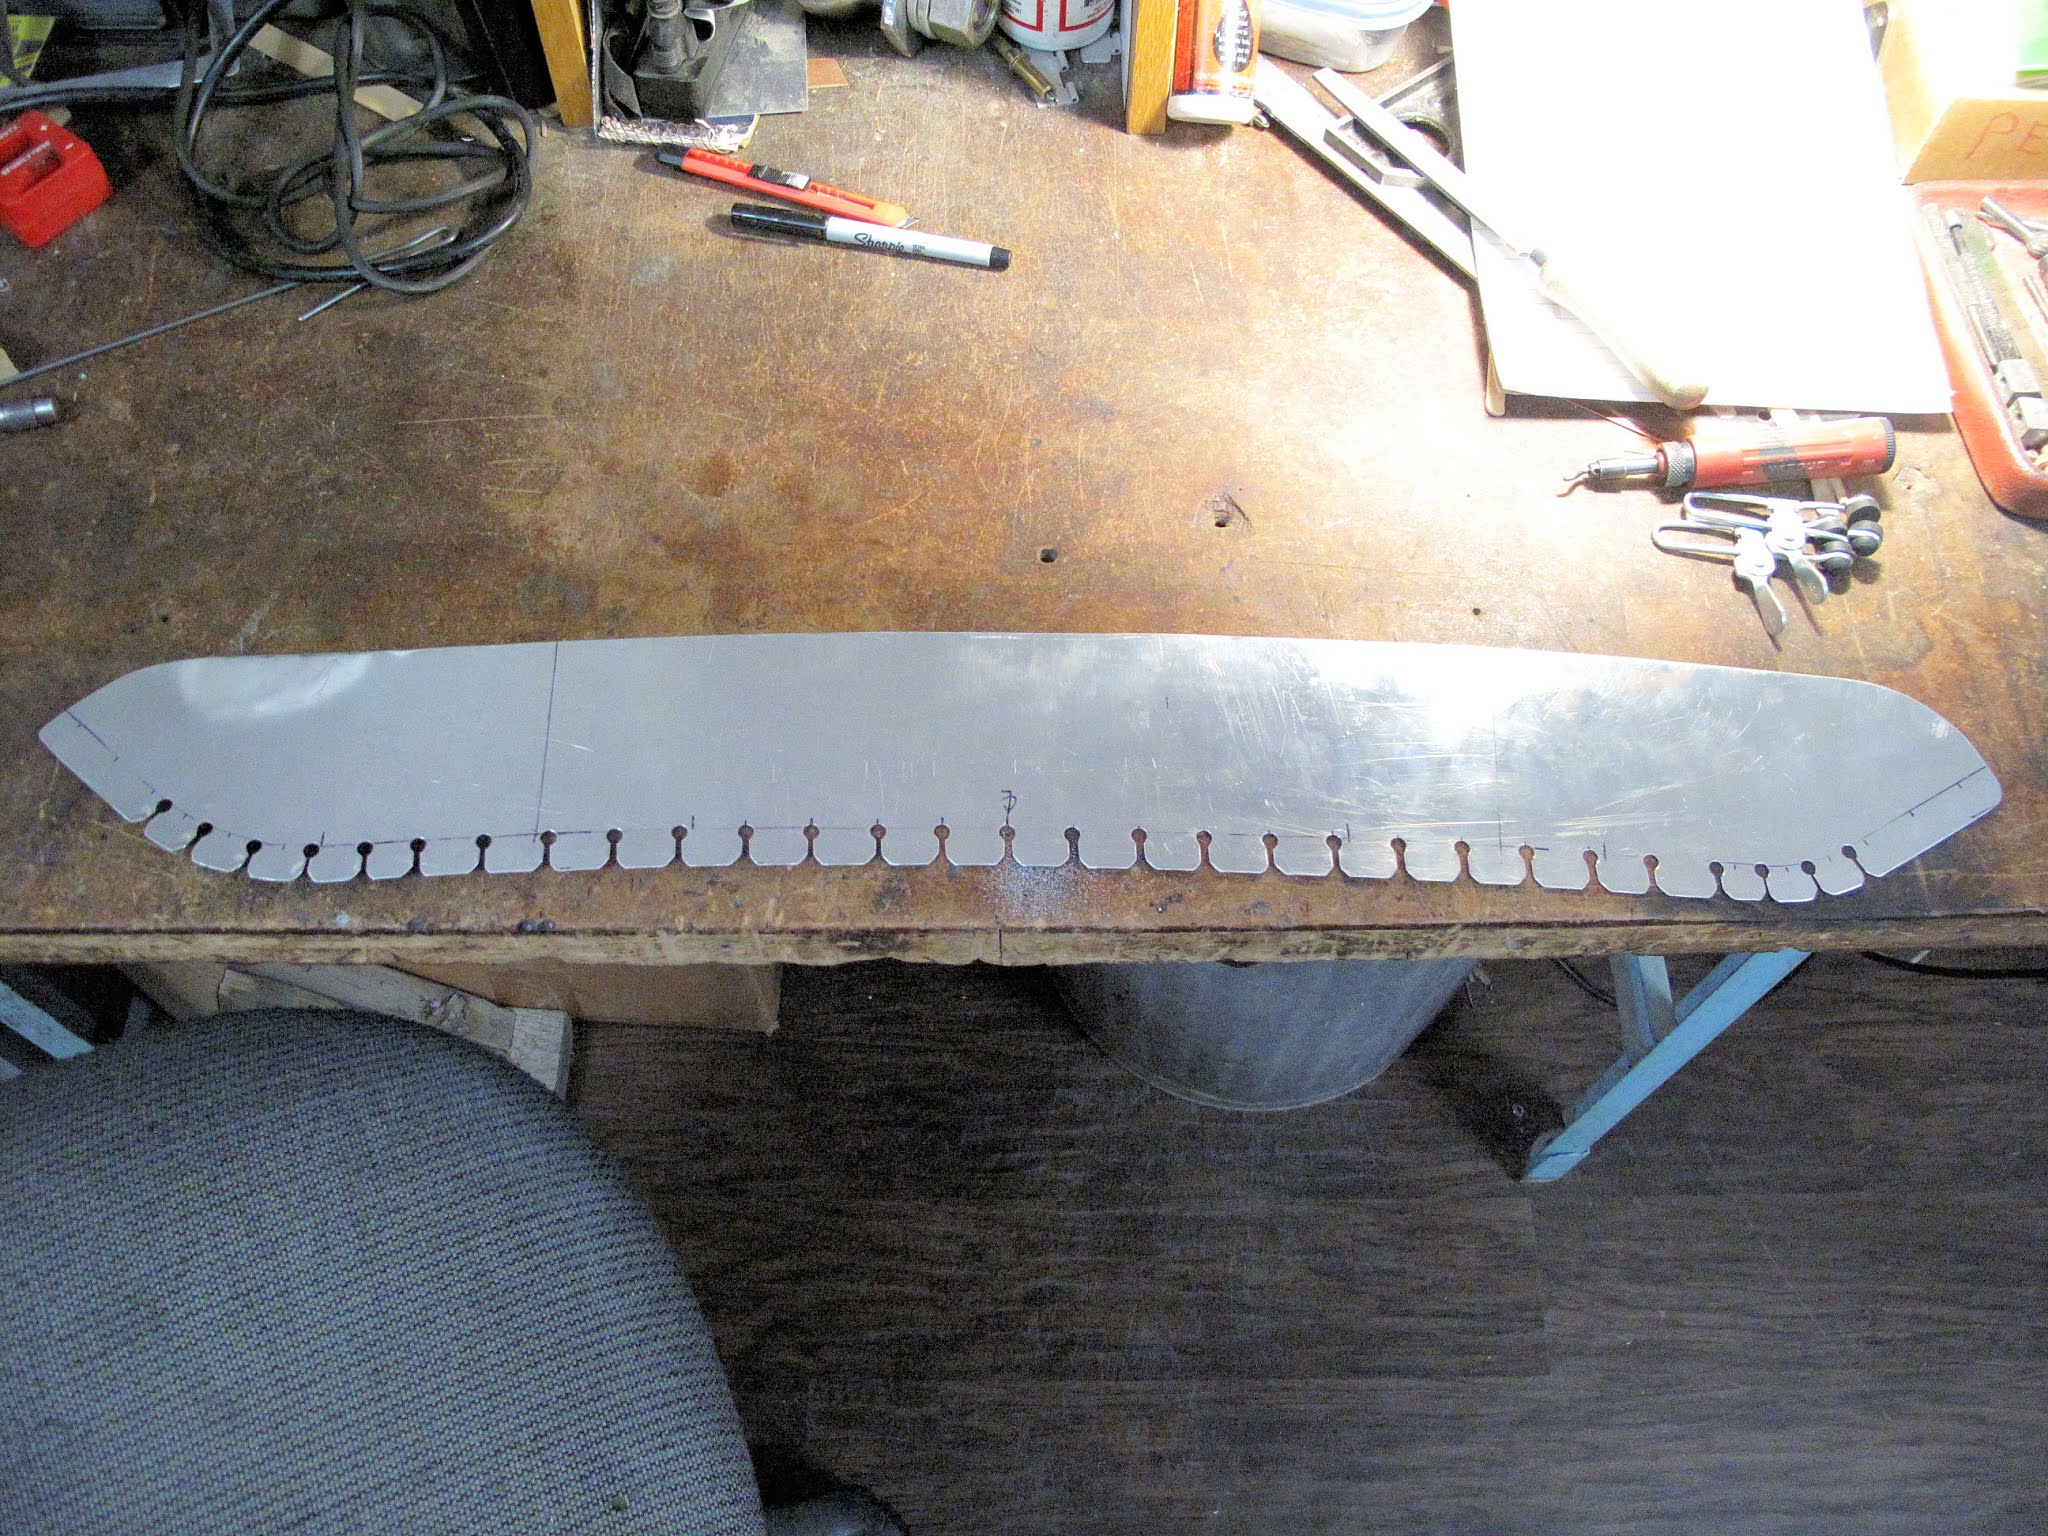
 With a pattern it was easy to make a new skirt from some 0.025" 2024-T3 aluminum. The small exhaust skirts had a large tab at the outer end, with 3 rivets.


The rivet tabs between them are spaced about 1" on centers. The holes along the bend line are 1/4" to help prevent cracking.

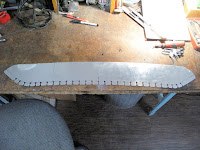
 I took the blank skirt back to the plane to form the curved ends and to bend the angle on the tabs, so they would fit.
 I removed the little exhaust skirts and started drilling rivet hole at the outer ends. The existing rivet holes were 1/8", but I drilled any new holes 3/32" because most of the new tab actually go inside the cowl, even though I drilled the holes with them on the outside. My idea was that using a smaller starter hole would give me a little flexibility if the holes didn't perfectly align when the tabs were on the inside. A few of the tabs had to remain on the outside because I didn't cut away all the cowling behind the skirt.

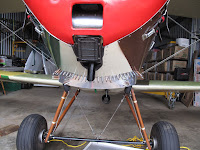
 I left part of the cowl beside the exhaust pipes so I could put support brackets where the old center skirt ended.


They're triangle shaped supports made from 0.032" 2024-T3 alunimum.

 Before riveting everything together I put the cowl back on the plane to make sure everything fit. I'm glad I did. The triangular support brackets didn't fit quite right the first time. They were easy to re-make and now it fits perfect.

 The supports make the skirt much stronger and stiffer. They also allow the cowl to mount to the firewall under the plane.


I enlarged the openings around the pipes, which adds a few more inches of outlet area. I'm not sure much air will come out of them so they're not included in my area calculations.
There is good clearance around the pipes


 With everything fitted up we're back in the attic to rivet it all together. First I Alodined the aluminum parts to reduce corrosion and allow paint to adhere better.

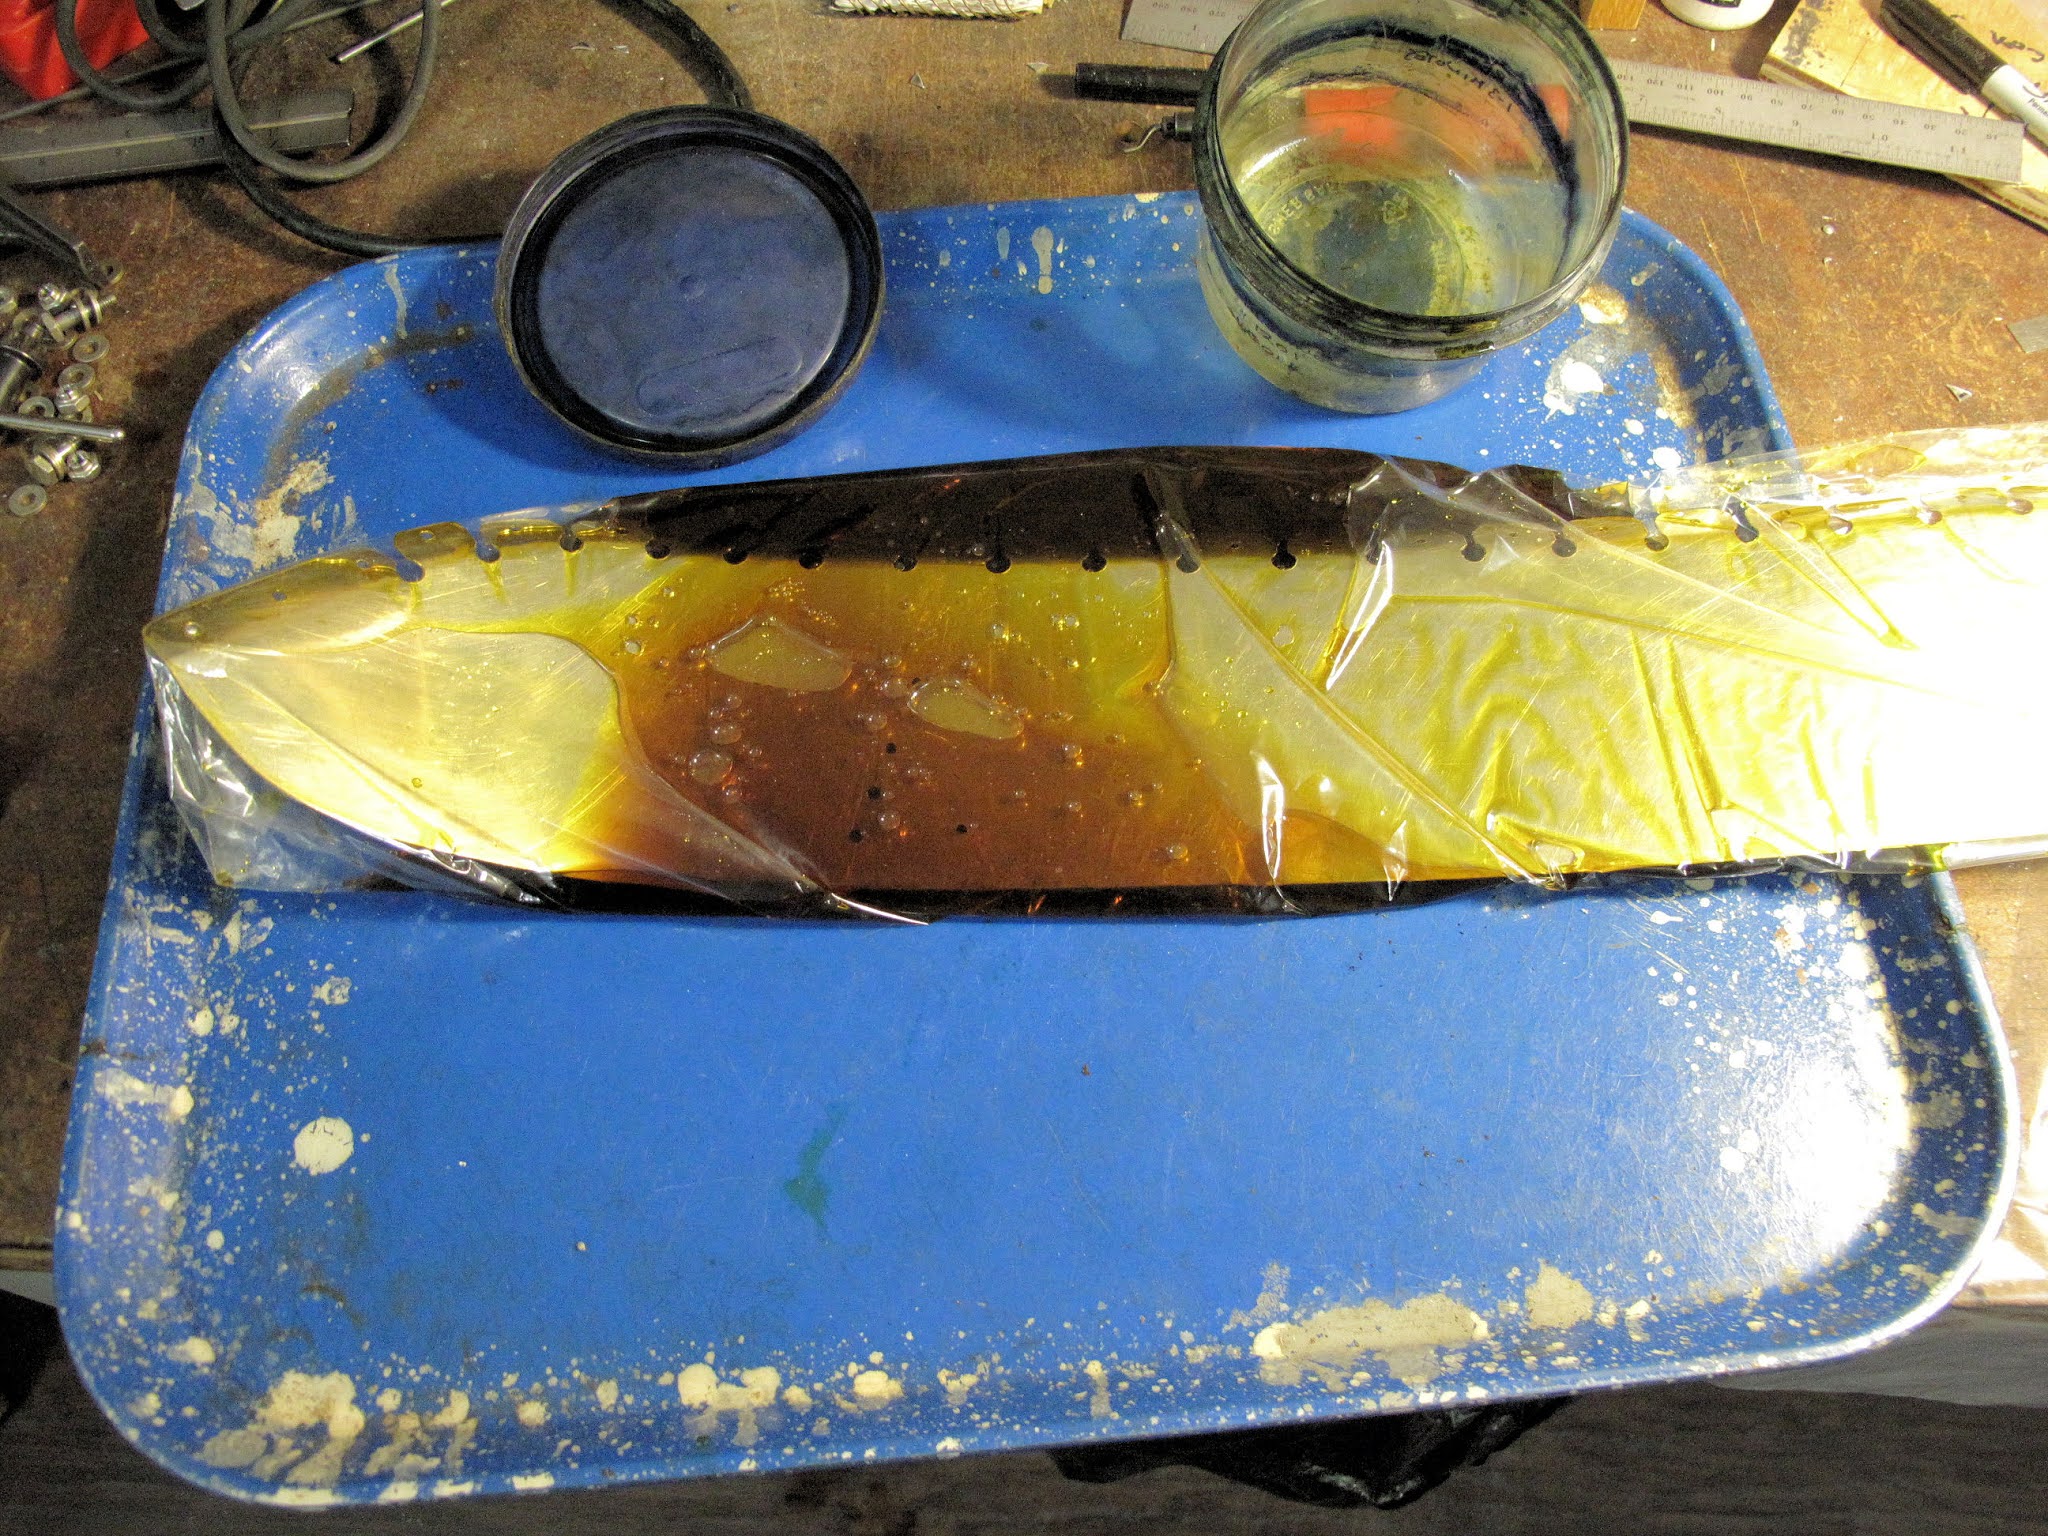
The process work best if you immerse the part in the Alodine solution, after acid etch. Brushing it on never gets as even a color as immersing the part. The trick to do this without gallons of expensive Alodine and a big tray is to use a plastic bag. For the skirt I have a long skinny bag and only 2 cups of Alodine. You just keep sloshing it around for about 3-5 minutes and you're done. For the supports I used a 1 gallon zip-lock back. Double bag it, they leak. Strong roasting bags work very good and are reusable.
I keep the used Alodine in a plastic bowl with a secure lid.

The supports were riveted on first, then the ends of the skirt up to the supports. Once that was done the center section was riveted. I was concerned nothing move so I only removed 2 Clecos at any time. Usually I remove every other Cleco, fill in the rivets, then remove the remaining Clecos and finish riveting. I think it was worth the slower process. I also only drilled holes with the #30 drill when I was ready to install that rivet.


 I like it. I'll paint it in the spring once I'm sure it works as needed.

 From the back you can see which tabs were on the inside of the cowl.


I decided to cover the 1/4" holes between tabs with some aluminum duct tape. The adhesive is way way better than regular duct tape. In the Air Force we called it High Speed Tape. It really stays on well.

 Back on the plane. I like it. Now I need the weather to cooperate. Looks windy for tomorrow, then nice for several days.


No comments:
Post a Comment