At the 1969 Rockford fly-in Ernie got to fly Pete's Bi Baby and was hooked, So with the end of flying in 1974 it was time to start building the biplane wings. At the 1974 Oshkosh fly-in Pete announced that the Biplane drawings would be available. What he had at that time was more like copies of his sketches and notes from when he built his wings. It wasn't the detailed plans like the monoplane, but Ernie's been building balsa model planes since he was nine so it wasn't such a stretch after building the monoplane. In 1969 they moved to a house in the country and built a barn for my sister Debbie's horse. The garage had been converted to a workshop so work on the wings could progress through the winter months.
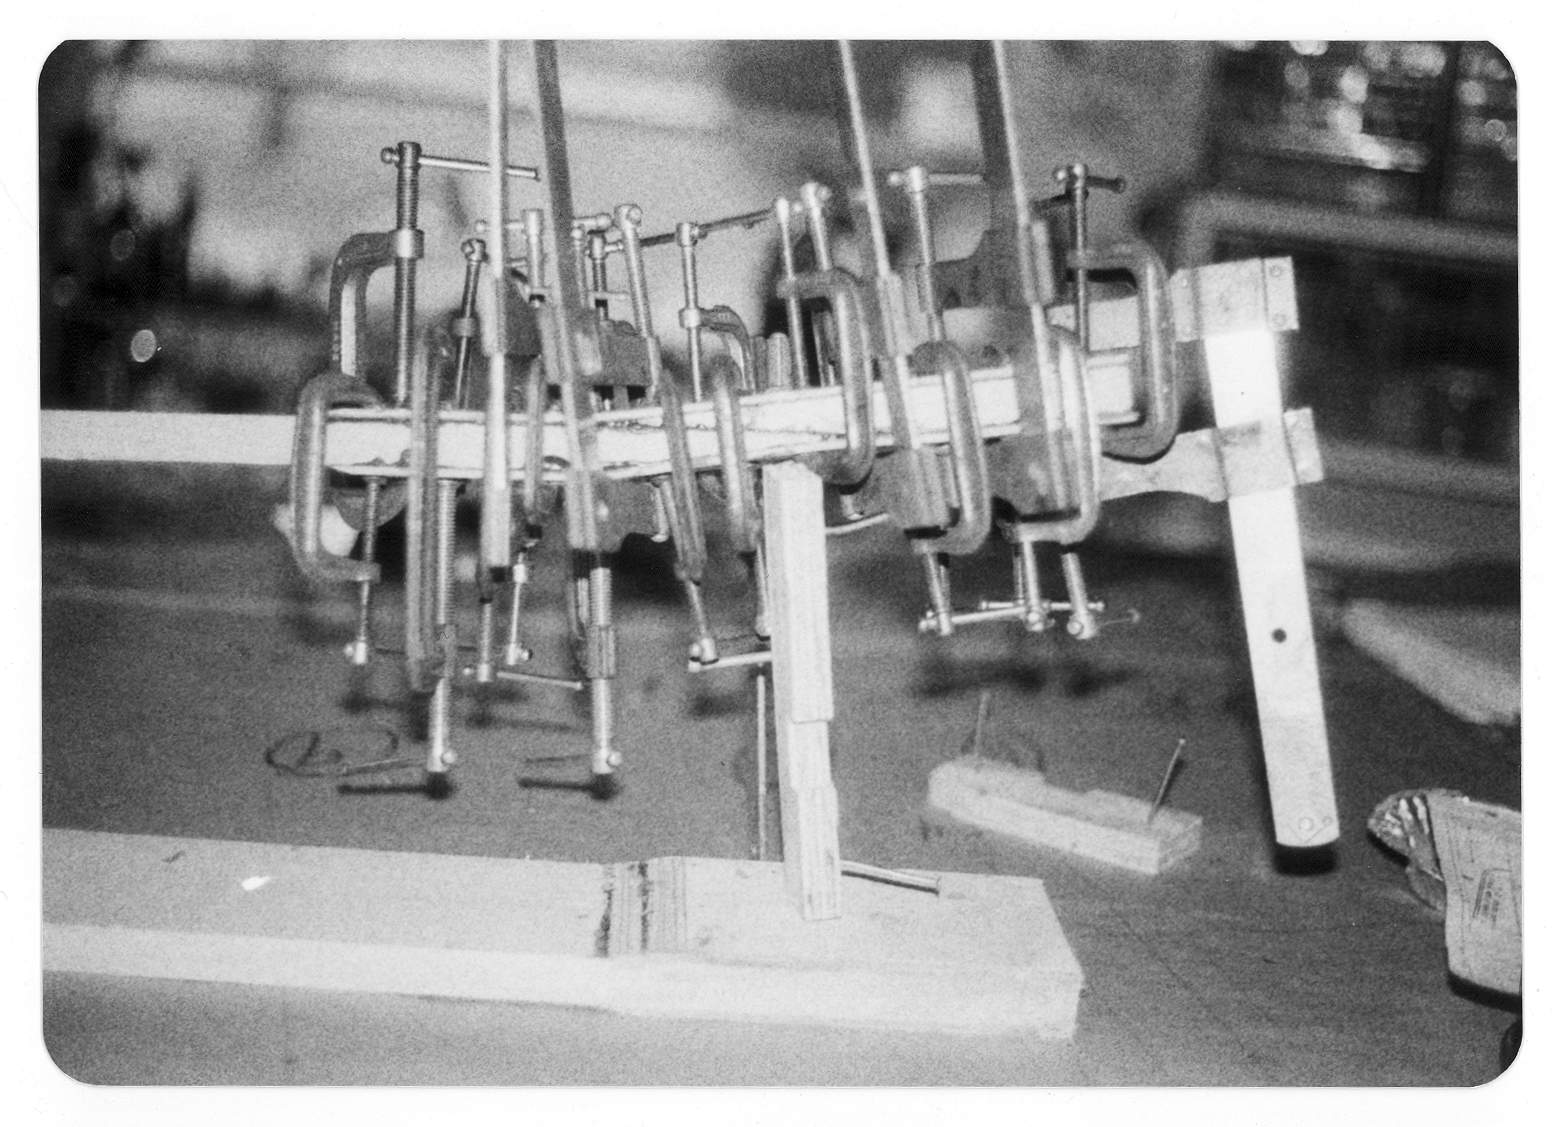
Work began in early 1975 with the construction of a work table big enough to assemble a wing. Next came a nice laminated part the cutout bow for the trailing edge of the center section. It's made form layers of plywood glues together and then carved to a nice shape with a wood rasp.
There are a lot more ribs to make than the monoplane. You get really good at it.
The upper wing Center Section was built first. It's the only wing panel with square corners. On all the other panels the spars sweep back 9 degrees.
A small paint booth was made for painting all the metal parts.
The next panel was the upper left wing. Blocks were screwed to the table to keep the spars correctly located during assembly.
The ribs were slipped on the spars and then with the spars in the blocks the ribs were attached to the spars with corner blocks. A boat load of corner blocks all cut with these odd 9 degree angles to fit the corners.
All the wood work was done and the tip installed before the compression struts and drag wires were added. This allowed the holes in the ribs, for the drag wires, to be cut to fit the wire locations. Otherwise every rib has to be carefully made for a specific location.
Next is the left hand lower wing. Now things get messy. The lower wing has to fit the existing fuselage, which was made for the Monoplane wings. The Biplane wings have a shorter cord and the 9 degree sweep back. To make all this work the rear spar has a dog leg in it to make the root end come out a the same place as the rear spar on the Monoplane wing.

Brothers David (with beard) and Dennis working on some calculations with Dennis' new TI programmable calculator. Dennis is a few weeks from his Aero Engineering degree. Before this year calculators were not allowed for exams, only slide rules were allowed. David now has the slide rule and calculator in his slide rule collection. That year we also switched from FORTRAN IV to FORTRAN V for programming things on the Michigan computer. Patricia did key punching for the Graduate School and punched all of Dennis' Hollerith cards for entering programs and data into the computer. We took the cards to a window in the computer room. During slow times they loaded them in the computer and usually the next day we had our results so we could make changes and repeat as needed. Today Dennis probably has more compute power in his iPhone than the University of Michigan had in 1975.

The fittings on the front spar are bent back 9 degrees. On the rear spar, because of this dog leg, the fittings are straight like the rear spar on the Monoplane wings.
The aileron attaches to the rear spar so there is no complicated structure to build behind the rear spar.
The structure for the wing walk is build like that on the Monoplane wings.
One of the aluminum wing tip bows. The drag wire are all in at this point. There are a lot of parts to the Biplane wings but they go together quickly.
On to the Right Hand Upper wing. The leading edge strip of wood is glued and clamped to the leading edge ribs.
The drag wires are in and the woodwork is done except for the plywood on the top and bottom of the root ribs
One panel remains to build.
The last wing panel is the Lower Right. Again the dog legged rear spar.
One of the nice things about the Fly Baby is that it's like building a large balsa wood model. There are some extra parts but the concept isn't so foreign to anyone who has built balsa models.
You can see the plywood cover on the wing walk.

Wing Tip Bow & Aileron. The ailerons are just a front spar, ribs and trailing edge, pretty simple.
The leading edge at the tip is reinforced with Styro-Foam. It's glued in and shaped with a rasp and sand paper.
All the wood work gets protected with 2 coats of varnish. I like the smell of real varnish. I guess it brings back memories of building Fly Baby. I think these pictures were taken 24 April 1975. That was the day the FAA signed off the wings for cover. The aluminum leading edge couldn't be installed until they had inspected the structure.
Left Hand Upper.
Center Section.
Strut and wire fittings on the bottom of the center section.
Right Hand Upper
Right Hand Upper Tip.
Left Hand Lower.
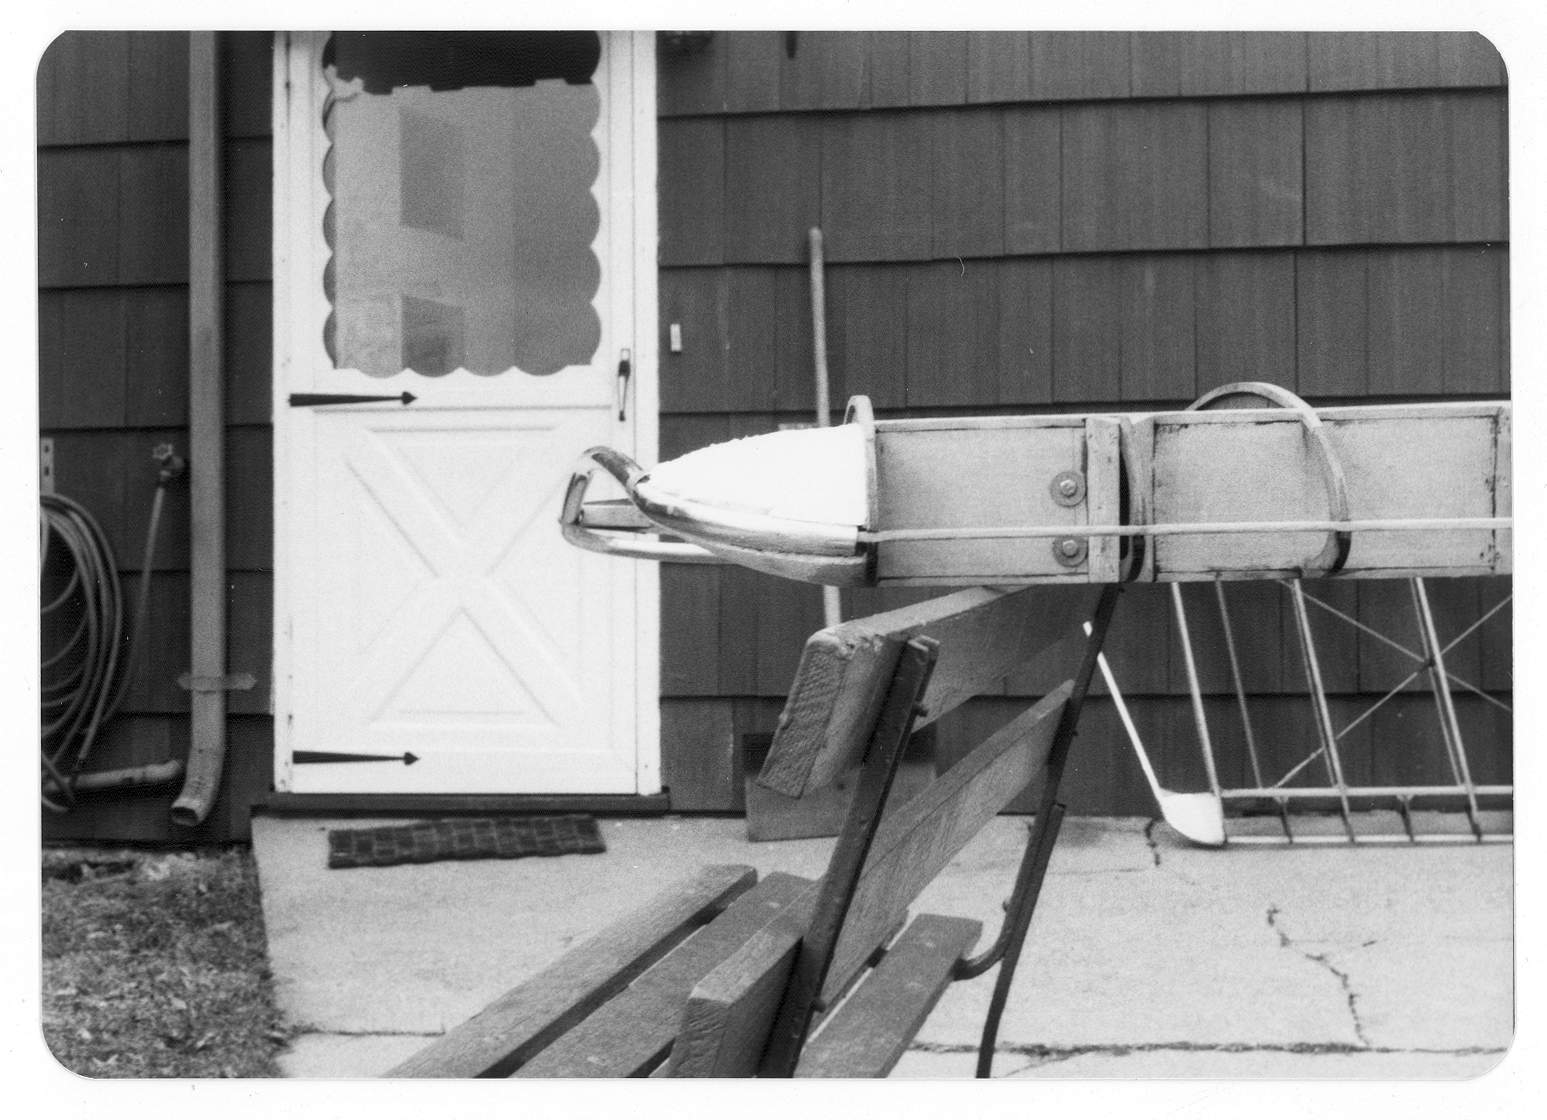
Time to build the struts.
On April 24, 1975 the FAA signed off the wings for covering.


No comments:
Post a Comment