The wing rigging was adjusted first. I leveled the fuselage Fore & Aft on the top longeron, and side to side on top of the former at the back of the seat.
The upper wings are rigged flat, with no twist, so I strung a tight string between the tops of the outboard wing struts. The center section was adjusted level, then each upper wing panel. With everything adjusted the sting is 3/8" below the fabric and even all the way between the struts.
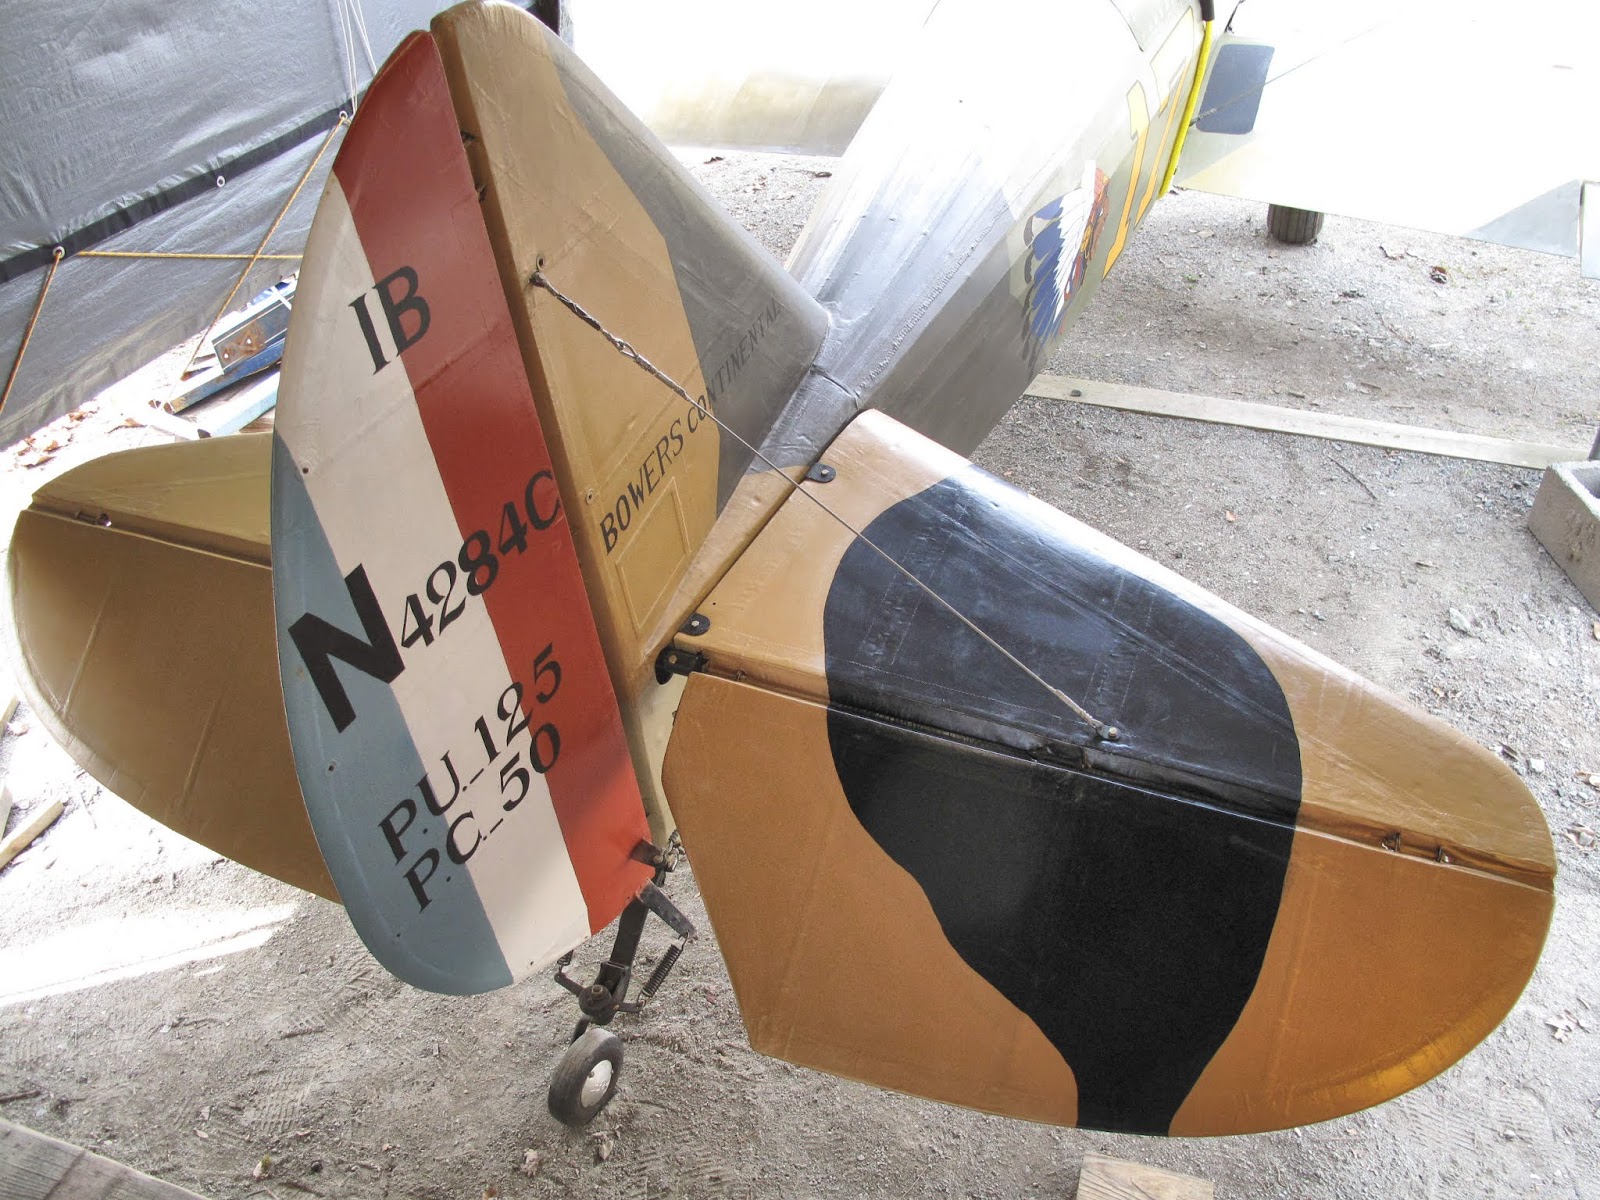
The first brace wires were made for the tail without my
2x4 Cable Fixture. They were both a little short. New cables were made using the fixture and fit perfectly. The horizontal surfaces are level and square to the fin.
I've adjusted the elevator travel to have 20 degrees down and 35 degrees up.
Really looking like an airplane now. This is the first I've seen the paint job with the the plane assembled. There is a slight difference in some of the colors between the wings, Poly-Tone, and Fuselage/Tail, Dope. If I were doing this again I would do it all in Ceconite so I could use dope for all the finish. The fabric on the fuselage and tail has now been there 20 years so I'll be recovering them soon, probably this fall.
I really like the look. The idea was, what would our Fly Baby look like if I had Kellner, SPAD Sub Contractor, paint it while they were painting SPADs in WWI, with the markings of the 103rd Aero Squadron added.
I need to get this thing done.


No comments:
Post a Comment