Monday, December 12, 2016

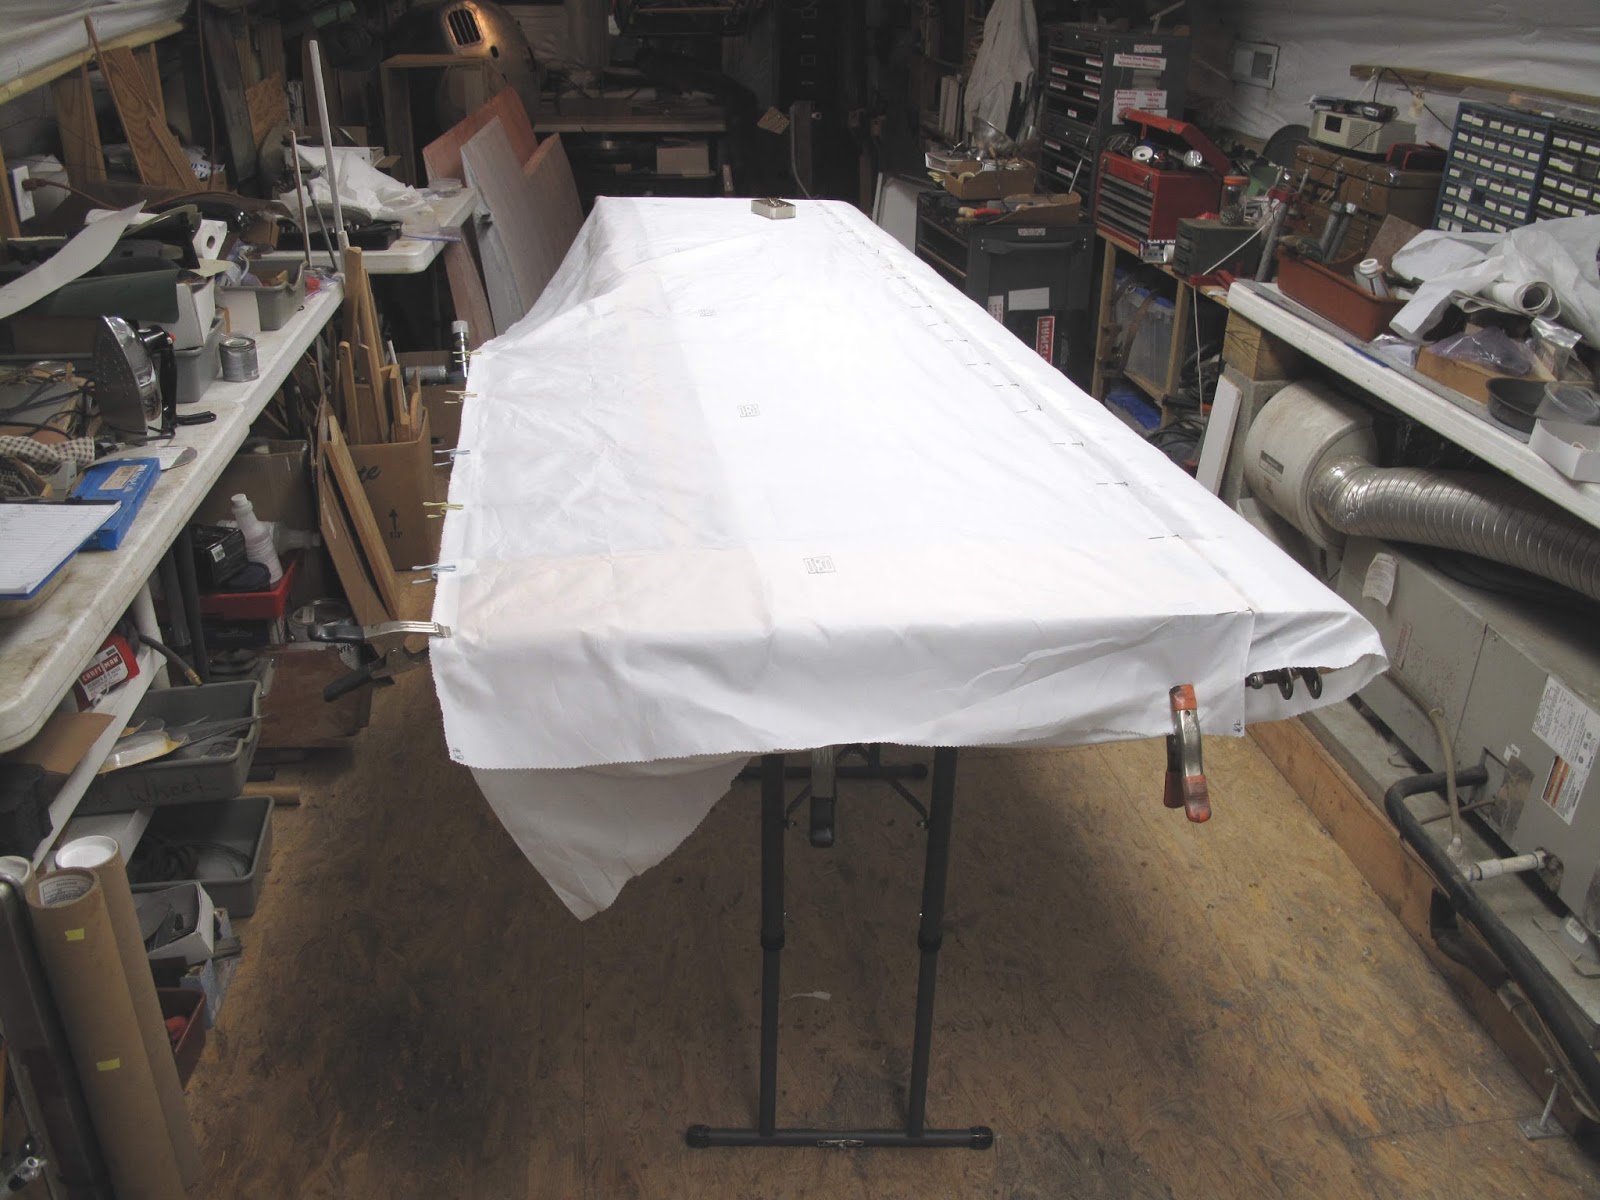
Lacing Lower Left Wing and Tips on Rib Lacing


The lower left wing is next to Rib Lace.  The stand was easier to attach to the fittings at the root end by just passing the dowel through the fitting holes, like it was done on the Cessna 140 wing.  I put some pieces of plastic tubing to keep the wing from sliding on the dowel while rotating.

The only real problem is that the 9 degree angle of the ribs makes rotating the wing a little weird, the stand pivot is not parallel to the wing centerline.  If you're not doing a lot of rotating it works well enough.  I should just make a new support piece that fits the wing fittings and with the 9 degree offset.

The reinforcing tapes are on and the stands work OK with the wing tipped like this.

We're ready to rib stitch.

I find it easier to do the stitching sitting in my tall work chair.  You're close to the knot while tying and can easily look under the wing to pass the needle through the holes.

I also find flat (braided) cord get tangled less than round (twisted) cord which wants to twist into a mess all the time, not so with the flat cord.

 We're lacing the fabric to the rib so every knot starts with a loop around the rib.  If you are right handed, like me and as shown in all these pictures, go down on the right side of the rib, around the bottom and back up on the left side.  You should be able to take all these pictures and mirror them left to right and see how to do this if you are left handed.  It works both ways and there is no requirement to do it right handed.


 For the starter knot Pull the needle through leaving about 8" of cord sticking out on the right side.  You need enough to get a good grip to pull the knot tight.  I also leave enough to pull the loose end back down through the wing, we'll get to that.  I've got the needle parked in a hole so I don't have to hold it.

You can start at the leading edge or the trailing edge as well as anywhere you run out of cord long enough to make it easy to pull knots tight.  The old method of knots on top of the wing included a splice knot.  With the hidden knot method just lock your last stitch with a half hitch and start a new piece of cord with a starter stitch.
 The starter stitch is a square knot with a half hitch on each side to lock it.  A square knot will slip without the half hitches.

The Poly-Fiber manual has a simple way to tie a square knot.

Make a "U" shaped loop by folding the free (needle) end back on itself.

Fold the loop over making 2 ears.

Fold the ears down, pass the short end through the ears, and pull it tight.


 If you want to see that this actually makes a square knot you can move the cord around to see it really works.
 Pull the knot almost tight to the rib leaving room to easily pass the ends back through to make half hitches on each side of the knot.  Don't pull them tight yet.


 Pull the square knot tight then tighten each half hitch making sure the knot is tight after tightening each hitch


 To get rid of the short end use another needle to pass the cord back down through the wing.

Pulling this end through the wing makes it easier to get the knot to slide just below the fabric while pulling the knot to the side of the rib with the free (needle) end of the cord.

Then trim off the excess sticking out the bottom.


 As I'm working I point the curved end of the needle in directions which make it easy to feed the needle from hole to hole.  When hiding the cord under the fabric, from knot to knot, I tip the end up so I can see where it touches the fabric and move the needle forward or aft to get the tip in the hole.

Pull the cord straight out and parallel to the wing surface.  Pulling the thread up or to the side can cause it to tear the fabric.  It's fixable just like any small cut but avoid tearing the fabric.


Some times as you are doing the lacing, the knot you just tied ends up setting on top of the cap strip rather than down through the hole.  Before I pull the cord tight to the next stitch hole I leave a loop big enough to grab easily.  Then pull the cord perpendicular to the rib to move the knot over to the hole.  You can pull to the side here because the knot holds the cord to the rib so it can't tear the fabric.  Then as you pull the cord tight to the next hole it's easy to push the knot down into the hole.

The needle goes back down the same hole it just came out so you can make the loop around the rib.  This time I point the needle tip toward the rib, the same when you come back up the hole on the other side of the rib.  This way the angle of the needle is more nearly vertical, fore and aft, and as the needle tip touches the rib it goes easily into the hole on the other surface of the wing.

While pushing the needle down and back up around the rib, hold onto the free cord, behind the needle, to naturally keep the fixed end of the cord on the far side of the needle and the free end on your side of the needle.
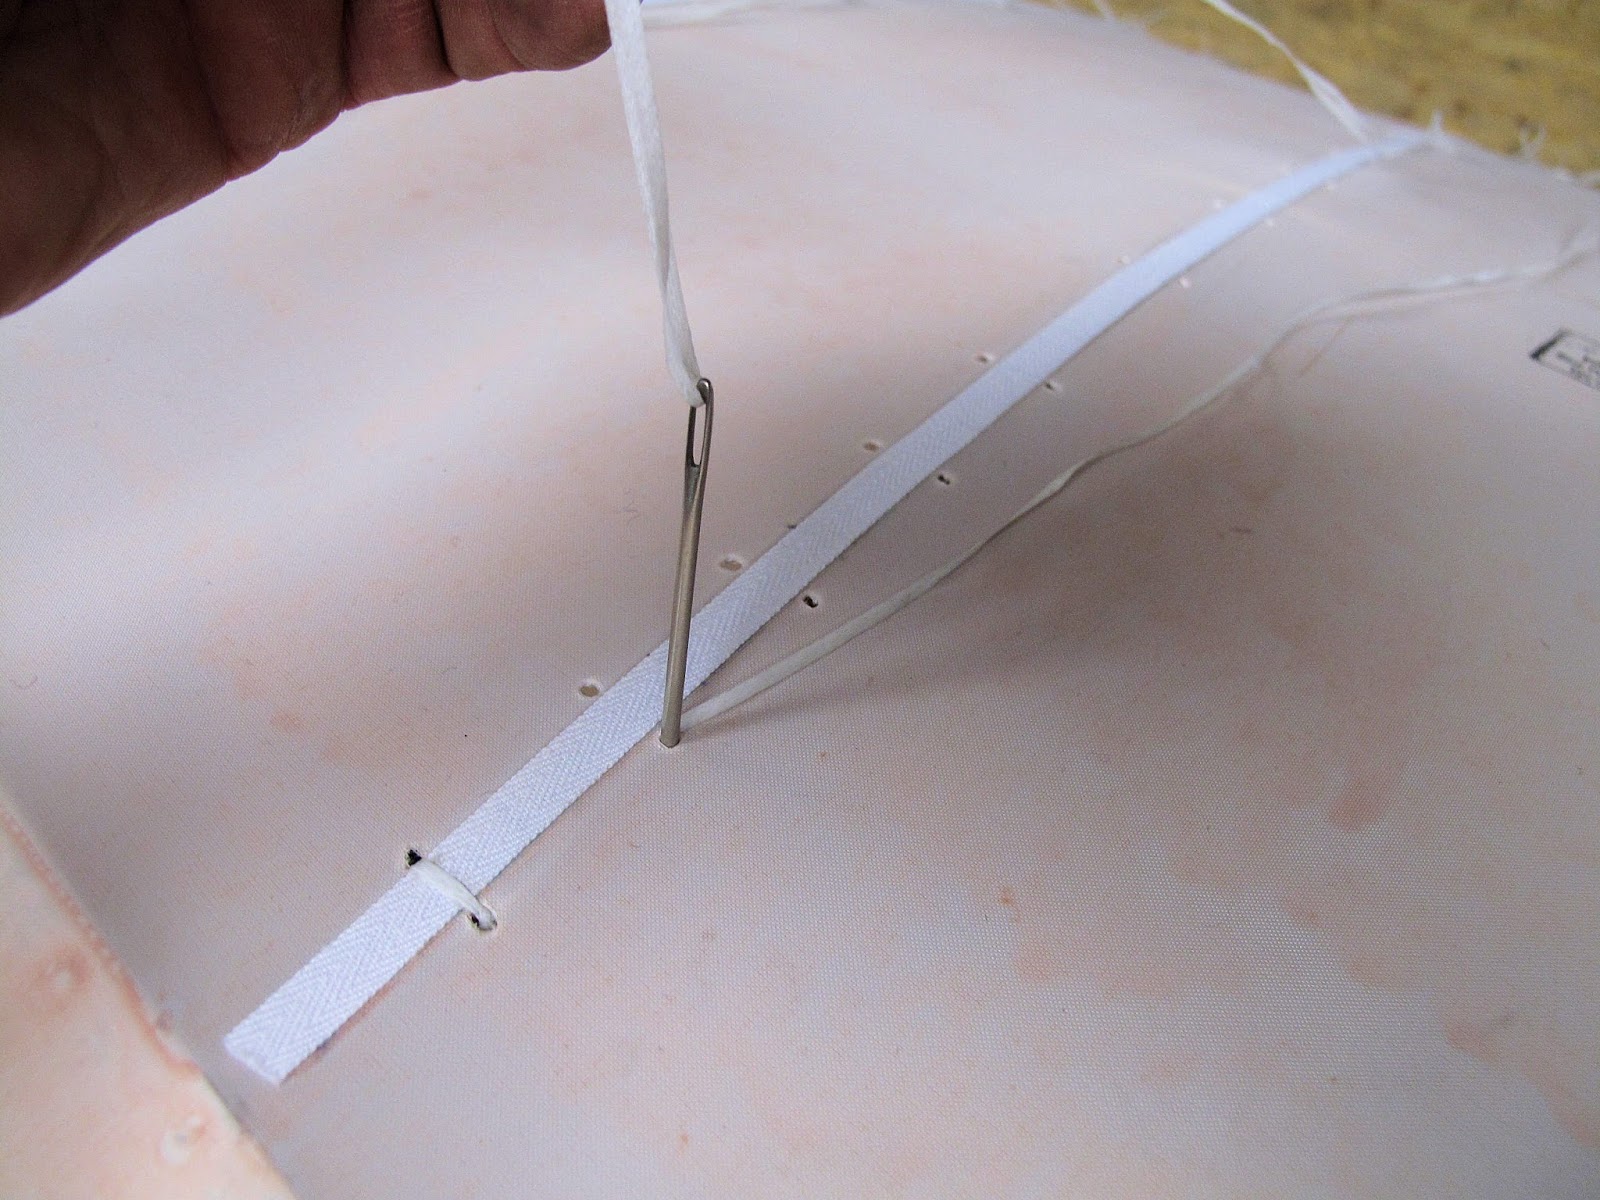


If you're holding the free end this way it's easy to be sure the needle comes back up with the cord forming a loop around the needle such that the end of the cord from the last stitch is on the side of the needle away from you and the free (needle) end of the cord is on the side toward you.

This makes what Carol, at Poly Fiber, calls an Island with the needle and cord forming her Palm Tree in the island. you can click on her name to link to her video and I have a video at the end of this posting.

You hold the free end of the cord with your hand and use your fingers to form the island into a triangular shape.


The needle goes under the side made by the free end going down into the hole.

The needle is moved forward so the needle can pass under the tight cord from the last stitch.

The needle then passes the palm tree cord on your side and crosses on top of the left side of the triangle.

All of this happens in almost a quick flip of the needle once you get into it.


Now pull on the palm tree cord to pull out all the slack.

As the knot tightens it looks like a figure 8 on it's side.

Once it's tight you see the X of the 8 on top of the needle letting you know it's tied correctly.

As the needle passes through the knot, swap hands to keep the palm tree cord tight as you pull it to the right to finish tightening the knot.

If as you finish tightening it you do it with a quick jerk to the right the knot will usually end up just under the fabric.

The video is about 7 minutes.  The blog software made it rather grainy looking.

I find it takes me about 2 minutes to thread the needle and make the starter stitch and knot.  After that each stitch takes 1 minute.  The last stitch gets locked with a half hitch but it only takes an extra couple seconds to do them.  Based on the stitch spacing, etc. on the Fly Baby I've got 79 Starter knots and 523 Modified Seine knots.  That's about 11 1/2 hours of lacing.

I also start a needle at each rib so when you get near the middle where you can't reach you just keep working your way around the wing pushing a needle through the wing or tying a knot.  With some light on the back side of the wing you can easily look through a knot hole to see where the hole is on the other side of the wing when passing the needle through.

The weather was warm today so I was able to get the first coat of Poly-Brush on the last wing panel and aileron.  I'll be able to finish lacing the wings.


Sunday, December 11, 2016

Upper Left Wing Rib Stitched


 The upper left wing is next for Rib Lacing.  I found it easier to mount it on the stands by setting it on a couple of my 2' x 4' adjustable height tables.
 I melted the bolt holes in the fabric at the root, and mounted the spar extender so it would fit the root stand.

 With the tip clamped to it's stand the tables were removed and we're ready to start.

 Reinforcing tapes were applied to the upper and lower cap strips and lacing holes punched using the rib template.

Where I had repaired the rib cap strip I used a second strip of reinforcing tape under the long strip to widen the tape where the gussets made the rib wider.

Rib lacing went more quickly and I found I could adjust the wing tilt so I could do the lacing while setting in my tall comfy work chair.

Monday, December 5, 2016

Aileron Fabric Shrinking and Rib Stitching


Today I got the fabric shrunk on the right aileron and started rib lacing on the left aileron.  Ailerons are small enough that they are easy to lace.

Hopefully tomorrow I'll finish the aileron and start lacing the left wing.

Sunday, December 4, 2016

Fabric On Lower Right Aileron - Everything Now Has Fabric


 Before covering the aileron I finished shrinking the fabric on the lower right wing panel.  When the weather cooperates I'll get a coat of Poly-Brush on it.  I've still got 2 other panels and the other aileron to rib stitch.

 As with the other aileron I stitched 2 scraps from the lower wings together to make the blanket.  I'd sew an envelope but the control horn in the middle prevents slipping an envelope on past it.

I marked the width of the spar centered on the seam.  With the spar on the marks I drew a line along the trailing edge to make it easy gluing the fabric to the trailing edge and still having the seam centered on the spar.


 I glued the fabric to the top of the trailing edge then did the Poly Fiber trick of ironing it around the trailing edge to get a smooth fit.

The fabric was trimmed to the width of the trailing edge then glued to the bottom side.

 I clamped the fabric to the spar so I could pull it while heat forming it around the tip tube.  It's not perfect but I think I'm getting there.  I need another set of wings to cover.  I guess I need to put the wings together for the WACO NINE.  Oh yeah, that's why I needed the Fly Baby out of the attic.  How may planes can you build in one attic.

I glued the root end like the other aileron so there is only one layer of fabric in the gap.  When I tape that end I'll make a custom patch to again have only one layer.

Once everything was dry I stretched the upper tip fabric.

I'll let the glue dry overnight before shrinking the fabric.

I now have fabric on everything.


Thursday, December 1, 2016

Fabric On Right Hand Lower Wing


 The Lower right wing also has an aileron cutout so I again started making the envelope by pinning the forward seam.
 I think I'm getting better at sewing straight seams.

One thing we learned doing embroidery is to make sure when you trim something that you keep what you don't want cut accidentally well out of the way of the scissors.  Trimming off the excess after sewing the seam I fold the envelope back so I can clearly see the scissors are only cutting the excess fabric.  I also trim about 1/4" from the seam.  Even with the edge pinked it will still fray with all the handling putting it on and off the wing for each seam.

 The seam on the bottom of the trailing edge was pinned and then the cutout at the rear spar.

I found it helpful when pinning the rear spar seam to pin the excess to the wing to hold the fabric neatly in position.


 When I brought the wing in to fit the fabric it was too cold to apply Poly-Brush to the leading edge and wing walk.  The corner railing on the attic deck works as convenient saw horses.

The fabric is on ready to shrink.

It was a nice afternoon so I was able to get a coat of Poly-Brush on the lower left wing and aileron.  They're ready for rib stitching.  We have a week of cold days coming to get them done.