
The only real problem is that the 9 degree angle of the ribs makes rotating the wing a little weird, the stand pivot is not parallel to the wing centerline. If you're not doing a lot of rotating it works well enough. I should just make a new support piece that fits the wing fittings and with the 9 degree offset.


We're ready to rib stitch.


I also find flat (braided) cord get tangled less than round (twisted) cord which wants to twist into a mess all the time, not so with the flat cord.


You can start at the leading edge or the trailing edge as well as anywhere you run out of cord long enough to make it easy to pull knots tight. The old method of knots on top of the wing included a splice knot. With the hidden knot method just lock your last stitch with a half hitch and start a new piece of cord with a starter stitch.

The Poly-Fiber manual has a simple way to tie a square knot.
Make a "U" shaped loop by folding the free (needle) end back on itself.
Fold the loop over making 2 ears.
Fold the ears down, pass the short end through the ears, and pull it tight.


Pulling this end through the wing makes it easier to get the knot to slide just below the fabric while pulling the knot to the side of the rib with the free (needle) end of the cord.
Then trim off the excess sticking out the bottom.


Pull the cord straight out and parallel to the wing surface. Pulling the thread up or to the side can cause it to tear the fabric. It's fixable just like any small cut but avoid tearing the fabric.


While pushing the needle down and back up around the rib, hold onto the free cord, behind the needle, to naturally keep the fixed end of the cord on the far side of the needle and the free end on your side of the needle.
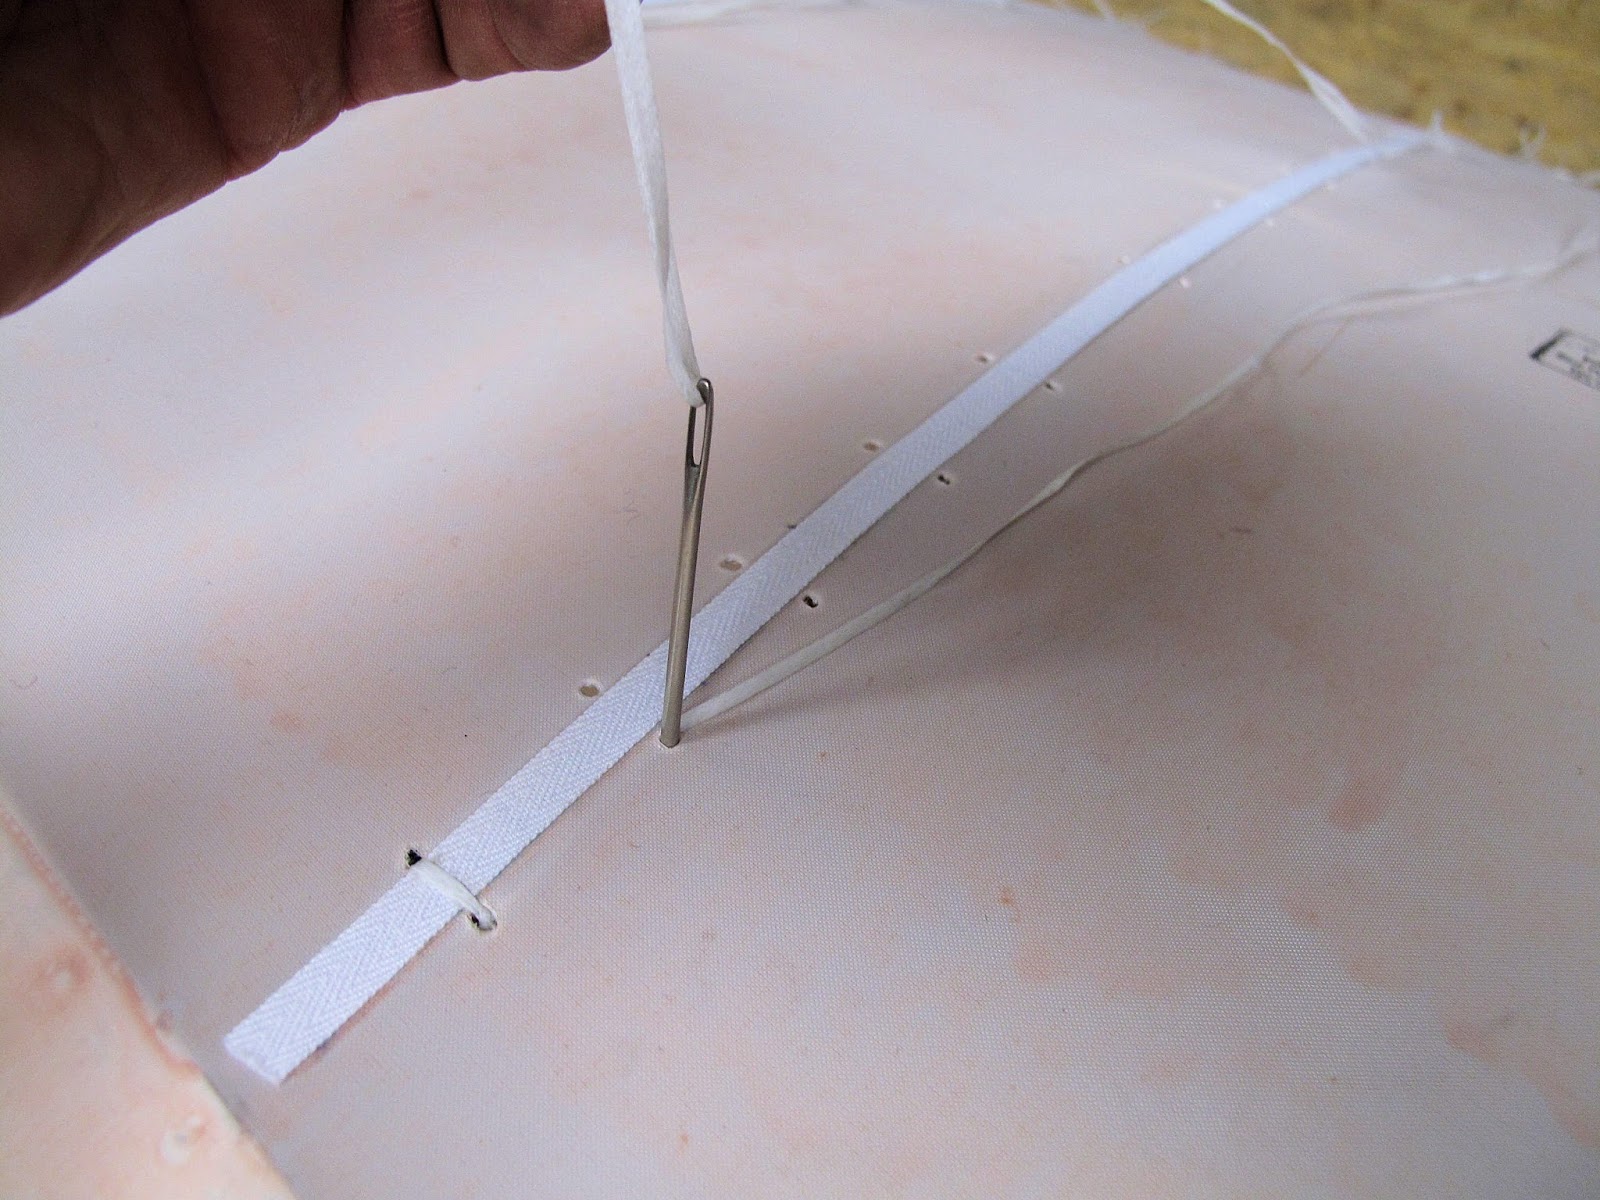


This makes what Carol, at Poly Fiber, calls an Island with the needle and cord forming her Palm Tree in the island. you can click on her name to link to her video and I have a video at the end of this posting.
You hold the free end of the cord with your hand and use your fingers to form the island into a triangular shape.


The needle is moved forward so the needle can pass under the tight cord from the last stitch.
The needle then passes the palm tree cord on your side and crosses on top of the left side of the triangle.
All of this happens in almost a quick flip of the needle once you get into it.


As the knot tightens it looks like a figure 8 on it's side.
Once it's tight you see the X of the 8 on top of the needle letting you know it's tied correctly.
As the needle passes through the knot, swap hands to keep the palm tree cord tight as you pull it to the right to finish tightening the knot.
If as you finish tightening it you do it with a quick jerk to the right the knot will usually end up just under the fabric.


The video is about 7 minutes. The blog software made it rather grainy looking.
I find it takes me about 2 minutes to thread the needle and make the starter stitch and knot. After that each stitch takes 1 minute. The last stitch gets locked with a half hitch but it only takes an extra couple seconds to do them. Based on the stitch spacing, etc. on the Fly Baby I've got 79 Starter knots and 523 Modified Seine knots. That's about 11 1/2 hours of lacing.
I also start a needle at each rib so when you get near the middle where you can't reach you just keep working your way around the wing pushing a needle through the wing or tying a knot. With some light on the back side of the wing you can easily look through a knot hole to see where the hole is on the other side of the wing when passing the needle through.
I also start a needle at each rib so when you get near the middle where you can't reach you just keep working your way around the wing pushing a needle through the wing or tying a knot. With some light on the back side of the wing you can easily look through a knot hole to see where the hole is on the other side of the wing when passing the needle through.
The weather was warm today so I was able to get the first coat of Poly-Brush on the last wing panel and aileron. I'll be able to finish lacing the wings.


No comments:
Post a Comment