We're closing in on 50 years since the first flight. With my time schedule it's looking less likely I'll fly to Oshkosh this year.
The decision was made to recover the wings. It has been 40 years since the biplane wings were built. I started with the center section. It's small easy to work on and I can mount it back on the fuselage to get it out of my way.
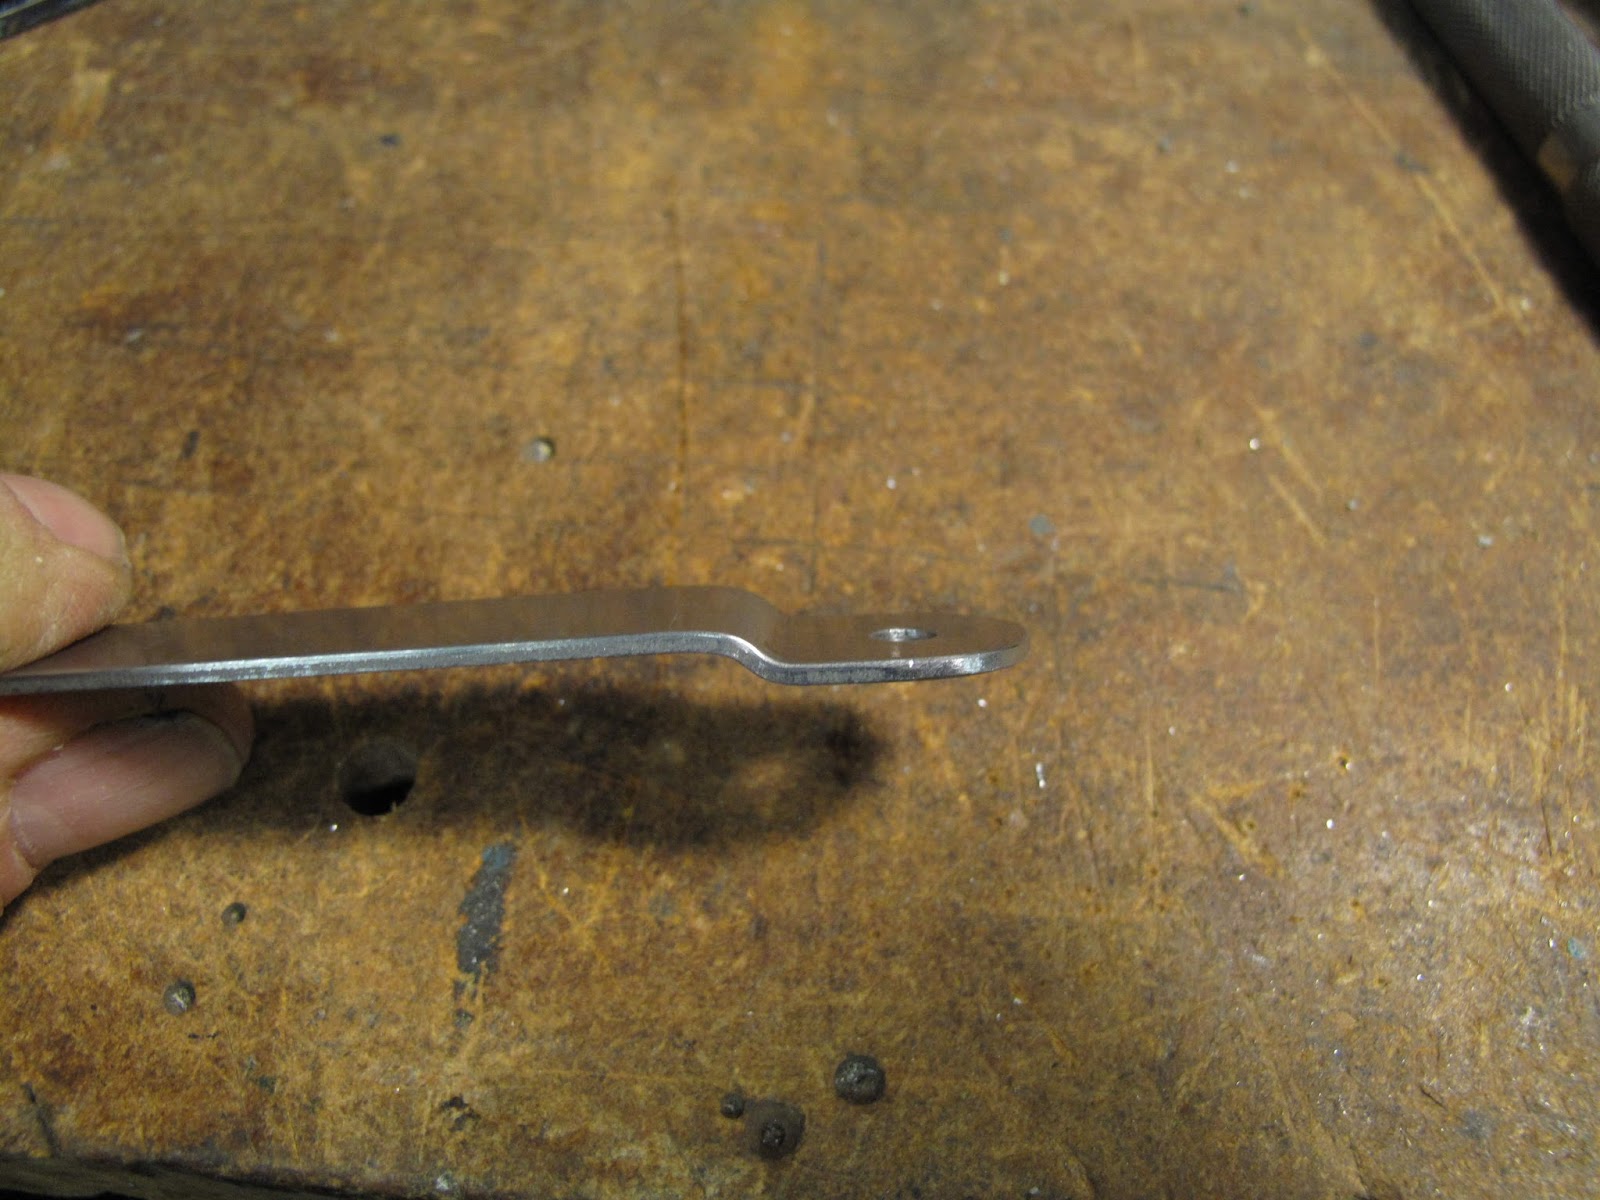
The first step was to remove all the fittings. They could use sand blasting and repainting. Each fitting was tagged to assure they get back in the right location so it all bolts back together.
The strut attach fittings are bolted in with the compression struts so we'll see if they can be removed after the fabric is off.
Other than cracked dry dope the fabric was in good condition. I started at the ends and pealed it from the root ribs. I then cut it along the trailing edge and worked my way forward cutting the rib lacing cords.
There were a couple mud dauber nests but nothing worse.
I'll save the fabric until the new fabric is done just in case I need some information from it. Better to have it for now and not need it.
The wood is all in good shape. I'm planning to cover the wings with Poly Fiber so I'll varnish any areas the fabric will touch with epoxy varnish. In general the varnish is in real good shape. It's a shame no one sells regular spar varnish anymore.
To remove the bolts through the compression struts I needed to loosen the brace wires. I measured the cable tension, marked trammel points and took measurements just to make sure I get it back the way it was.
When I went to loosen the turnbuckles I noticed more thread showing than I would like. There should be no more than 3 threads showing. These turnbuckles are much stronger than needed for this cable so I don't think they were in any danger. There is no way to easily replace the wires because the other end goes into the structure. I could splice on a piece, but I have another idea for how to lengthen them.
I stamped an "s" on the spar side of the strut fittings to make it easier to reinstall them correctly.
The fittings are sand blasted, painted and reinstalled with new bolts. The epoxy varnish is drying in my center section storage rack. Hey it out of harms way.
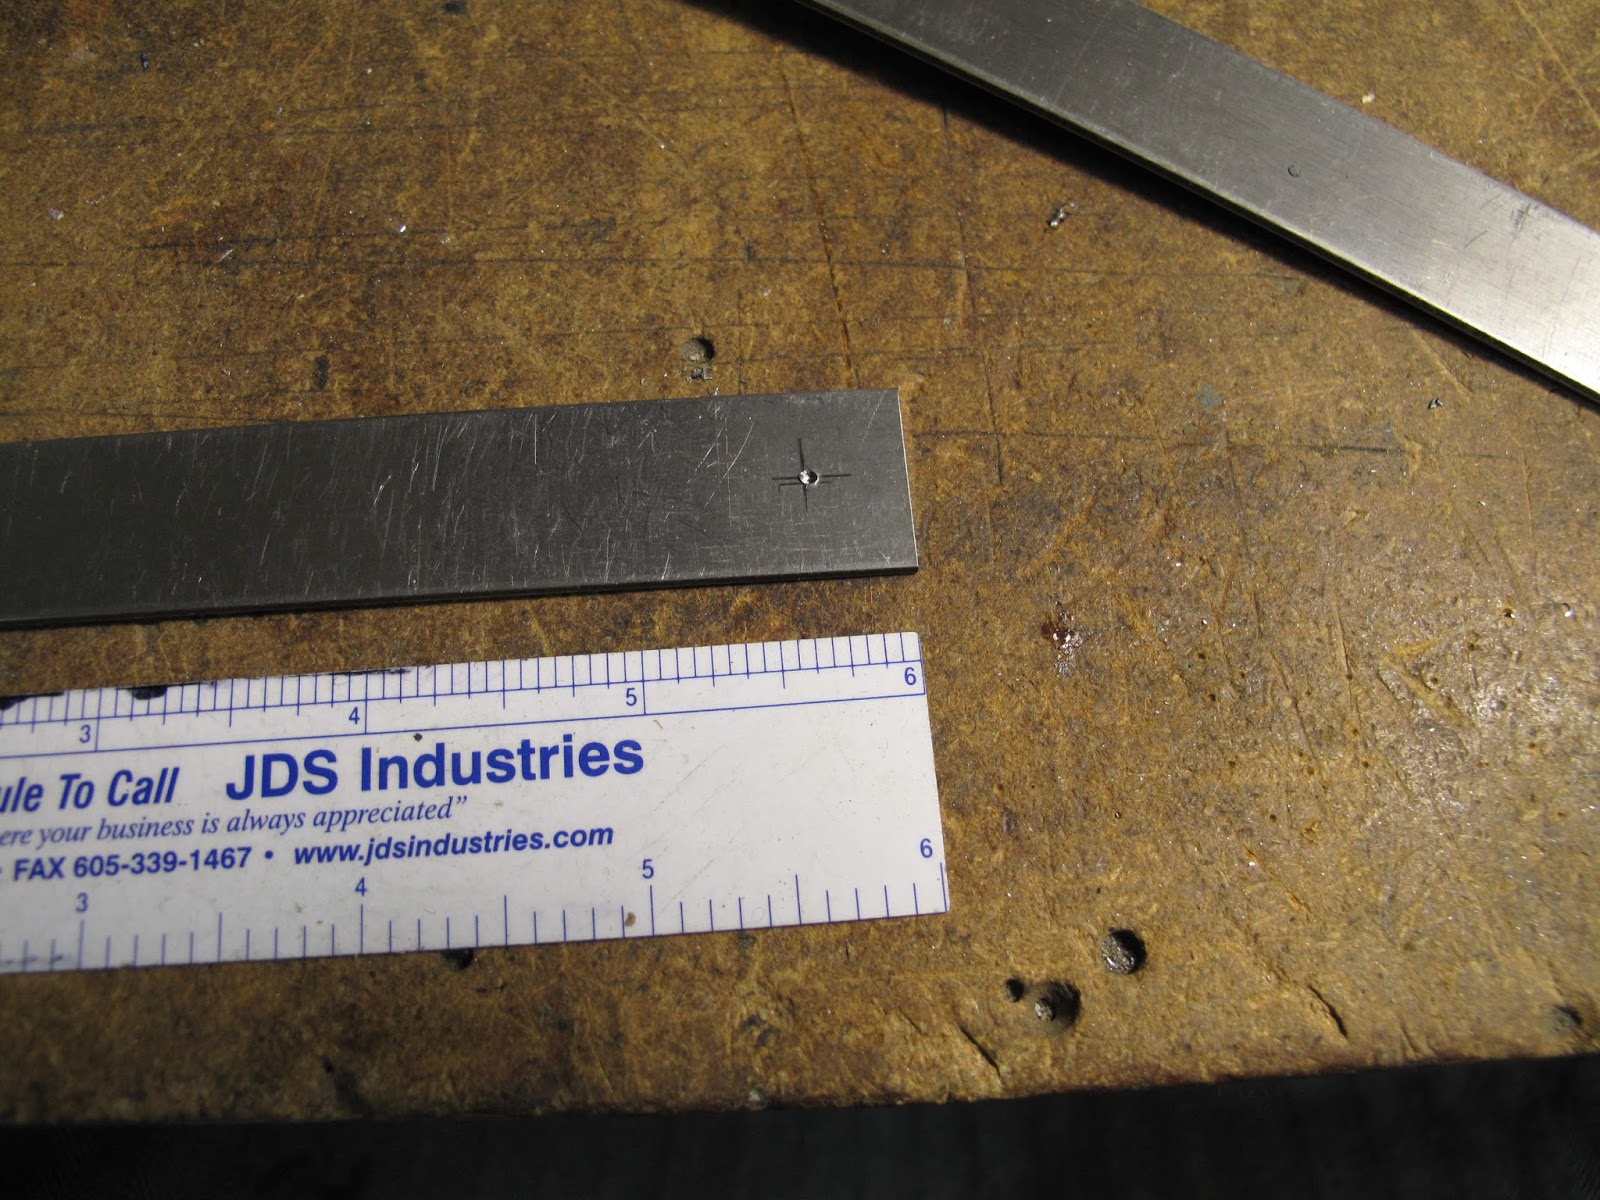
The turnbuckles have fork ends so it was easy to remove the cable end from the turnbuckles. To lengthen the wires I decides to make some extender clips, kind of like chain links. The turnbuckle fork goes over the thin section and the cable goes in the fork end just like on the turnbuckles. I'l make them from strips of 3/4" wide 0.063" thick 4130 steel. I'll make the bend radius 1/8". The holes are 3/16" diameter.
My Whitney punch can punch a 3/16" hole in 0.050" 4130 but not 0.063" so I'll have to drill the holes.
I center punched a hole slightly over 3/8" from the end, we'll grind off the slight excess later.
I like center drills for a nice precise hole in thin stock.
To fit the bolt I reamed the hole with a #11 drill, #10 would work also.
The hole is de-burred.
The template I used for the
WACO floor clips was used to mark the end shape, not too much excess.
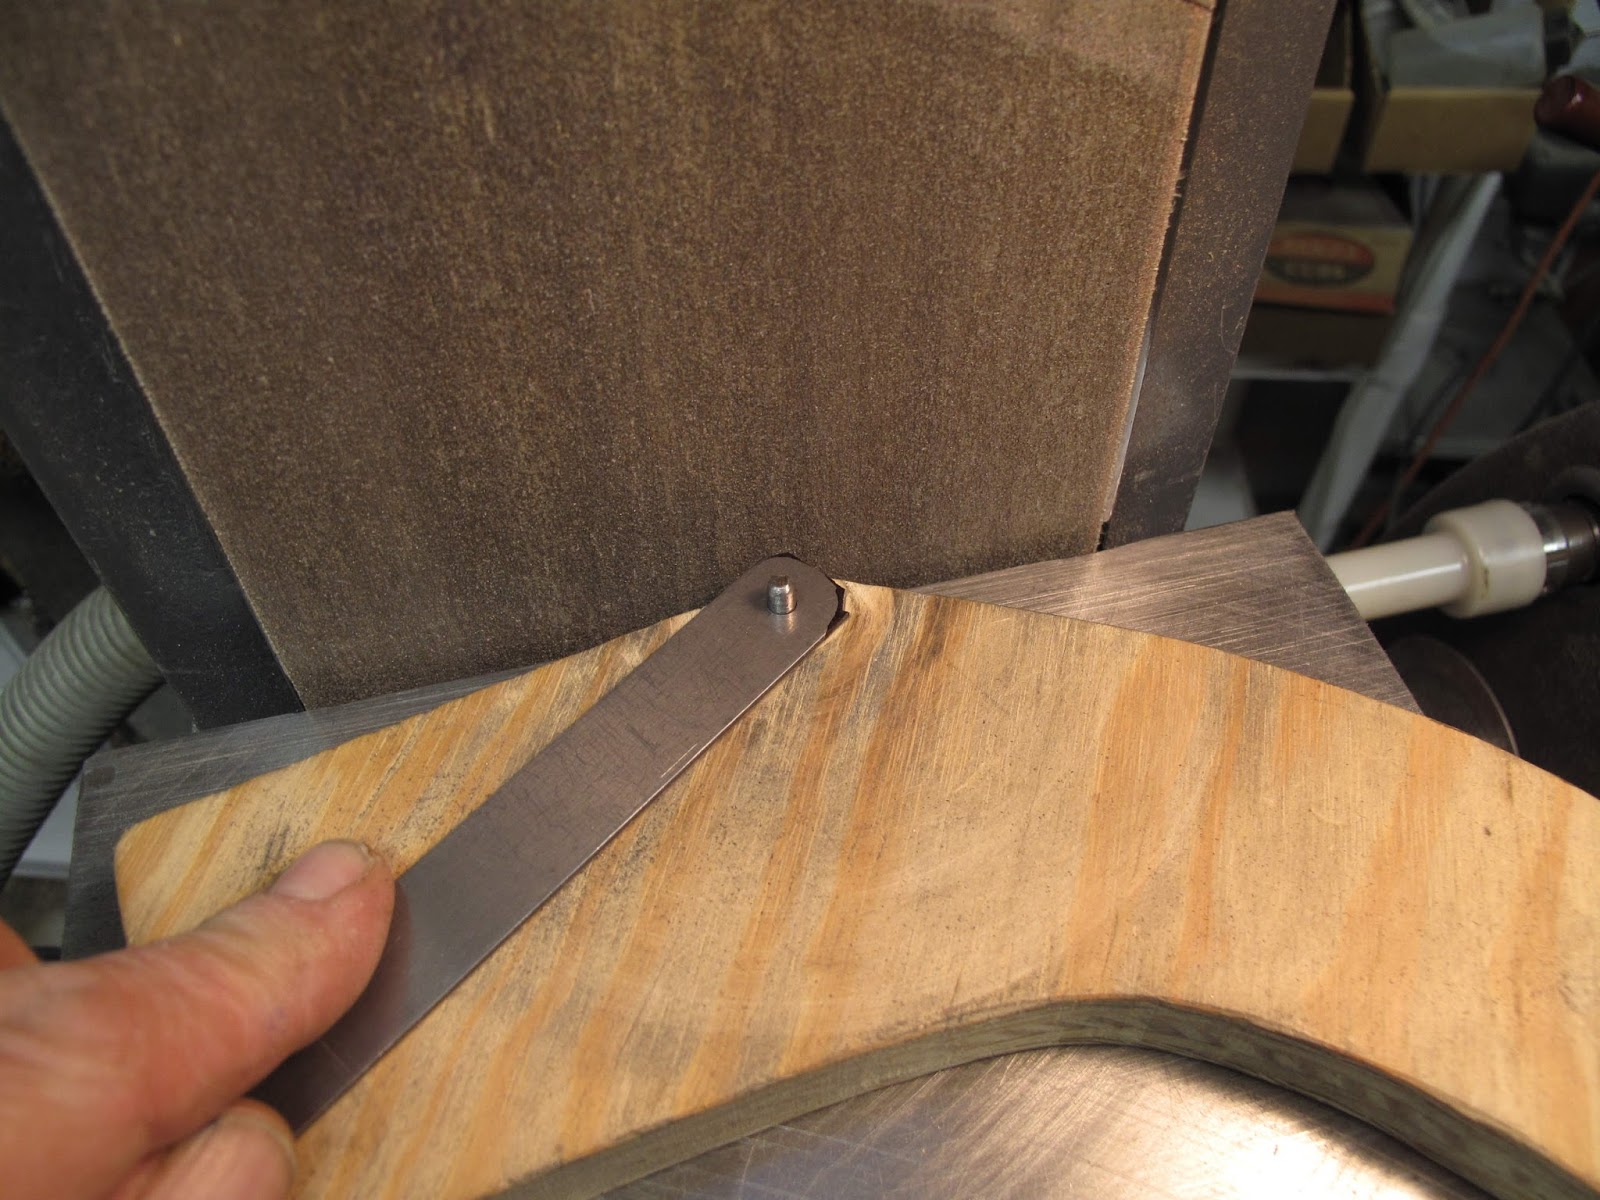
You could grind off the corners but I prefer to be kinder to my belt sander so I cut the corners off with the band saw.
To round the end I use a piece of plywood with a cut off bolt sticking through. You just swing the part with it gently touching the belt to make a nice end. You need to hold the block tightly or clamp the end of it so it doesn't move easily.
A little file work to clean up and de-burr the end and you're done.
For a little efficiency I did both ends of my strips at the same time.
The next step is making a form block to create the first half of the joggle bends. Using a piece of 1/2" x 1" bar stock the hole was drilled. The end was ground to length and the 1/8" radius ground with the belt sander. A radius gauge and a gentile hand help get the desired radius. There is no spring back angle needed on the back of the block because we'll only bend to 45 degrees.
A bolt will be used to hold the part in position while bending.
The form block, part, bolt and the all important backing block are ready to clamp in the vise.
I use the head of a machinist square just setting on the top of the form block to align the strip of steel.
Using a hardwood block the bend is made to about 45 degrees.
Both ends were bent this way.
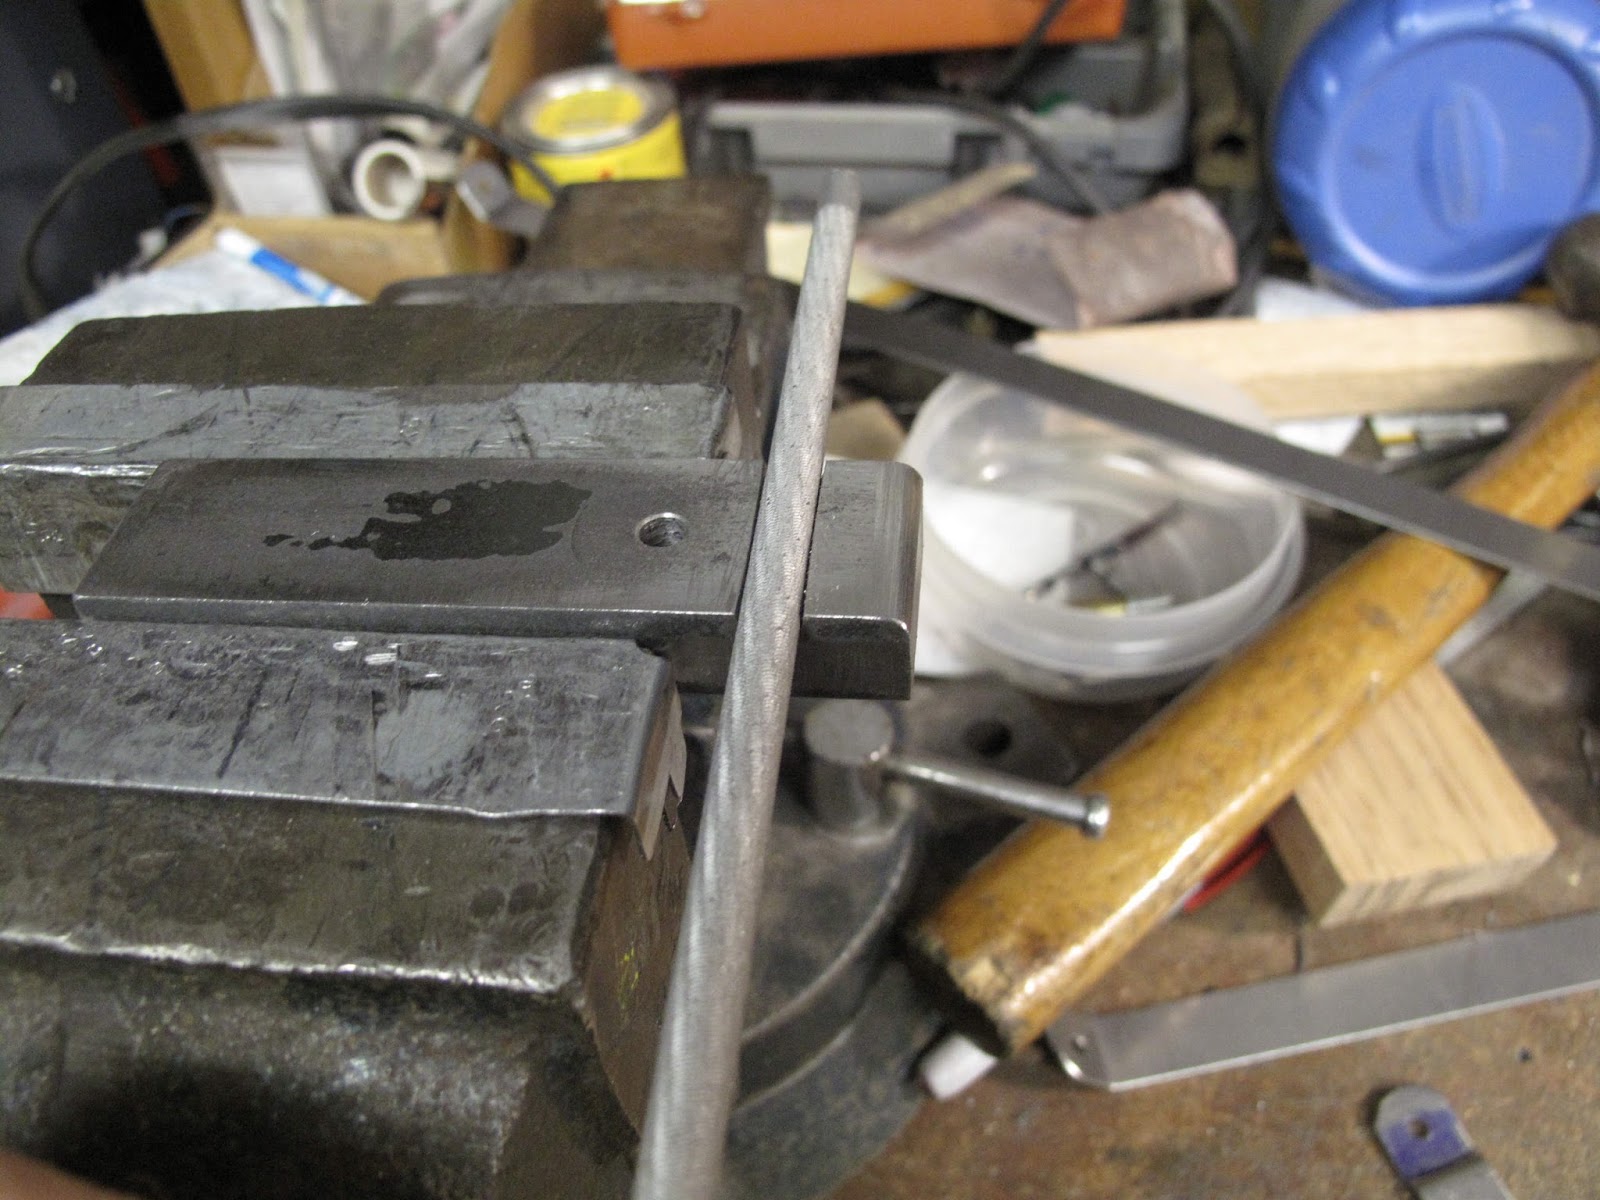
Now comes the tricky part. How to make the other half of the bend so the 2 ends are parallel and the gap (3/16") is correct to fit over the cable thimble. I'll make the bend around the shank of a drill bit so I need a block to hold the drill bit and create the correct offset.
I started by making some band saw cuts to remove some of the metal in another piece of 1/2" bar stock. The pocket was shaped using a 1/4" chain saw file. File for a while and the measure, repeat. For a 3/16" gap the edge of the drill bit needs to 3/32" above the bar stock.
In this case well add the bolt hole after the drill bit socket is done. Just place the piece to bend and the original form block so that the piece is tight to the drill bit and center punch the hole with a 3/16" duplicating punch. I drilled this hole as deep as I could with the center drill then finished the pilot hole. With the pilot hole all the way through I finished the hole and reamed it with the #11 drill.
Clamped in the vise there is a spacer at he bottom to keep the 2 bars parallel.
The bend was started by hand and finished with the block of hardwood and a hammer to get a tight bend.
The bend was tweaked, that's a technical term, to get the bent end parallel to the block.
Nice joggle.
Now we need the second hole. It was center punched using the original form block and the duplicating punch.
Only one of the 2 pieces was drilled. Then the parts were bolted together with the original form block for a handle.
The second hole was drilled using the center drill since it won't cut into the edge of the first hole and there is less wandering. I want the holes matched so the load is carried in both sides of the clip.
Because of the block I couldn't drill all the way through the second piece so I had to disassemble them and carefully finish the hole.
After finishing the hole they were bolted back together and reamed with the #11 drill.
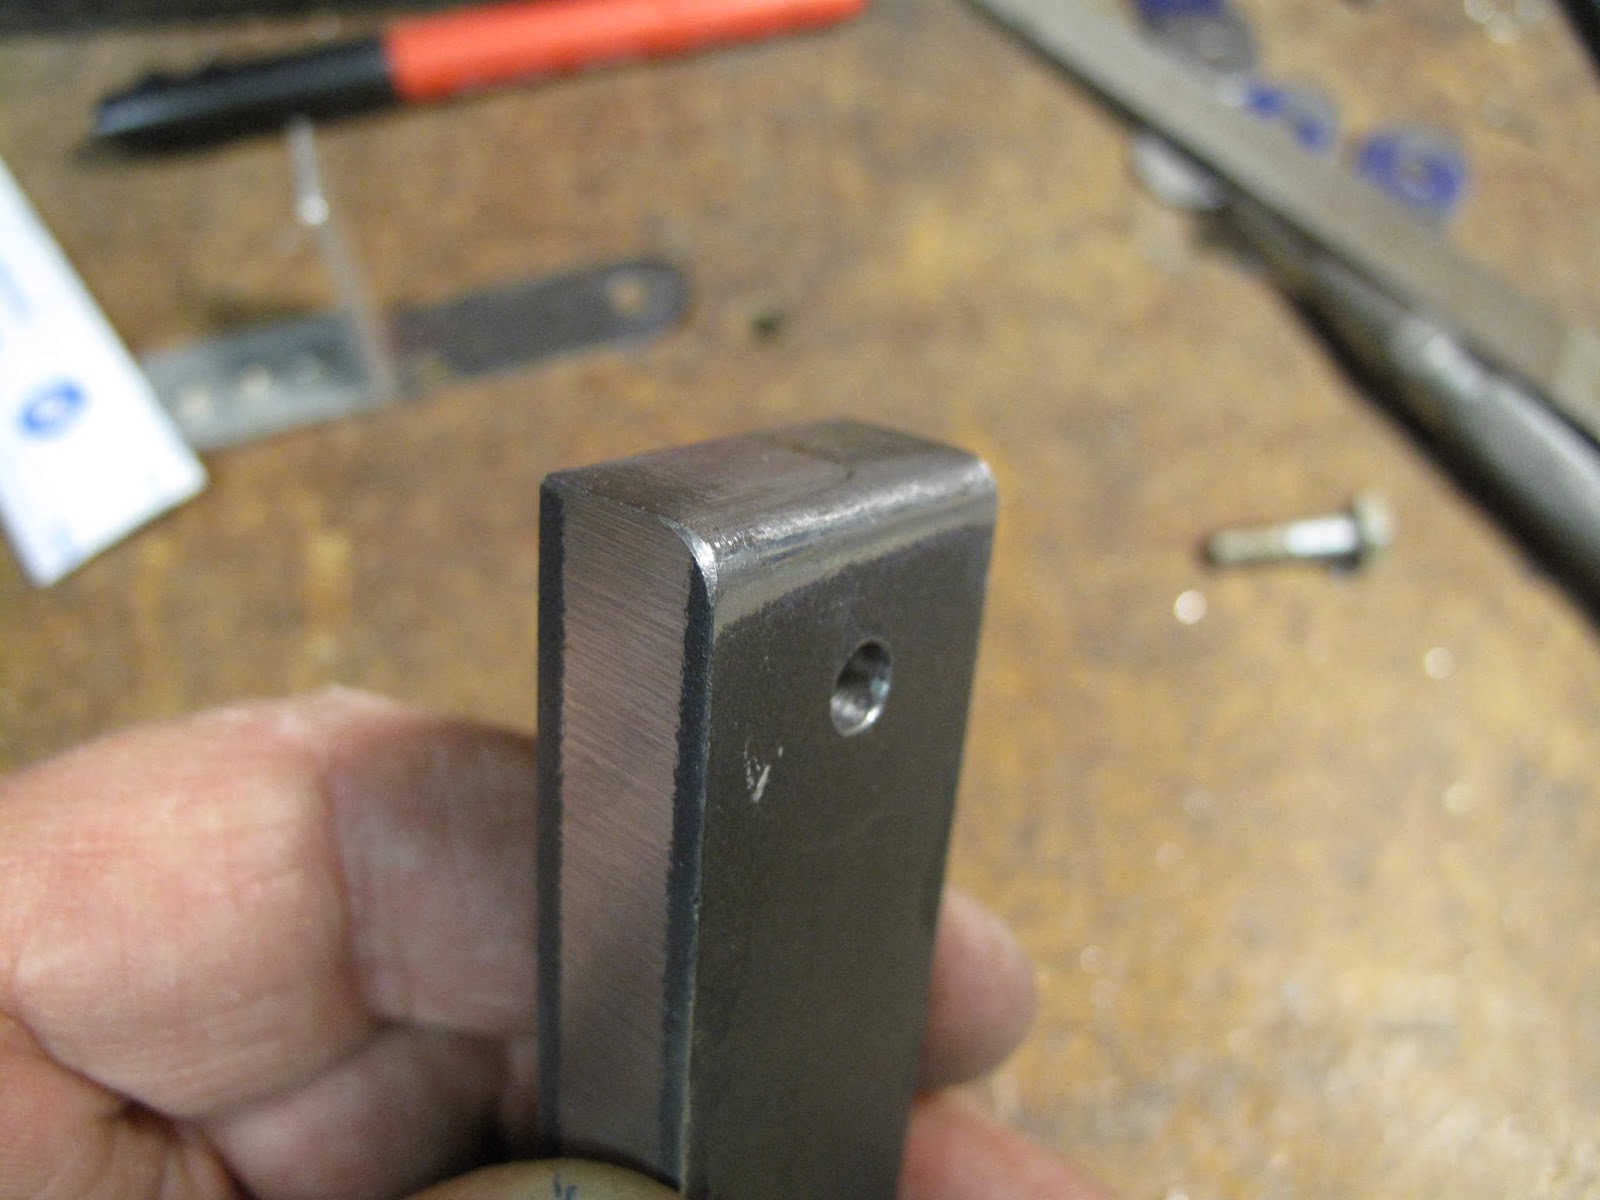
We're almost done. The cuts were marked the end cut off and ground like on the first end.
Nice parts.
With the clips installed the wires were tightened and trammeled.
The clips worked great. The turn buckle is tight without the threaded ends of the forks being too far into the barrel.
Originally the ends of the cable were wrapped with vinyl electrical tape which dried out and came loose. At the phone company we covered rubber tape with friction tape. WACO used friction tape to prevent wires chafing, etc. The tape on WACO is 80 years old and still stuck together.
I wrapped the ends tightly with friction tape.
After sticking down the last flap of tape I sealed them with Shellac, as we did at the phone company. They should be there protecting me from cable cuts long after I care.


No comments:
Post a Comment