The plan is to basically make new cowl panels of the same design to fit the new firewall and nose cowl.
I used some heavy card stock taped and clamped on to form the top cowl. Because of the size of the card stock I used a piece for the left and a piece for the right and just taped them together in the center. I used a piece of angle as a straight edge to lay out the bottom edge of the panels.
Holes were cut for the spark plugs and then expanded to give room for the plug wires.
I decided to just re-use the bumps Dad made when the shielded ignition was added. The left one had to be trimmed to hang out over the nose cowl but I think it will work fine.
I played with the bump locations to make sure they would not touch the wires. One of the wires rubbed through the shielding on the new wire I installed about 125 hours back.
I only cut out enough of the pattern to get the wires through so I wouldn't weaken the pattern. You can see the line where the aluminum will be cut.
The old cowl had a strip down the middle which supported the nose cowl. The edge which looks like the top of a "T" gets screwed to the firewall and sets on top of the windscreen panel.
The 2 side doors will get hinged to open up like wings.
When I cut the corners I left plenty of aluminum to file so I would have a clean smooth edge in the corner. I used a big corner because the old panels cracked here. If need be I'll add stiffeners in the corners.
The door panels were cut from the pattern. The actual doors have 2" more aluminum at the back edge to make a nice overlap with the "T" shaped piece.
I used a hole saw to make the ends of the holes clean, much nicer than snips.
The doors need a nice curve to fit tight. I used a 3" shipping tube to hand bend the curve to fit. They fit very nice.
The spark plug bumps ready to rivet on. I'll do all the riveting once all the panels are painted.
Aluminum hinges were cut to fit the doors. I think I'm running out of clecos.
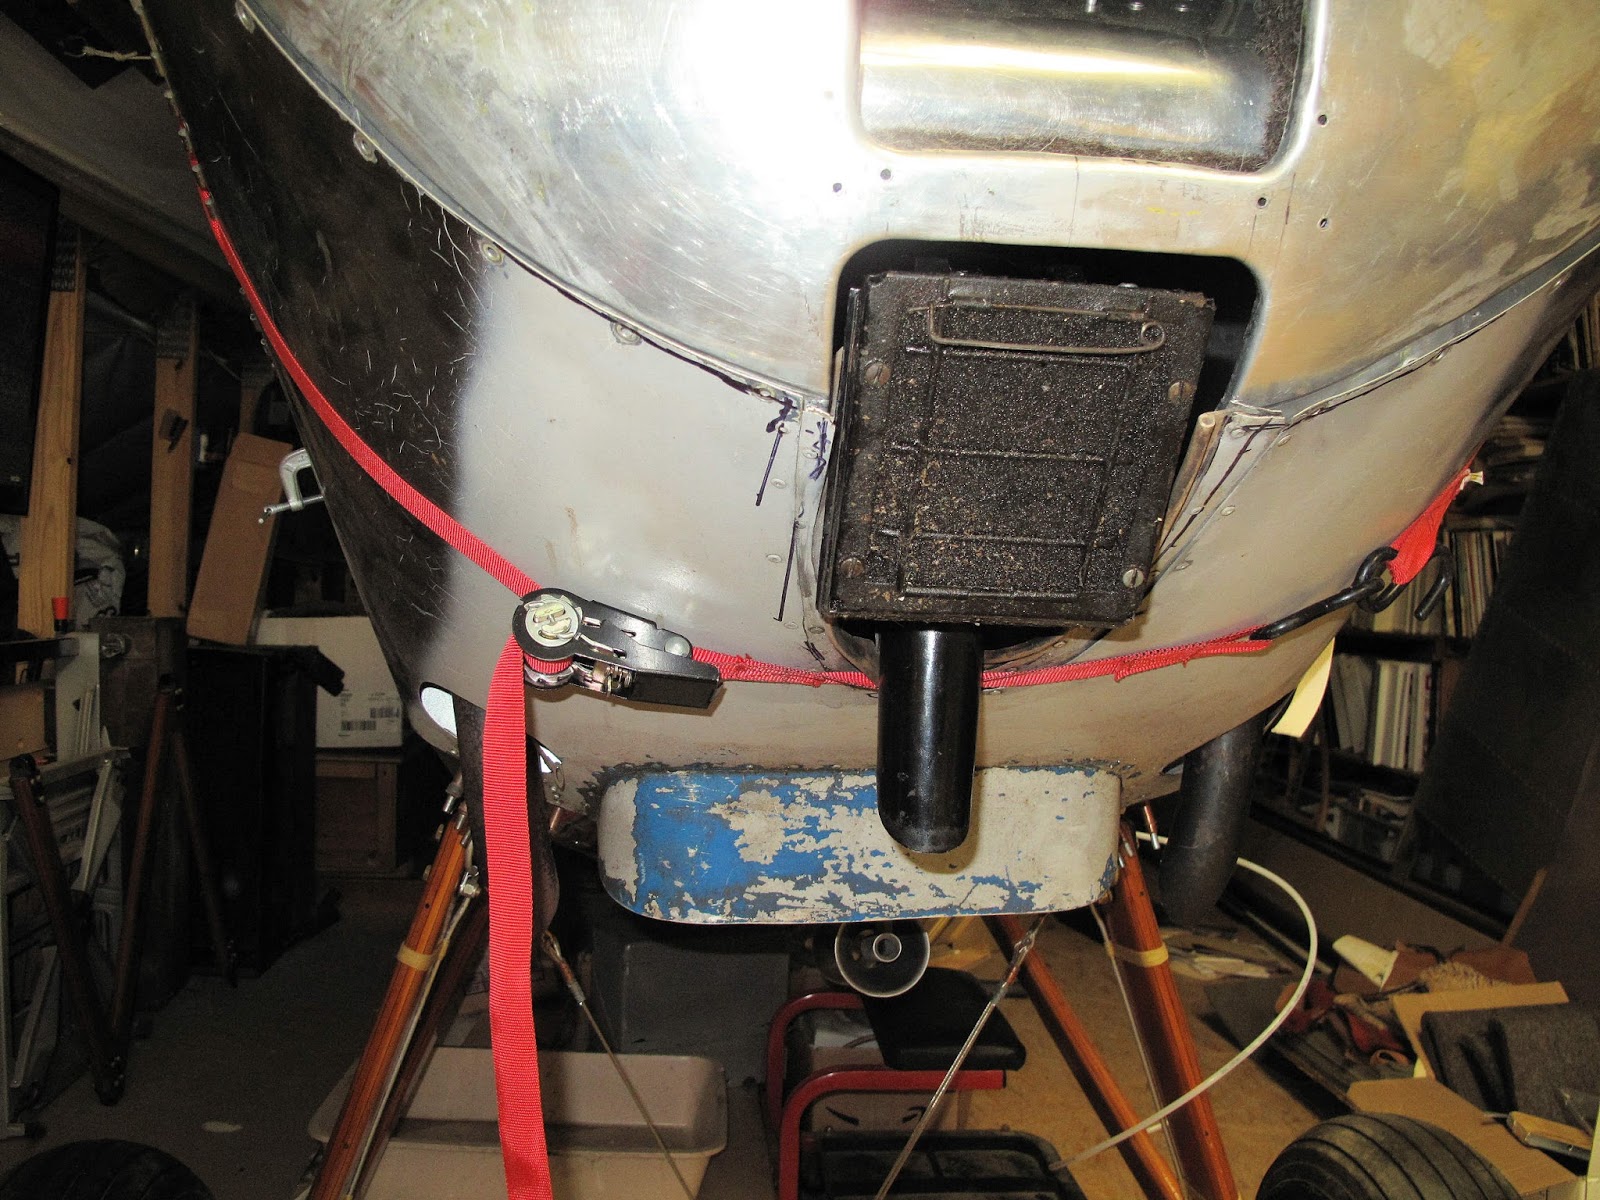
The original bottom panel was strapped on to use as a pattern for the new panel.
There were doors on this panel also which I will not do this time because I made the top doors come down the side a couple more inches.
I taped on some card stock to make the full panel pattern.
I marked up areas on the old cowl to move cut lines to fit the new parts.
To locate the exhaust pipe holes better I just taped up the holes to fit snugly to the pipe. Once the hole is drawn on the new panel I'll add some clearance for everything to move.
You can see I haven't moved the holes much.
The final holes were drawn on the new panel. I drilled 1/4" holes to guide the hole saw to start the holes.
The finished piece ready for screw holes.
The last piece is the outlet lip. With all the improvements to the baffles I'm sure I can use a smaller lip and still get enough cooling air to flow through the cowl. I figure I can always trim it down if the engine is running too cold.
Now we need some latches to hold the doors closed.


No comments:
Post a Comment