The lower wings are a little more complex because they have the ailerons and the aileron controls.
The backing plate for the landing wires looks crooked but it's part of the complexity of the 9 degree sweep back of the wings. The bolt pattern is perpendicular to the center line of the fuselage.
Tie down rings were welded to the backing plate for the front strut fitting bolts. You can see in the second picture a crack has developed along the edge of the weld. The weld must not have had good penetration into the plate. That is a pretty thick item to weld to a piece of 0.063" steel. The ring is perpendicular to the airflow so I'll probably just make new ones turned 90 degrees. We'll see after I get the one off the other wing.
Taking the fabric off.
All the wood was in good shape. The closest to a problem was a water mark on the bottom of the wood at the aileron cut out. The wood is solid so it just needs a little more varnish.
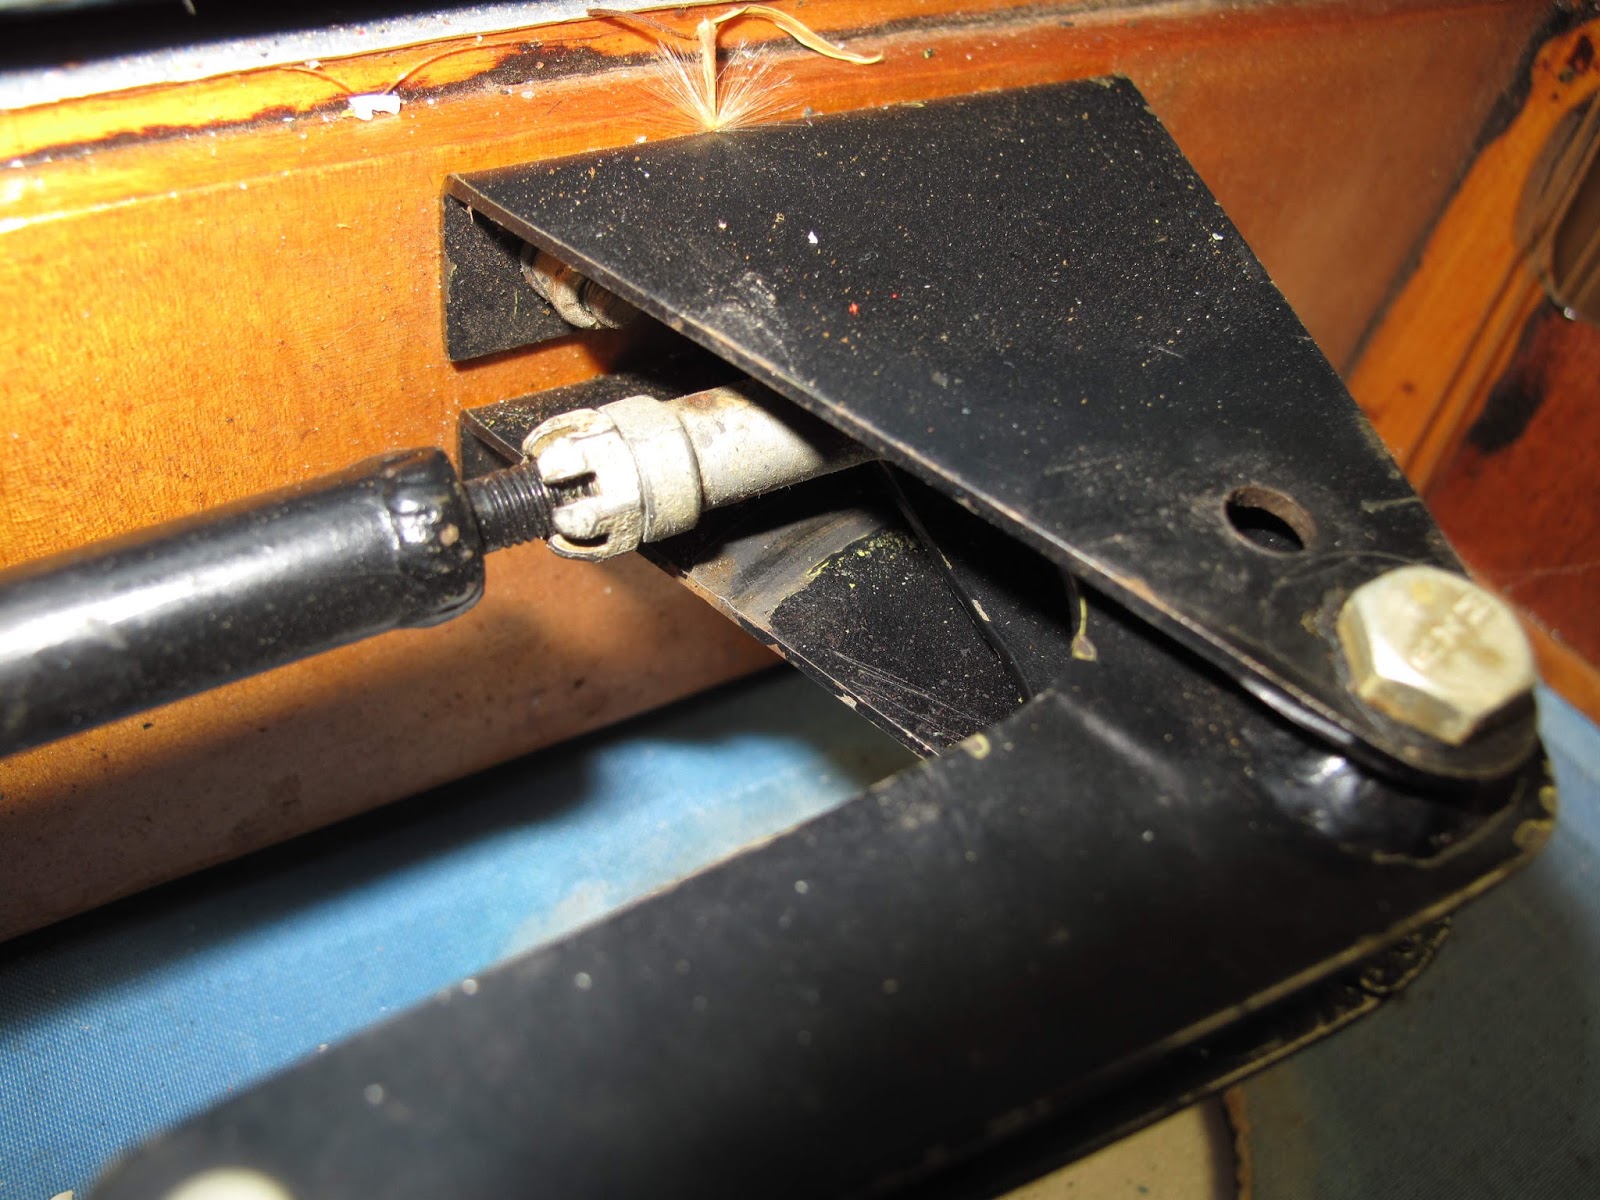
One real problem I found was on the aileron push rod bell crank. The lower end of the clevis pin on the long rod was rubbing on the bracket. The aileron limited travel so that the pin was just at the edge of the bracket. Had it moved off the bracket it could have hung up on the bracket. That would have been too exciting if you were fighting a cross wind on landing and it snagged.
The solution was to move the brackets further apart to assure the pin could not touch the bracket and add washers on the pivot bolt to fill the gaps.
To remove the brackets I needed access to the bolt heads on the front of the spar. I decided to make a hole like I did on the center section for the Lewis Gun supports. I figured one hole should give me access to both nuts. Good plan but a little more careful examination of the leading edge or the plans would have shown me that like the center section there was a nose rib between the nuts and I really needed 2 holes. I didn't do any damage so I expanded the hole to an oval.


I thought about making new brackets but decided on a simpler solution. I used a 3/16" chainsaw file to make oval holes. I lengthened the holes 1/16". This moved the brackets 1/8" further apart. We've all seen slotted sheet metal holes. In this case the loads on the bracket are light enough that there is no risk of the bracket pulling off the bolts. My real concern was making sure the bracket didn't move back to the other end of the hole and cause the problem to return, not likely but why risk it. I used the Whitney punch with a 3/16" punch to make some 1/4 moon shaped slugs from 0.063" aluminum. The slugs fill in the hole to assure the bracket can't move. The washers and nuts hold them in their holes.


The lower bracket holes moved away from the vertical leg of the "L". The upper bracket holes however moved closer to the radius in the corner of the bend. I didn't want the sharp corner of the washer causing a possible crack in the bracket so I rounded one edge of the washers to fit nicely in the bend.
To make sure the rounded edge was where it belonged I put a black mark on the opposite edge which is visible while tightening the nuts.
I made an aluminum cover formed to fit over the hole and taped it on with aluminum duct tape.
Other than the brackets the rest was just Epoxy Varnish to protect the varnish where the fabric touches wood. I did replace any loose nails on the leading edge with nails 1/8" longer, as I did on the other panels. I then used aluminum Duct tape over all the nails so they won't snag the fabric and to help assure they don't work out. I used the tape on all the wing panels. The adhesive lasts longer than regular duct tape and the aluminum should last as long as the leading and trailing edges.
It looks so fresh and new. It makes you want to get out the fabric and start covering.


No comments:
Post a Comment